






T-Shirt Design Size Guide for T-Shirt Printing (2026)
.jpg)


You've spent hours getting your design just right. You pick the colors. You choose the words. You care about how it looks. But there is one more job that many people forget. You need the right T-shirt design size.
A design that's too big can crowd the collar or run into a seam. When the size of a shirt is slightly smaller, it seems to be misplaced on the shirt. None of this is dramatic, but by the time the order ships, it adds to a print that doesn't sit right and a reprint you didn't plan for.
That's why getting the design size for shirts correctly matters more than people think.
Why T-Shirt Design Size Matters
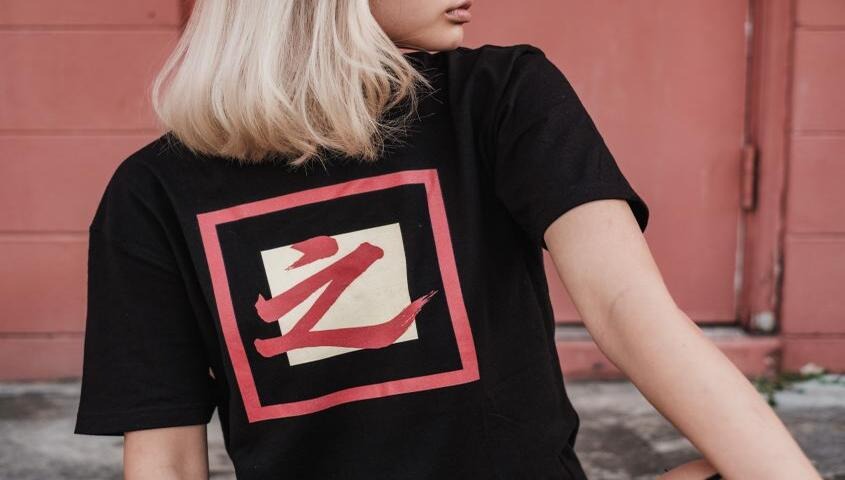
Size is not just a small detail. It changes how your shirt looks and feels. A design that fits well looks clean and pro. A design that is off can look strange, even if the art itself is great.
Good design size also helps with print quality. When you use the right size, your image prints sharp. When you stretch a small image too big, it turns blurry or pixelated. This is why size and resolution go hand in hand.
At Tapstitch, we help you get both right. Our print-on-demand tools show the print area for each shirt, so you don't have to guess.
What's the Right Design Size for Shirts?
There isn't one magic number. It really depends on where your design is going. A chest logo and a full back print need very different treatment.
Here's a quick chart to get you oriented:
Treat these as the starting point. Shirt styles vary, and a size that looks perfect on a large tee can feel oversized on a small one. It's worth checking a mockup before you commit.
Want to go deeper on how sizing shifts by shirt style? We cover that in our post on design size for shirts.
Getting the Front of the Shirt Right
The front of the shirt is the most usual place to print. Most individuals see this area first, so it is very important to get this area right.
Center Chest Design
In the case of the center chest design, you should make sure that the printing area is 8 to 10 inches in width. The printing area should be about 3 to 4 inches below the collar. This area is ideal for the logos and small phrases on the shirt.
Full Front Design
In the case of full front designs, you should use a larger proportion of the printing area. The width of this printing area should be around 10 to 12 inches in width and about 12 to 14 inches in height. This area will take most of the chest space without being obstructed by the seams of the shirt.
To achieve a bolder look, you can use the 15-inch-wide printing area with big-sized fonts to change the look of the shirt.
Back of Shirt Design Size
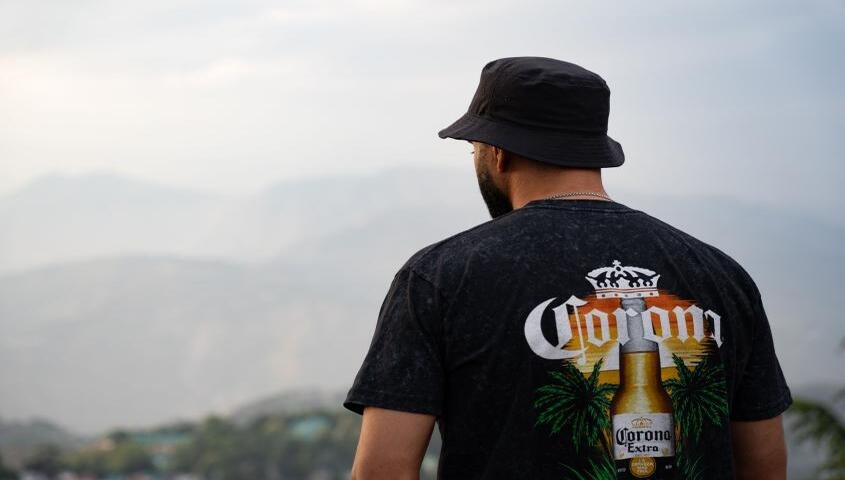
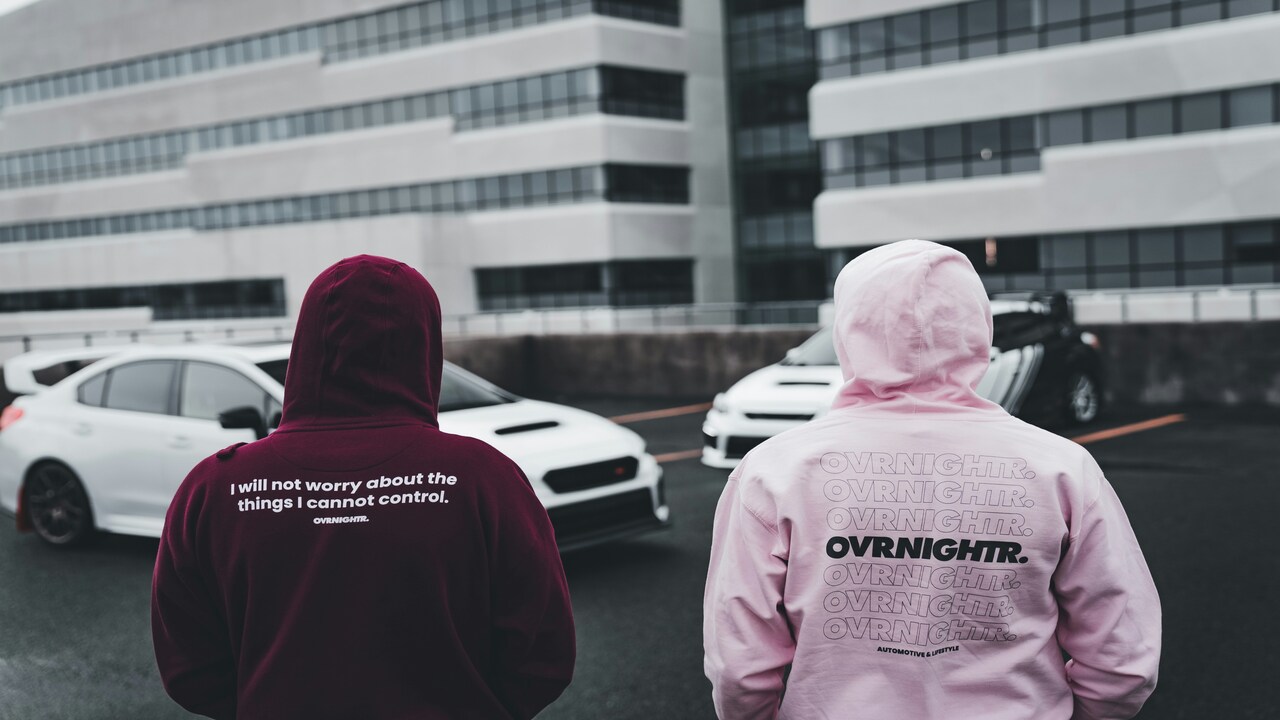
The wider space in the back of the shirt makes it ideal for larger prints, which include logos, symbols, and the name of the team or organization.
Typically, a normal back of shirt design size would require a width of about 12 to 14 inches, while the height would be between 10 and 15 inches depending on what you are printing. One perfect place to place the back design would be around the region of the shoulder blades, making sure that it is in the center, as this will make the shirt look good.
One important thing to note is that many people prefer text on the back design to be very small. It is necessary to ensure that the words on your back design are sufficiently large so that they can be read from a distance of a few feet. The back area can also be utilized to write down the names and jersey numbers of the players appearing in the match.
Want to know how the back of the shirt fits within the whole thing? Our t-shirt design placement guide breaks it all down.
Don't Overlook the Small Spots
Not every great design needs to be huge. Sometimes the small placements do more heavy lifting than you'd expect, especially for branding.
Left chest: The traditional logo placement, generally done within 3 or 4 inches from the end of the shoulder seam. Measurements between 3 and 4 inches should be ensured, as there is often a mix-up while printing the logo.
Sleeve: Small logo, up to 2 inches in width, while at the same time ensuring the logo is placed centrally so it does not seem awkward when the wearer is moving the arm.
Neck label: The area at the smallest part of the shirt that involves the branding. Stay under 3 inches, and keep the design simple. Fine details just don't survive at this scale.
Curious how your design will look on a shirt?
Use our free mockup tool to see your design come to life before printing anything. Start designing on Tapstitch and find out in a couple of minutes.
How to Design Your Own Shirt
Designing your shirt isn't challenging anymore. Now you know the sizing basics; let's put it together so you get it ready.
1. Pick your shirt style first
Every shirt style has its own print area, so this really is step one. Take a look through our full t-shirt collection and find something that fits what you're going for.
2. Decide on placement
Front, back, sleeve, chest? Once you have a clear idea of where the design is going on the garment, the size just follows naturally as you refer to the measurements you have previously taken.
3. Match the Size to the Placement
Different spots on a shirt need different sizes. A left chest logo needs a small, tidy size. A full front design needs much more room to work with. A good design size for shirts always starts with placement, not the other way around.
4. Build your file at full size
Design your artwork at the actual print size, not a smaller version you plan to scale up later. Scaling up almost always costs you sharpness.
5. Keep your resolution high
You should aim to maintain a DPI of 300, as DPI pertains to the details in your image. An image that looks good on your screen may actually be of subpar quality.
5. Use the appropriate file format.
You can save your image as a PNG, JPG, or SVG file. The PNG format is ideal if you need a transparent background for some parts of your design.
6. Test the design on a mockup first.
Mockups are a very useful tool as they show what your design will look like on the T-shirt, thus preventing any sizing errors.
Common Design Size Mistakes
Avoiding design mistakes can help you get the perfect size you want. So, read these common mistakes and avoid them at all costs.
A Blurry File Stays Blurry
No amount of clever resizing will rescue an image that started out low-resolution. Whatever softness is baked in becomes obvious when blown up and printed on fabric. If it looks fuzzy on the screen, it will look worse on the shirt. So, avoid printing low-quality designs.
Scaling Up Instead of Starting Big
Reusing an old file or stretching a small graphic to fill more space is a tempting shortcut, especially under a deadline. But it almost never ends well. Pixelation shows up fast, and there's no fixing it after the fact. The better habit is to start with a file that's sized for the job, so you're never stretching it thin.
Forgetting That Shirt Sizes Aren't All the Same
A design built around one shirt size doesn't always hold up on another. Preview your design on different sizes before finalizing it, rather than assuming a single size tells the whole story.
Getting Too Close to the Seams
This is an easy one to overlook. Placing a custom t-shirt design too close to the seams is another sneaky issue. Seams and edges have a way of quietly clipping a design during printing if there isn't enough clearance. Seams can end up cutting off part of your art during printing, so leave some breathing room around the edges.
Leaving a bit of margin around the borders costs you nothing now and spares you a reprint later.
Picking the Wrong File Format
Not every file type behaves the same way once it hits print. A photo-style JPG can lose its edges, while a PNG with a busy background can print with an odd white box around it. Take a second to match the format to the design; transparent backgrounds call for PNG, clean logos do as well as SVG, so the file itself isn't working against you before the print even starts.
Skipping the Mockup, Just This Once
Everyone's tempted to skip this step at some point, when they're confident the design will probably be fine. But a mockup is the one thing that shows you the truth before you commit. Skip it, and you're basically hoping for the best, which is rarely how you want to approach a print run.
How Printing Technique Affects Your Size
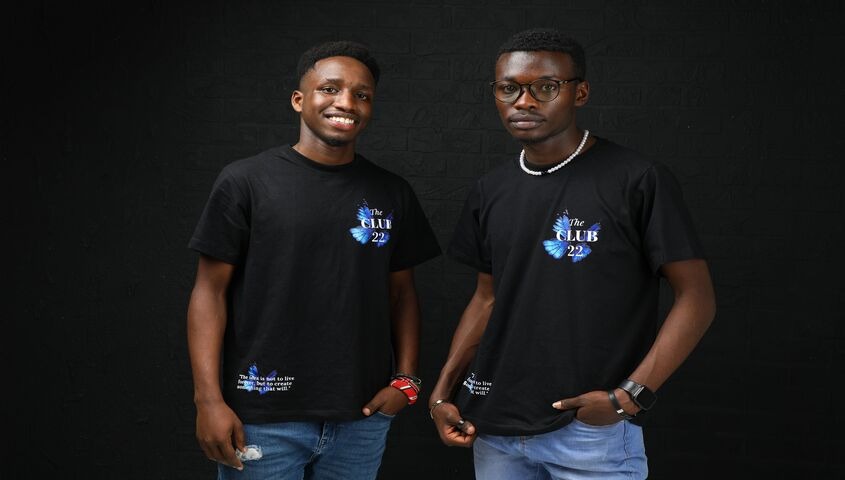
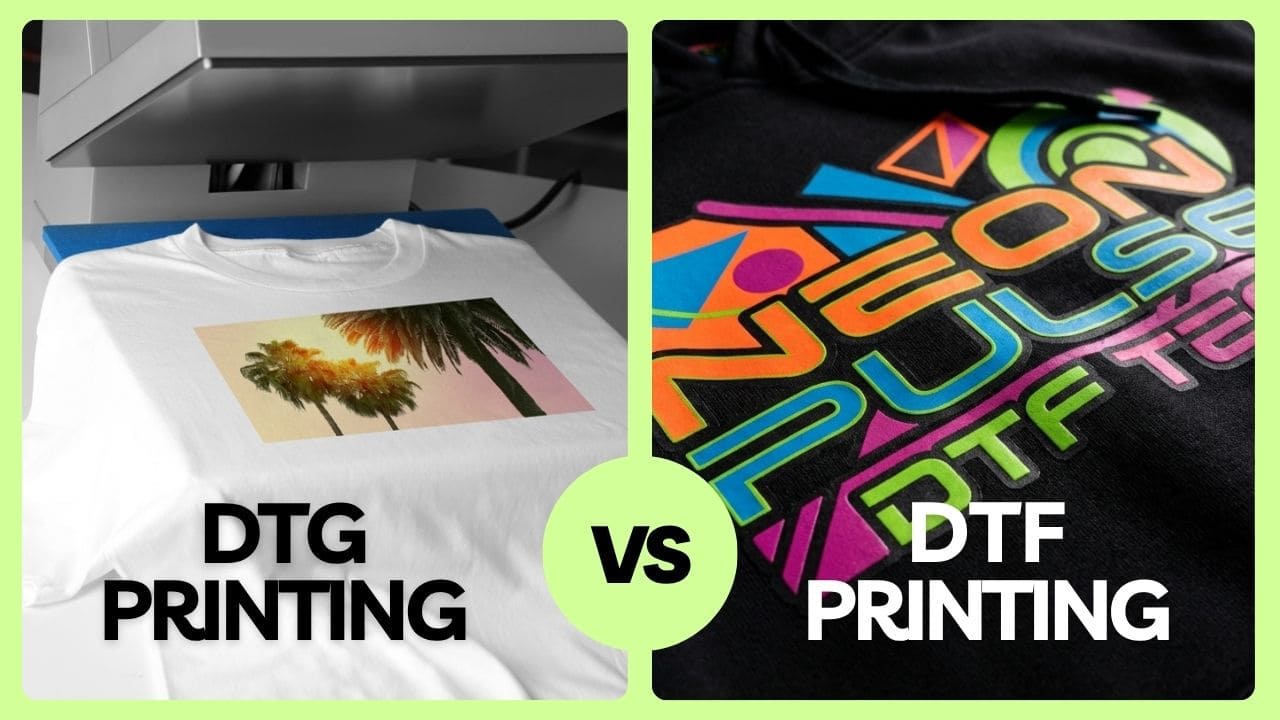
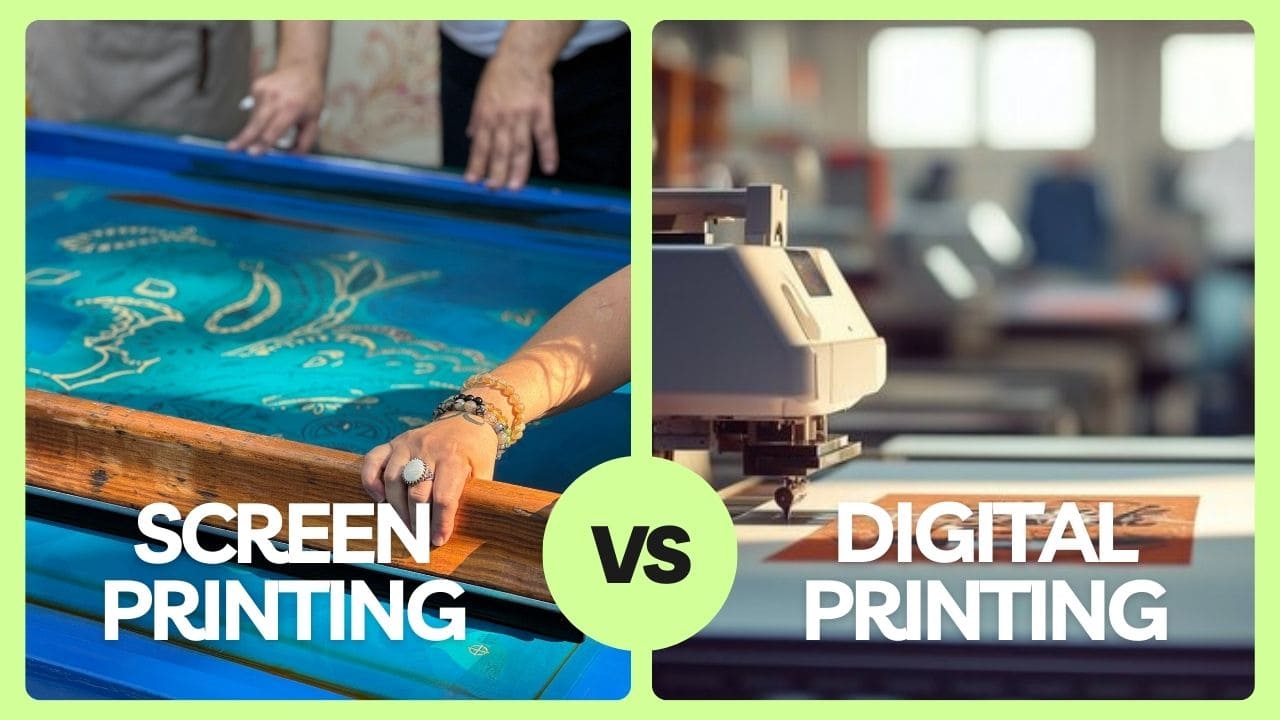
Not all types of shirt printing apply to all sizes. Screen printing works better with a bigger size, as inks completely stay on the fabric with few cracks. On the other hand, DTF transfers provide little flexibility with delicate details, but larger prints can seem stiffer on the garment. If you have an intricate print, check with your provider which printing technique works best for your print size.
Design Size on Hoodies and Long Sleeve T-Shirts
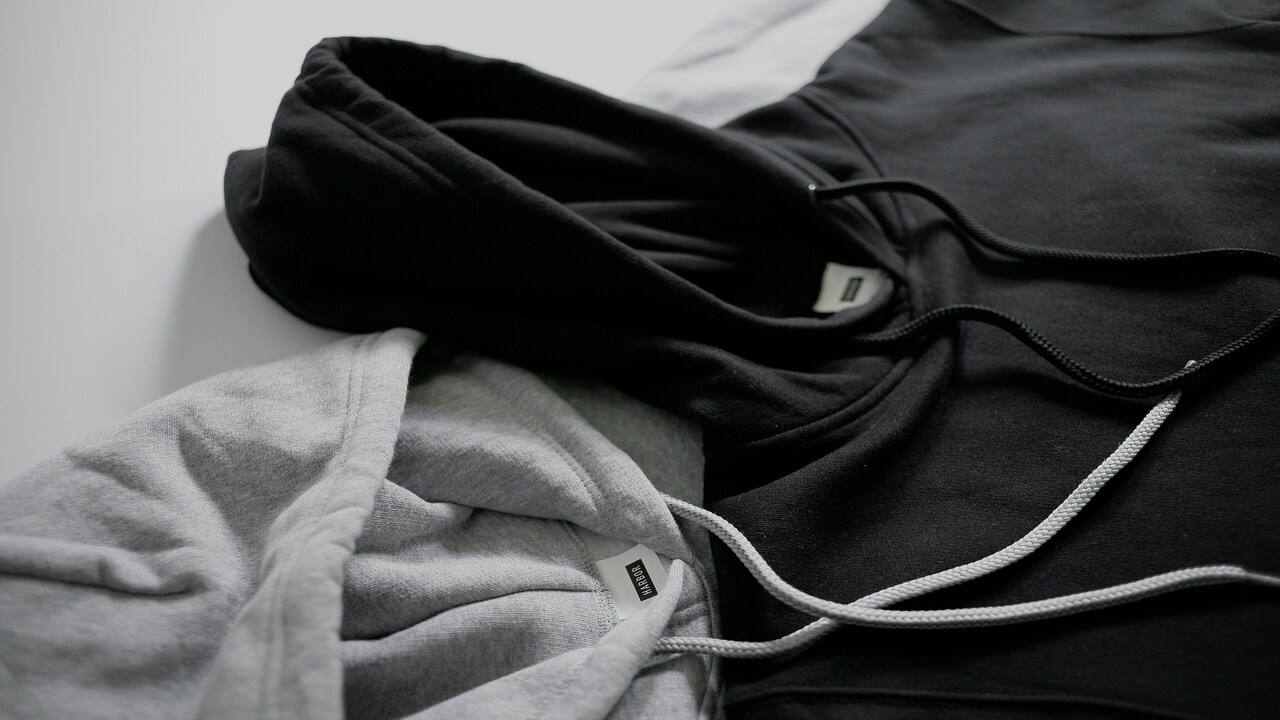
Printing size is not only about t-shirts. Hoodies and long sleeve shirts are quite a bit bigger in the width of a front side panel so that a print that seems to be perfect for a t-shirt can seem to be rather small for a hoodie. Thus, when designing for both types of clothes, one should increase the size for heavier garments in order to make them look proportional to bigger fabric.
A Quick Size Cheat Sheet
Here's everything from above, condensed for easy reference. Check this out and follow it to design your own shirt without wasting more time.
- Small logo (left chest): 3–4 inches wide
- Center chest design: 8–10 inches wide
- Full front design: 10–12 inches wide
- Oversized front design: up to 15 inches wide
- Full back design: 12–14 inches wide
- Sleeve design: 2–4 inches wide
- Neck label: under 3 inches
Bookmark this list. It'll cover you for nearly every shirt you design from here on out.
Wrapping Up
Good t-shirt design size comes down to a handful of simple habits. Match your size to the placement. Keep your image sharp. Always check a mockup before you hit print,t and your shirts will look clean and professional every time.
It doesn't matter if you're printing a single shirt for a birthday gift or launching a whole line for the brand. The same rules hold up either way. Get the size right, trust the process, and let the small details carry the rest.
Your customers, or your own closet, will notice the difference. That's the actual goal.
Wanna see your design on a shirt?
Head over to Tapstitch, upload your art, and give the sizing one last check. From there, you're just a few clicks from printing.
.jpg)
%20(3).jpg)
.png)

.jpg)
.jpg)
.jpg)
.jpg)
.jpg)
.jpg)





.png)



.png)
.webp)

.jpg)



.jpg)

.jpg)

.png)
.jpg)


.jpg)
.jpg)




.jpg)
.jpg)
.jpg)
.jpg)
.jpg)
%20(1).jpg)

.png)

.png)


%20(1)%20(1).jpg)




.png)
.png)


.jpg)