






How to Make T-Shirts at Home: A Step-by-Step Guide


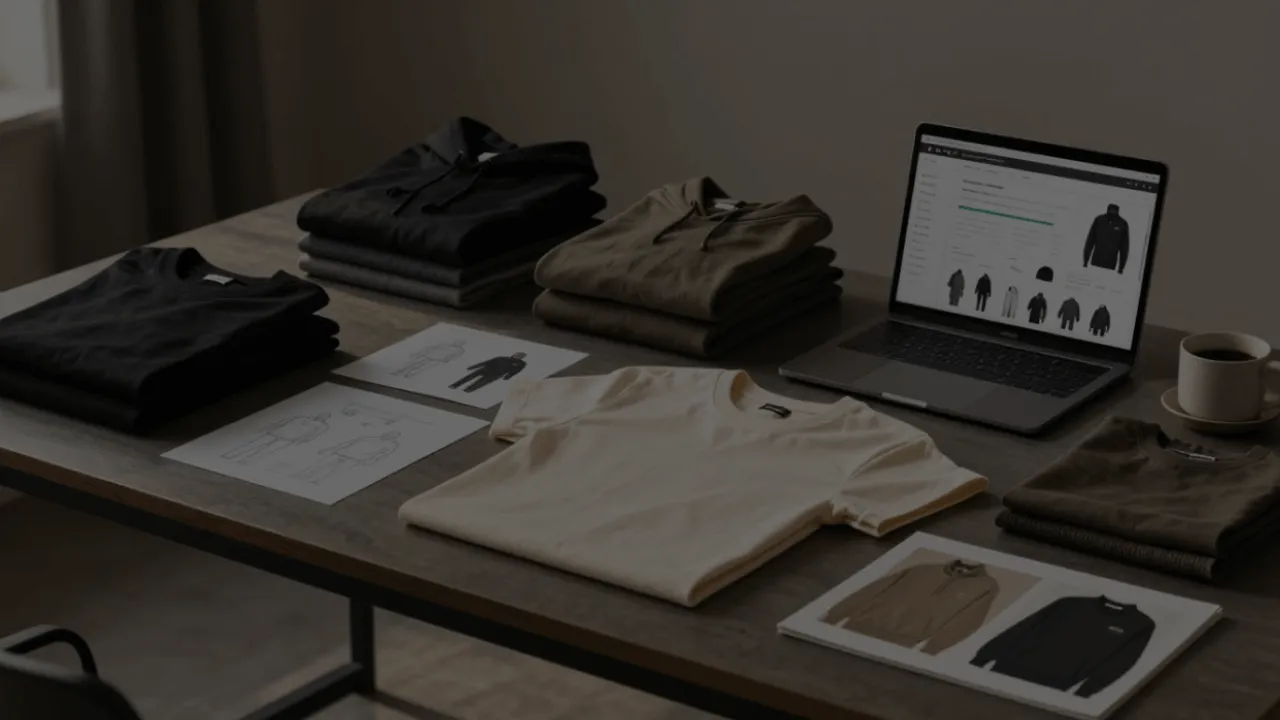
Wondering how to make T-shirts at home without professional equipment? With beginner-friendly methods like iron-on transfer paper, fabric paint, embroidery, or print-on-demand, if you prefer a no-inventory option. In this guide, we’ll cover 7 easy ways to make custom T-shirts at home, compare different printing methods, and help you choose the best option for your project or online T-shirt business.
How Much Does It Cost to Make Custom T-Shirts at Home?
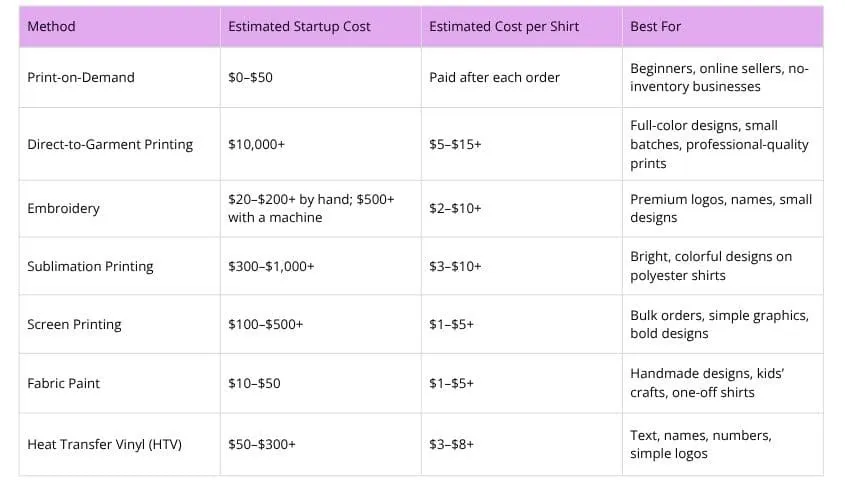
Before choosing a method, it’s helpful to get a general idea of the costs involved. Some ways to make custom T-shirts at home only need a few simple supplies, while others require more equipment or work better for selling online.
The table below compares 7 popular methods based on startup costs, estimated cost per shirt, and what each method is best for.
How to Make Custom T-shirts: 7 Easy Ways
To help you find the best way to make custom T-shirts at home, we’ll compare each method in detail, including how it works, what tools you need, and its main pros and cons.
Print-on-Demand
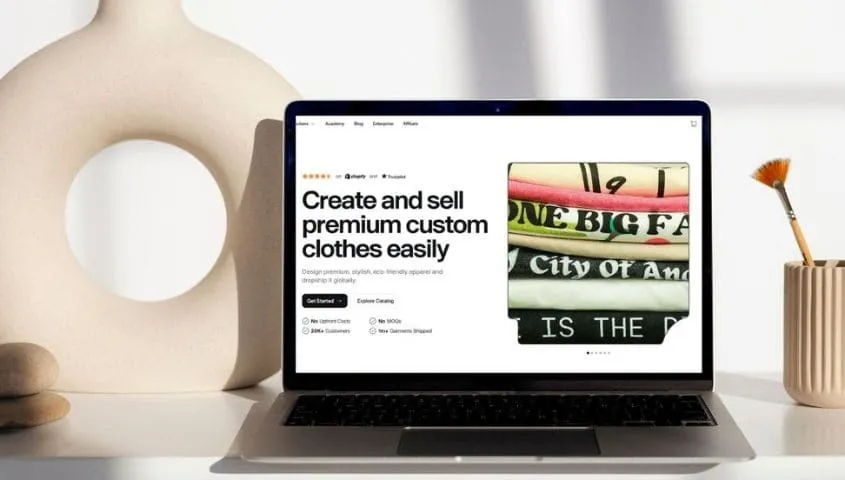
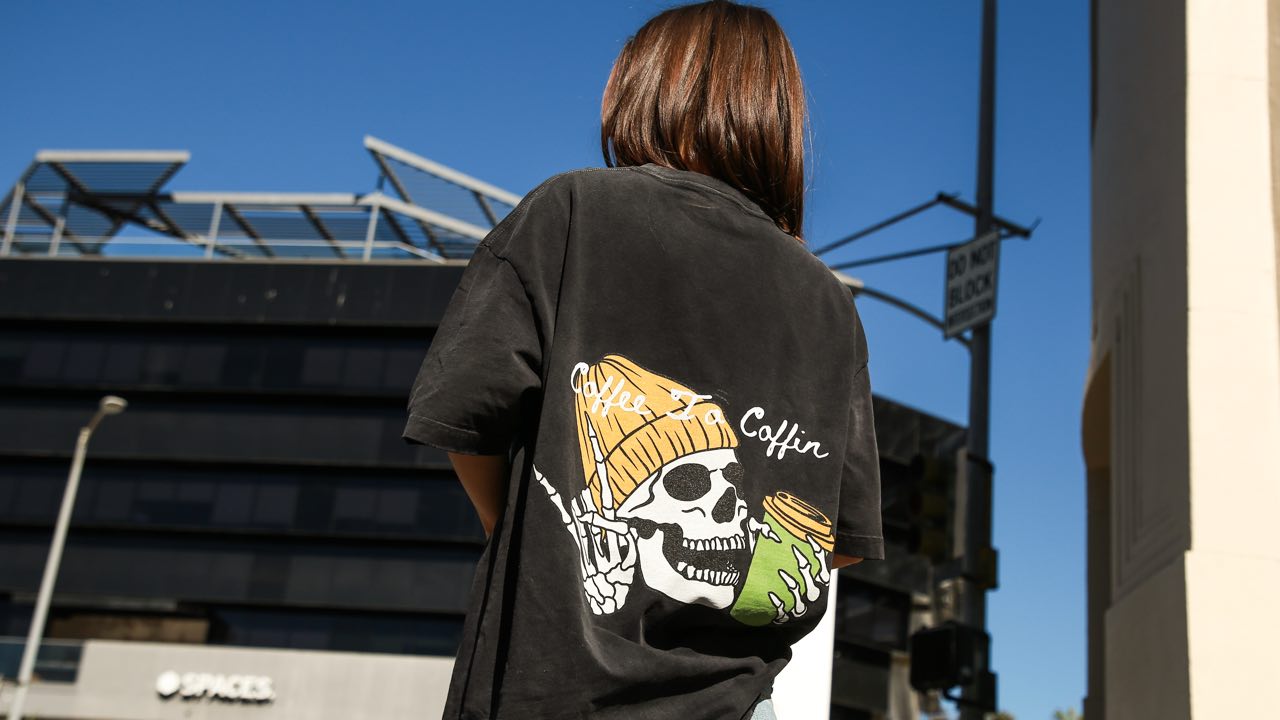
Print-on-demand is a beginner-friendly way to create custom T-shirts at home without buying printing equipment, storing inventory, or handling fulfillment yourself. Unlike DIY printing methods, you design the shirt from home and upload it to a POD platform, while the provider prints, packs, and ships each order for you.
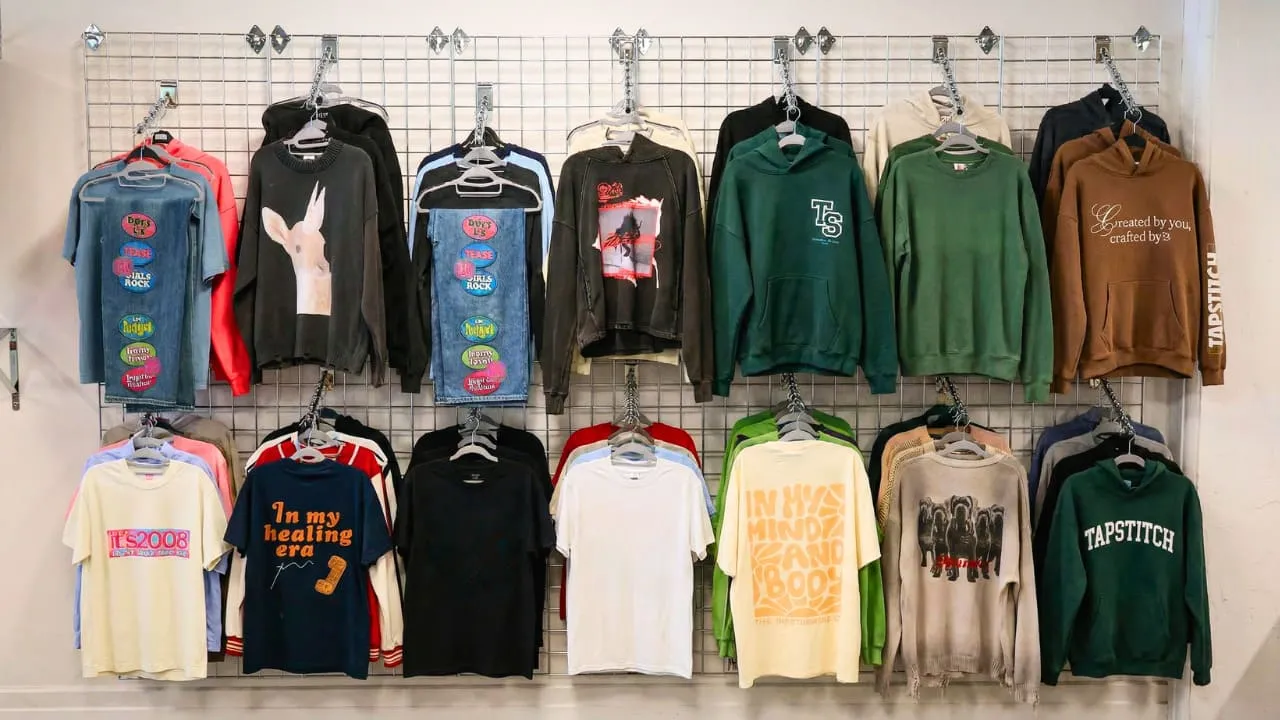
This method works well if you want to order a custom tee shirt, test new design ideas, or start selling shirts online with low upfront costs. Since quality, pricing, product options, and shipping times vary by provider, it’s important to compare POD companies and order a sample before selling. For sellers who want to go beyond basic blank tees, Tapstitch T-shirts provide more fashion-forward options, from washed effects and oversized fits to athleisure-inspired styles. With no MOQ, they’re a flexible choice for testing new designs before launching a full collection.
Tools: A computer or laptop
Pros:
- No printing equipment needed.
- No inventory required.
- Low startup cost.
- Easy to test different designs.
- Good for selling custom T-shirts online.
Cons:
- Less control over product quality and shipping.
- Production and delivery times depend on the provider.
How to make custom tshirts with POD:
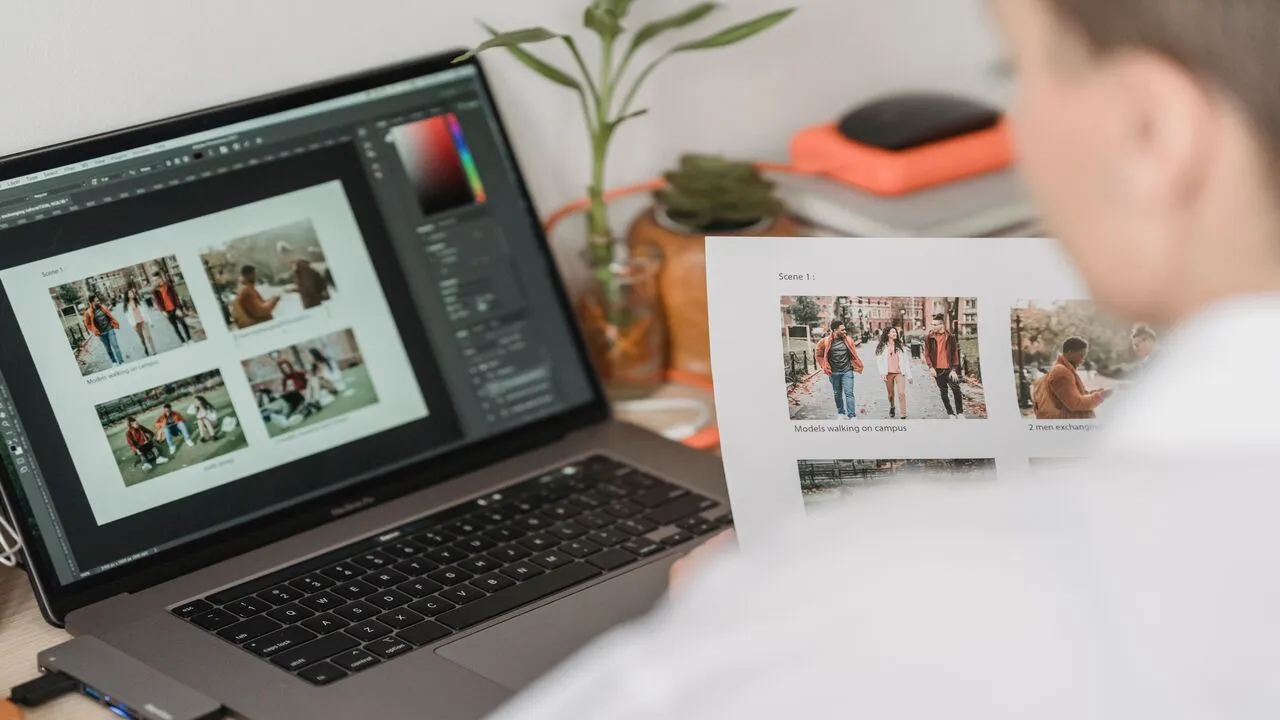
- Create your T-shirt design using design software or an online design tool.
- Choose a print-on-demand provider that offers the T-shirt style, quality, and shipping options you need.
- Upload your design to the platform’s product editor or mockup tool.
- Adjust the placement, size, and print area of your design.
- Select shirt colors, sizes, and product details.
- Connect the product to your online store or marketplace.
- When an order is placed, the POD provider prints and ships the T-shirt directly to them.
Direct-to-Garment Printing
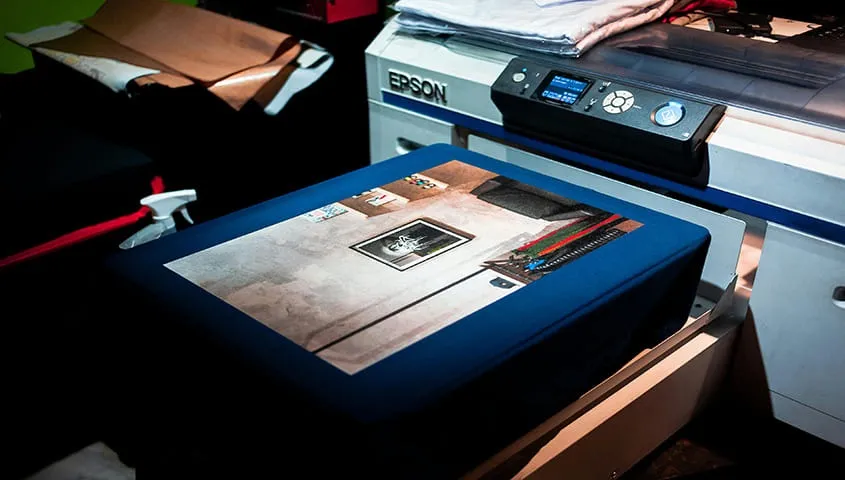
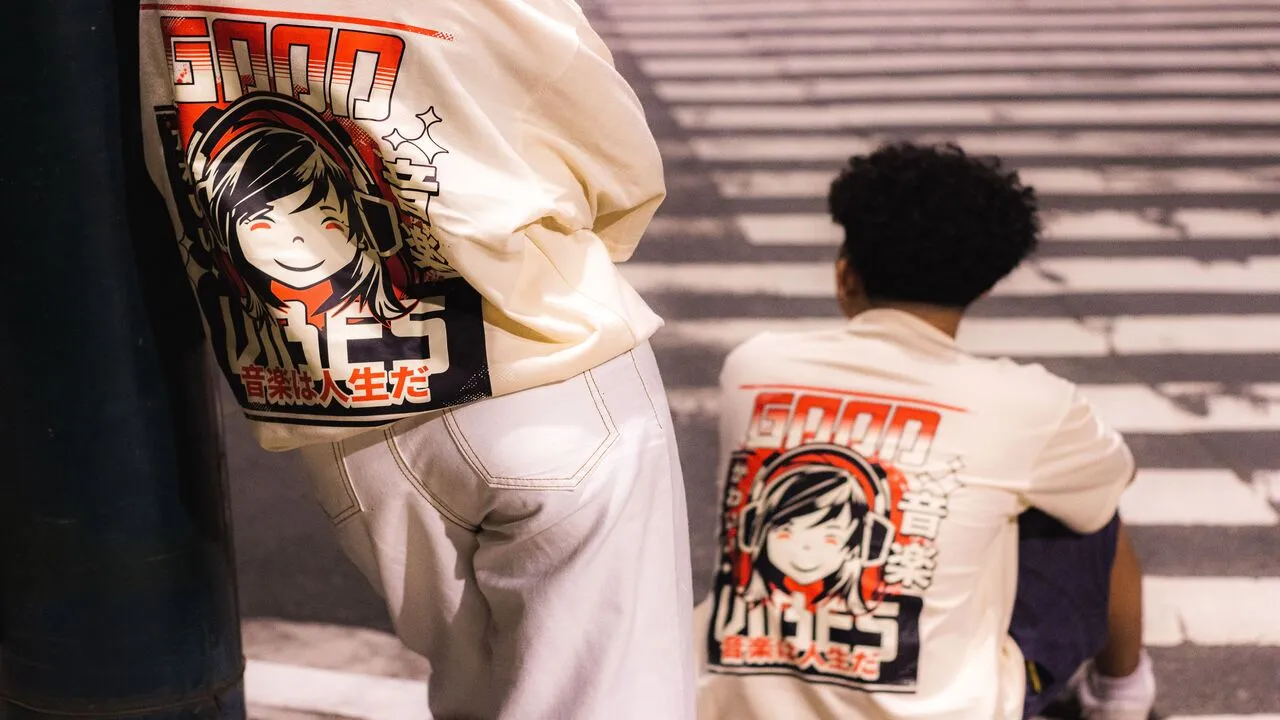
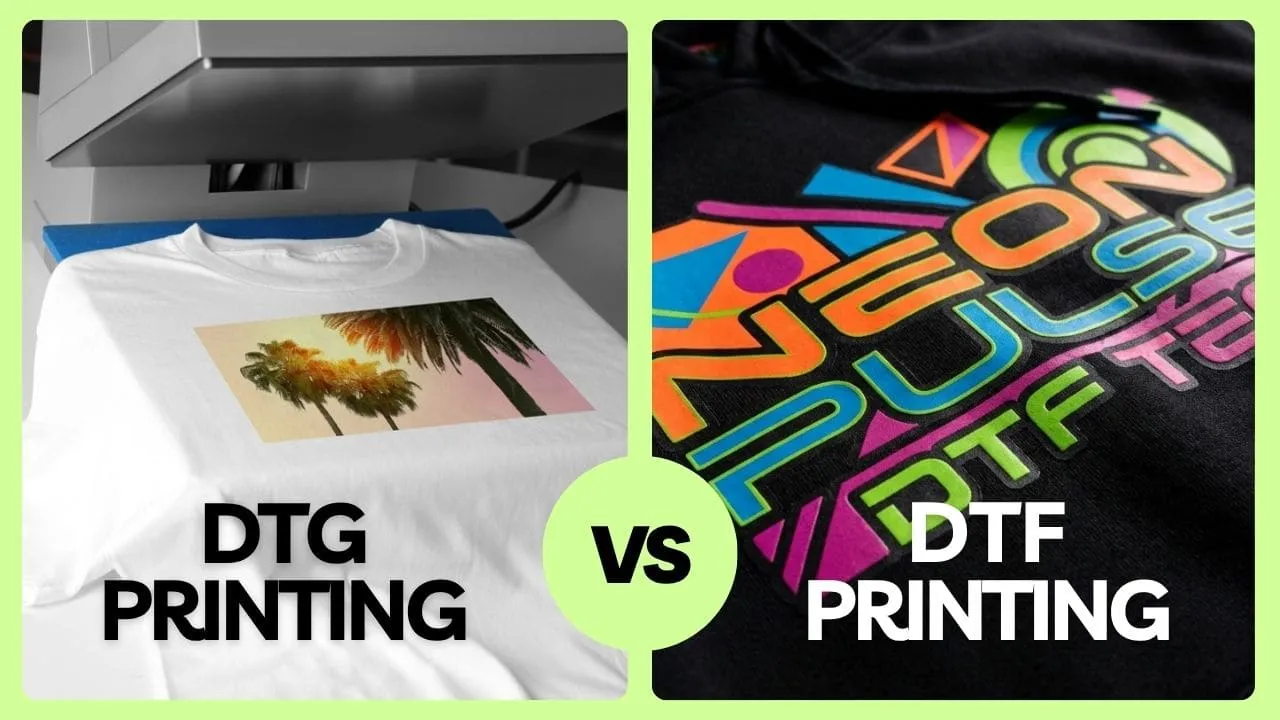
DTG print is similar to using a standard inkjet printer, except the design is printed directly onto the T-shirt instead of a sheet of paper. A DTG printer applies ink to the fabric with precision, making it ideal for colorful artwork, detailed designs, photos, and small-batch custom shirts. While the process can produce professional-looking results, the equipment is costly and often requires pretreatment, curing, and regular maintenance, so it may not be the most beginner-friendly option for at-home T-shirt making.
Tools: DTG printer, pretreatment solution, heat press machine, cotton T-shirts, and printer platen.
Pros:
- Great for detailed designs, photos, gradients, and full-color artwork.
- Creates a soft and breathable print because the ink bonds directly with the fabric.
- Works well for one-off custom shirts and small-batch orders.
- Produces clean, sharp, and professional-looking results.
Cons:
- Requires expensive equipment.
- Needs pretreatment for many garments, especially dark-colored tees.
- A DTG printer requires regular maintenance to prevent ink clogging and print quality issues.
- Beginner-friendly for casual at-home T-shirt making.
How it works:
- Treat the blank T-shirt with a pretreatment solution to help the ink stick to the fabric.
- Load the shirt onto the DTG printer and prepare your design file for printing.
- Print the design directly onto the shirt as the printer applies ink to the fabric.
- Cure the print with a heat press so the ink sets properly and the design lasts longer.
Embroidery
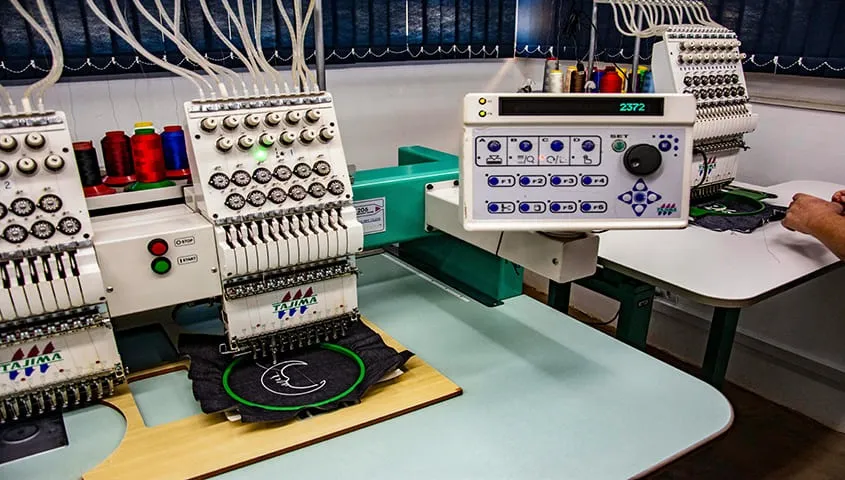
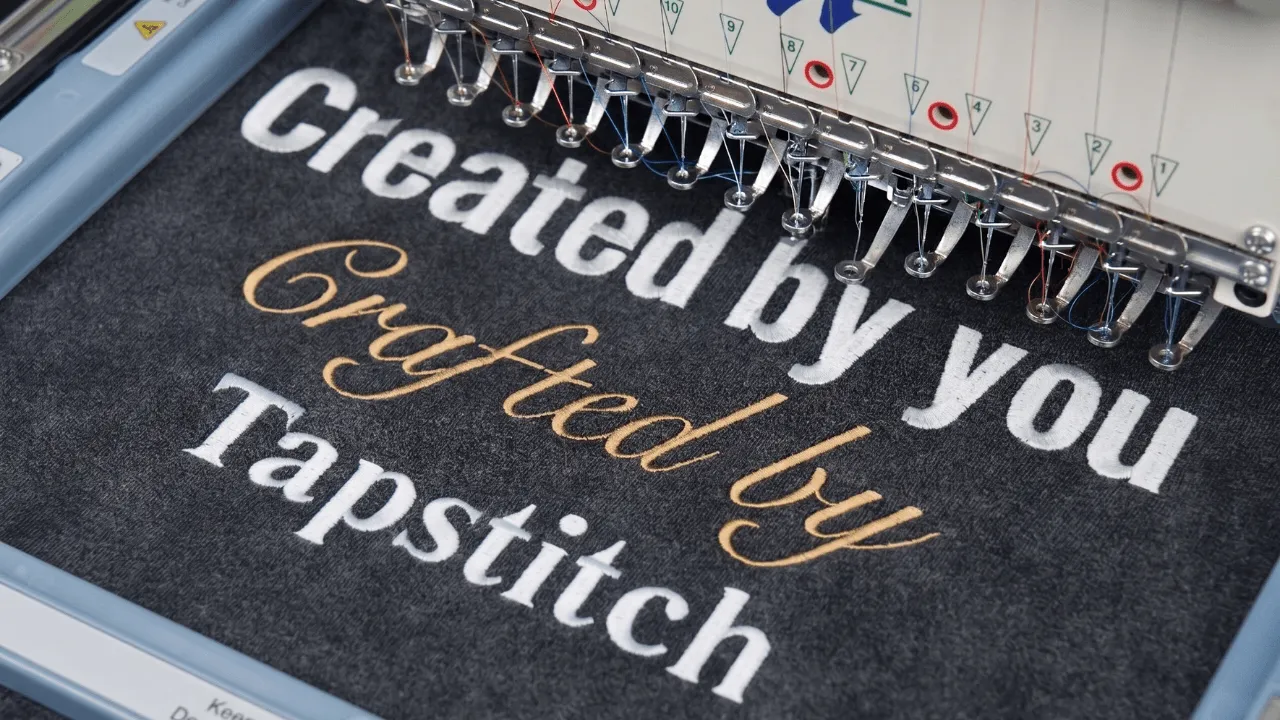
Embroidery is a classic way to customize T-shirts by stitching a design directly onto the fabric with thread. Instead of using ink or vinyl, this method creates a raised, textured finish that gives the shirt a more premium and long-lasting look. It works best for small designs like logos, initials, names, icons, or simple artwork, but it may not be ideal for large, detailed, or photo-style graphics.
Tools: Embroidery needle or embroidery machine, embroidery thread and hoop, and fabric-soluble pen or design template.
Pros:
- Creates a premium and textured look.
- Works well for logos, names, initials, and small designs.
- Durable and can last through many washes.
Cons:
- Not ideal for large, colorful, or highly detailed designs.
- Take more time than simple printing methods.
- Machine embroidery can require expensive equipment.
How it works:
- Choose a simple design that works well with stitching.
- Mark the design placement on the T-shirt.
- Add stabilizer backing to keep the fabric from stretching.
- Secure the shirt area in an embroidery hoop.
- Stitch the design by hand or with an embroidery machine.
- Trim loose threads and remove any temporary backing or marks.
- Check the design and gently press the shirt if needed.
Sublimation Printing
Dye sublimation is a type of shirt printing that uses heat to transfer dye directly into the fabric rather than applying ink on top. This method works especially well for colorful artwork, all-over prints, sportswear, and detailed designs. However, sublimation is not ideal for dark shirts or 100% cotton because the dye needs polyester fibers to bond properly.
Tools: Sublimation printer, sublimation ink, paper, polyester or polyester-blend t-shirts, and heat press.
Pros:
- Creates bright, vivid, and long-lasting prints.
- Produces a smooth feel because the dye bonds with the fabric instead of sitting on top.
- The design is less likely to crack, peel, or fade compared with vinyl or transfer paper.
Cons:
- Works best on light-colored polyester shirts.
- High startup cost.
- Mistakes can be hard to fix once the design is heat-pressed onto the shirt.
How to make shirts at home with sublimation printing:
- Prepare your artwork in design software and flip it if the design requires mirroring.
- Print your design onto sublimation transfer paper using a sublimation printer.
- Place the transfer paper face down on a sublimation-ready T-shirt and secure it with heat-resistant tape.
- Use a heat press to apply heat and pressure, allowing the design to permanently absorb into the fabric.
Screen Printing
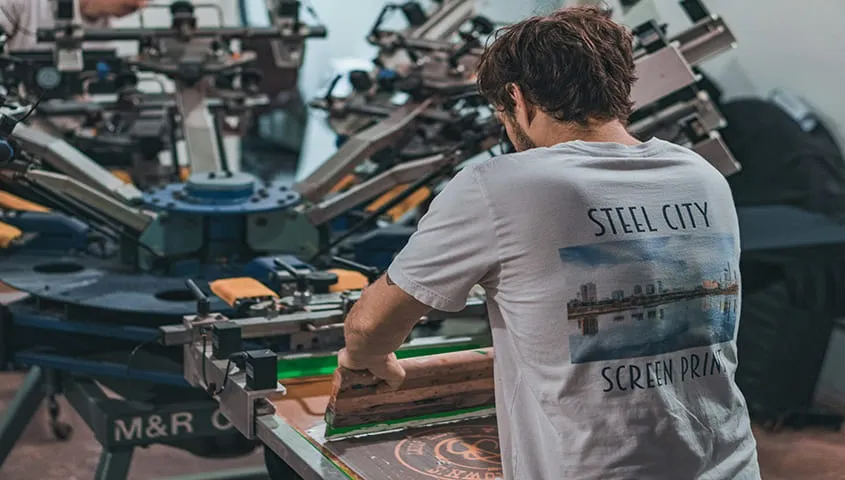
Screen printing is a classic T-shirt printing method that uses ink, a stencil, and a mesh screen to press designs onto fabric. Since each color needs a separate screen, this method works best for bold graphics, simple logos, and designs with only a few colors.
While screen printing can create durable, high-quality results, it usually requires more setup time, tools, and workspace than beginner-friendly methods like POD or heat transfer vinyl. It can also get a little messy if you’re working from home without the right setup.
Tools: Screen printing frame and mesh screen, stencil or photo emulsion kit, ink and squeegee, plain T shirts, printing board, and dryer for curing
Pros:
- Works well for bold designs, logos, and simple graphics.
- Cost-effective when printing a bulk order.
- Creates durable prints when the ink is properly cured.
Cons:
- Takes more setup time.
- Less practical for one-off shirts or complex full-color designs.
- Needs space for printing and drying.
How it works:
- Prepare your design and create a stencil on the screen.
- Place the T-shirt flat on a printing board.
- Position the screen over the area you want to print.
- Add ink to the screen and pull it across the design with a squeegee.
- Lift the screen carefully to reveal the printed design.
- Let the ink dry, then heat-cure it to make the print last longer.
Fabric Paint
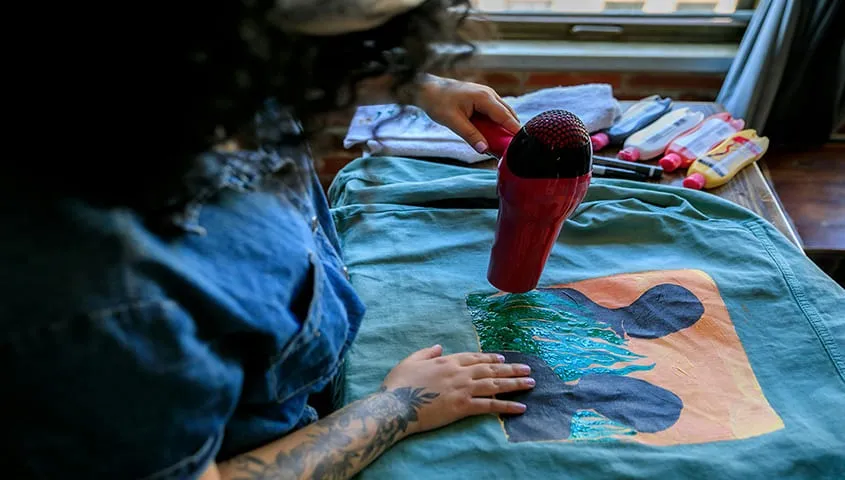
Fabric painting is a budget-friendly way to make a custom T shirt at home, and it can be used on many different fabric types. There’s no need for a printer, design software, or complicated tools — all you need is fabric paint, a brush or stencil, and a bit of creativity.
Tools: Your hands and creative ideas.
Pros:
- Budget-friendly for beginners.
- No printer, heat press, or cutting machine needed.
- Great for handmade designs, stencils, and kids’ crafts.
- Flexible for different colors, brush effects, and hand-drawn details.
- Works on many fabric types with the right fabric paint.
Cons:
- Skill-dependent results.
- Longer drying time before washing or washing.
- May fade or crack without proper heat-setting or washing care.
The steps:
- Choose a blank tee and wash it before painting.
- Place cardboard inside the shirt to stop paint from bleeding through.
- Sketch your design lightly or secure a stencil on the fabric.
- Use a brush, sponge, or fabric marker to apply the fabric paint to your T-shirt.
- Add layers slowly and let each layer dry before adding more details.
- Let the design dry completely based on the paint instructions.
- Heat-set the design with an iron if the paint requires it.
Heat Transfer Vinyl(HTV)
Heat transfer vinyl (HTV) is a beginner-friendly method for making custom T-shirts using heat and colored vinyl sheets. The design is cut from vinyl, placed onto the shirt, and then pressed with an iron or heat press to stick to the fabric.
HTV is a great option for small projects and works especially well for text, names, numbers, and simple logos. It’s easy to learn and doesn’t require expensive equipment to get started. However, the process can become time-consuming if you plan to make shirts in larger quantities, since each design needs to be cut, weeded, positioned, and pressed by hand.
Tools: Heat transfer vinyl, blank tees, cutting machine or craft knife, weeding tool, and heat press or iron.
Pros:
- Low startup cost.
- Works well for one-off shirts and small batches.
- Clean, bold, and crisp design finish.
Cons:
- Time-consuming for larger orders.
- Requires cutting and weeding each design.
How does HTV work:
- Prepare your artwork in design software or an online T-shirt design tool.
- Use a cutting machine to cut the design from heat transfer vinyl.
- Remove the extra vinyl around the design with a weeding tool.
- Position the vinyl on the T-shirt with the carrier sheet facing up.
- Press the pattern onto the shirt using a heat press or iron for the recommended time.
- Peel away the carrier sheet to finish the design.
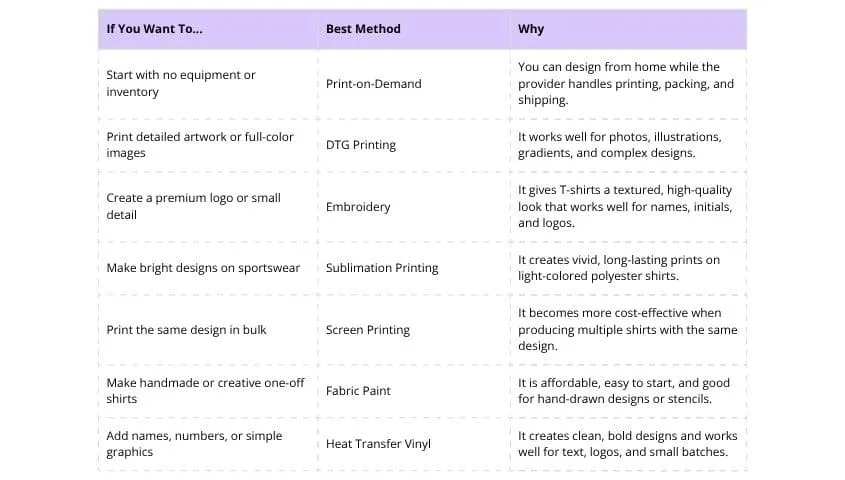
How to Choose the Best Printing Method for Your Custom T-shirts
The best T-shirt printing method for you will depend on factors like your budget, design style, fabric choice, and how many shirts you plan to make.
It also matters whether you’re creating custom shirts for personal use, gifts, or selling online. Some methods are easier for beginners and small DIY projects, while others are better suited for larger orders or more professional-looking results.
How to Make Shirts at Home with Tapstitch
Ready to design T-shirts at home? With Tapstitch, you can start with no minimum order quantity and test your t shirt design ideas before selling online.
1. Prepare Your T-Shirt Design
Start by choosing a niche or design theme for your shirts, such as pets, fitness, travel, streetwear, or holiday designs. Having a clear niche can help you better understand your target audience and create styles people are more likely to buy.
Once you have an idea, create your artwork using design software or an online design tool. Before uploading the file, make sure the design is clear, high-quality, and properly sized for printing.
2. Pick a T-shirt Style from the Catalog
Browse the Tapstitch catalog to explore a wide range of blank T-shirts with fashion-forward details, from washed effects to athleisure styles. With 250 shirt options available, you can choose the T-shirt style, fit, color, and fabric that best match your design idea and target audience.
3. Upload Your Ideas in the Design Tool
Upload your artwork, logo, or photo to Tapstitch’s built-in design tool. Its beginner-friendly editor offers free features like one-click background removal and real-time mockup previews, helping you see how your design will look on the final T-shirt.
4. Connect the Product to Your Online Store
Publish your custom tees to your online store through Tapstitch’s integrations with platforms like Shopify and Etsy. When an order comes in, Tapstitch receives the order details, prints the shirt, packs it, and ships it to your customer. You control the selling price and keep the profit margin.
FAQs: Custom T-shirts
What fabric is best for making t-shirts at home?
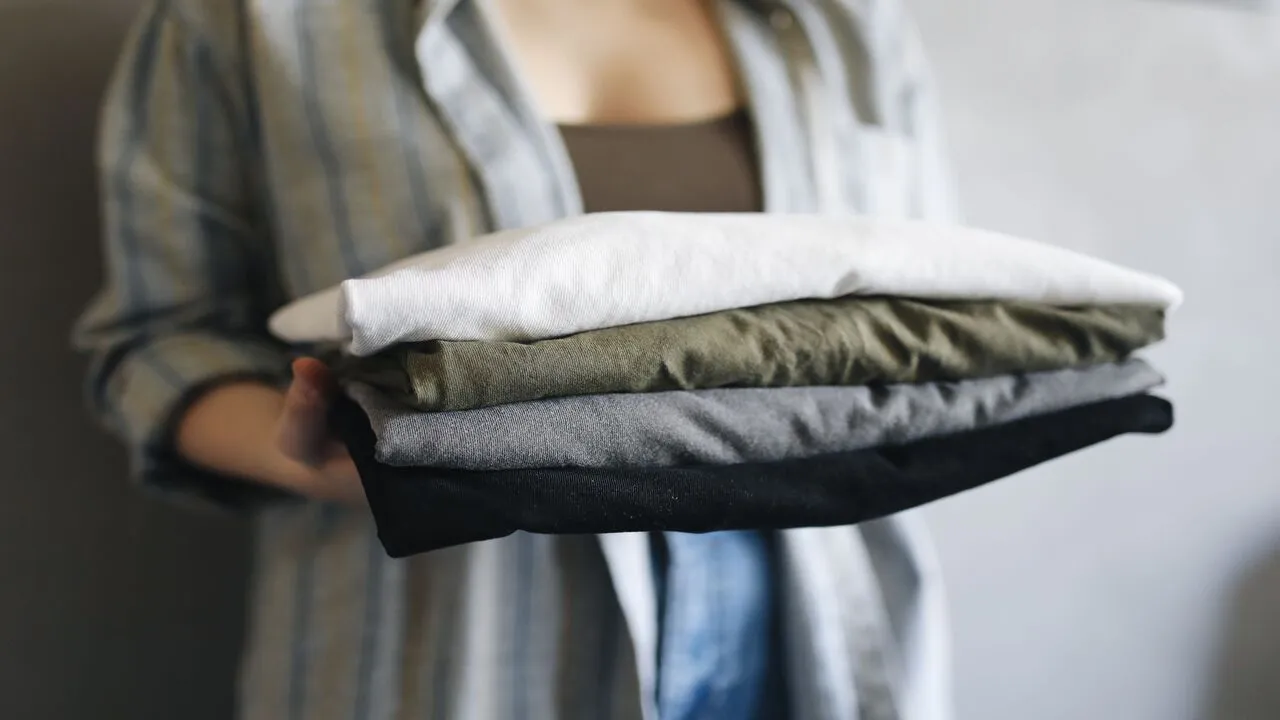
Cotton and cotton-poly blends are usually the best fabrics for making T-shirts at home. Cotton works well for fabric paint, HTV, embroidery, and DTG, while polyester is best for sublimation printing.
Where to sell custom t-shirts?
You can sell custom T-shirts on online stores or marketplaces like Shopify, Etsy, Amazon, TikTok Shop, and WooCommerce. If you use print-on-demand, you can connect your store to a POD platform so orders are printed and shipped automatically.
What is the easiest way to make custom T-shirts at home?
The easiest way to make custom T-shirts at home is print-on-demand or heat transfer vinyl. POD is best if you don’t want to buy equipment, while HTV is a simple DIY option for names, numbers, and basic designs.
Final Thought
Making custom T-shirts at home is a great way to explore your creativity, test new design ideas, or start an online T-shirt business. Whether you prefer a hands-on DIY method or a print-on-demand approach, the right option will depend on your budget, design style, and long-term goals.
Started with Tapstitch, you can create, customize, and sell T-shirts without holding inventory or meeting minimum order requirements. Tapstitch also offers high-quality DTG printing, making it easy to produce detailed, full-color designs with a soft and professional finish while testing new products and growing your brand.





.webp)
.webp)


.webp)

%20(1).webp)
.webp)
.webp)

.webp)
.webp)
.webp)
.webp)
.webp)
.webp)


%20(3).webp)


.webp)
.webp)
.webp)
.webp)
.webp)
.webp)
.webp)






.webp)




.webp)
.webp)










.webp)


.webp)

.webp)
.webp)


.webp)
.webp)




.webp)
.webp)
.webp)
.webp)
.webp)

%20(1).webp)


.webp)

.webp)