






How to Sell on Shopify: A Tutorial for Beginners



Want to start an online store but have no idea where to begin? Shopify is a beginner-friendly ecommerce platform that makes it easy to build your own store without coding or technical experience.
In this guide, we’ll explain what Shopify is and how to sell on Shopify. Whether you’re still choosing what to sell or getting ready to launch your first store, this guide will help you know the basics and avoid common beginner mistakes. The steps below will walk you through the basic process, helping you understand what it takes to launch your Shopify store and start selling online with more confidence.
A. Decide What Products to Sell
Before you build your Shopify store, you need to decide what you’re going to sell. This step matters because your product choice will affect almost everything else, from your pricing and branding to your marketing and shipping.
Try to choose products that have real demand, a clear target audience, and enough profit margin to make the business worth running. It’s also a good idea to look at the competition and think about what would make your product or store different.
Here are some high-demand product ideas for what to sell on Shopify.
- Print-on-Demand products
- Beauty and skincare
- Pet Products
- Fashion Accessories
- Home decor and wall art
If you’re just starting out, you don’t need to find the “perfect” product right away. Instead, focus on something you can test, improve, and explain clearly to potential customers. A good product should not only be something people want, but also something you can sell in a practical and sustainable way.
B. Sign Up and Create Your Shopify Store
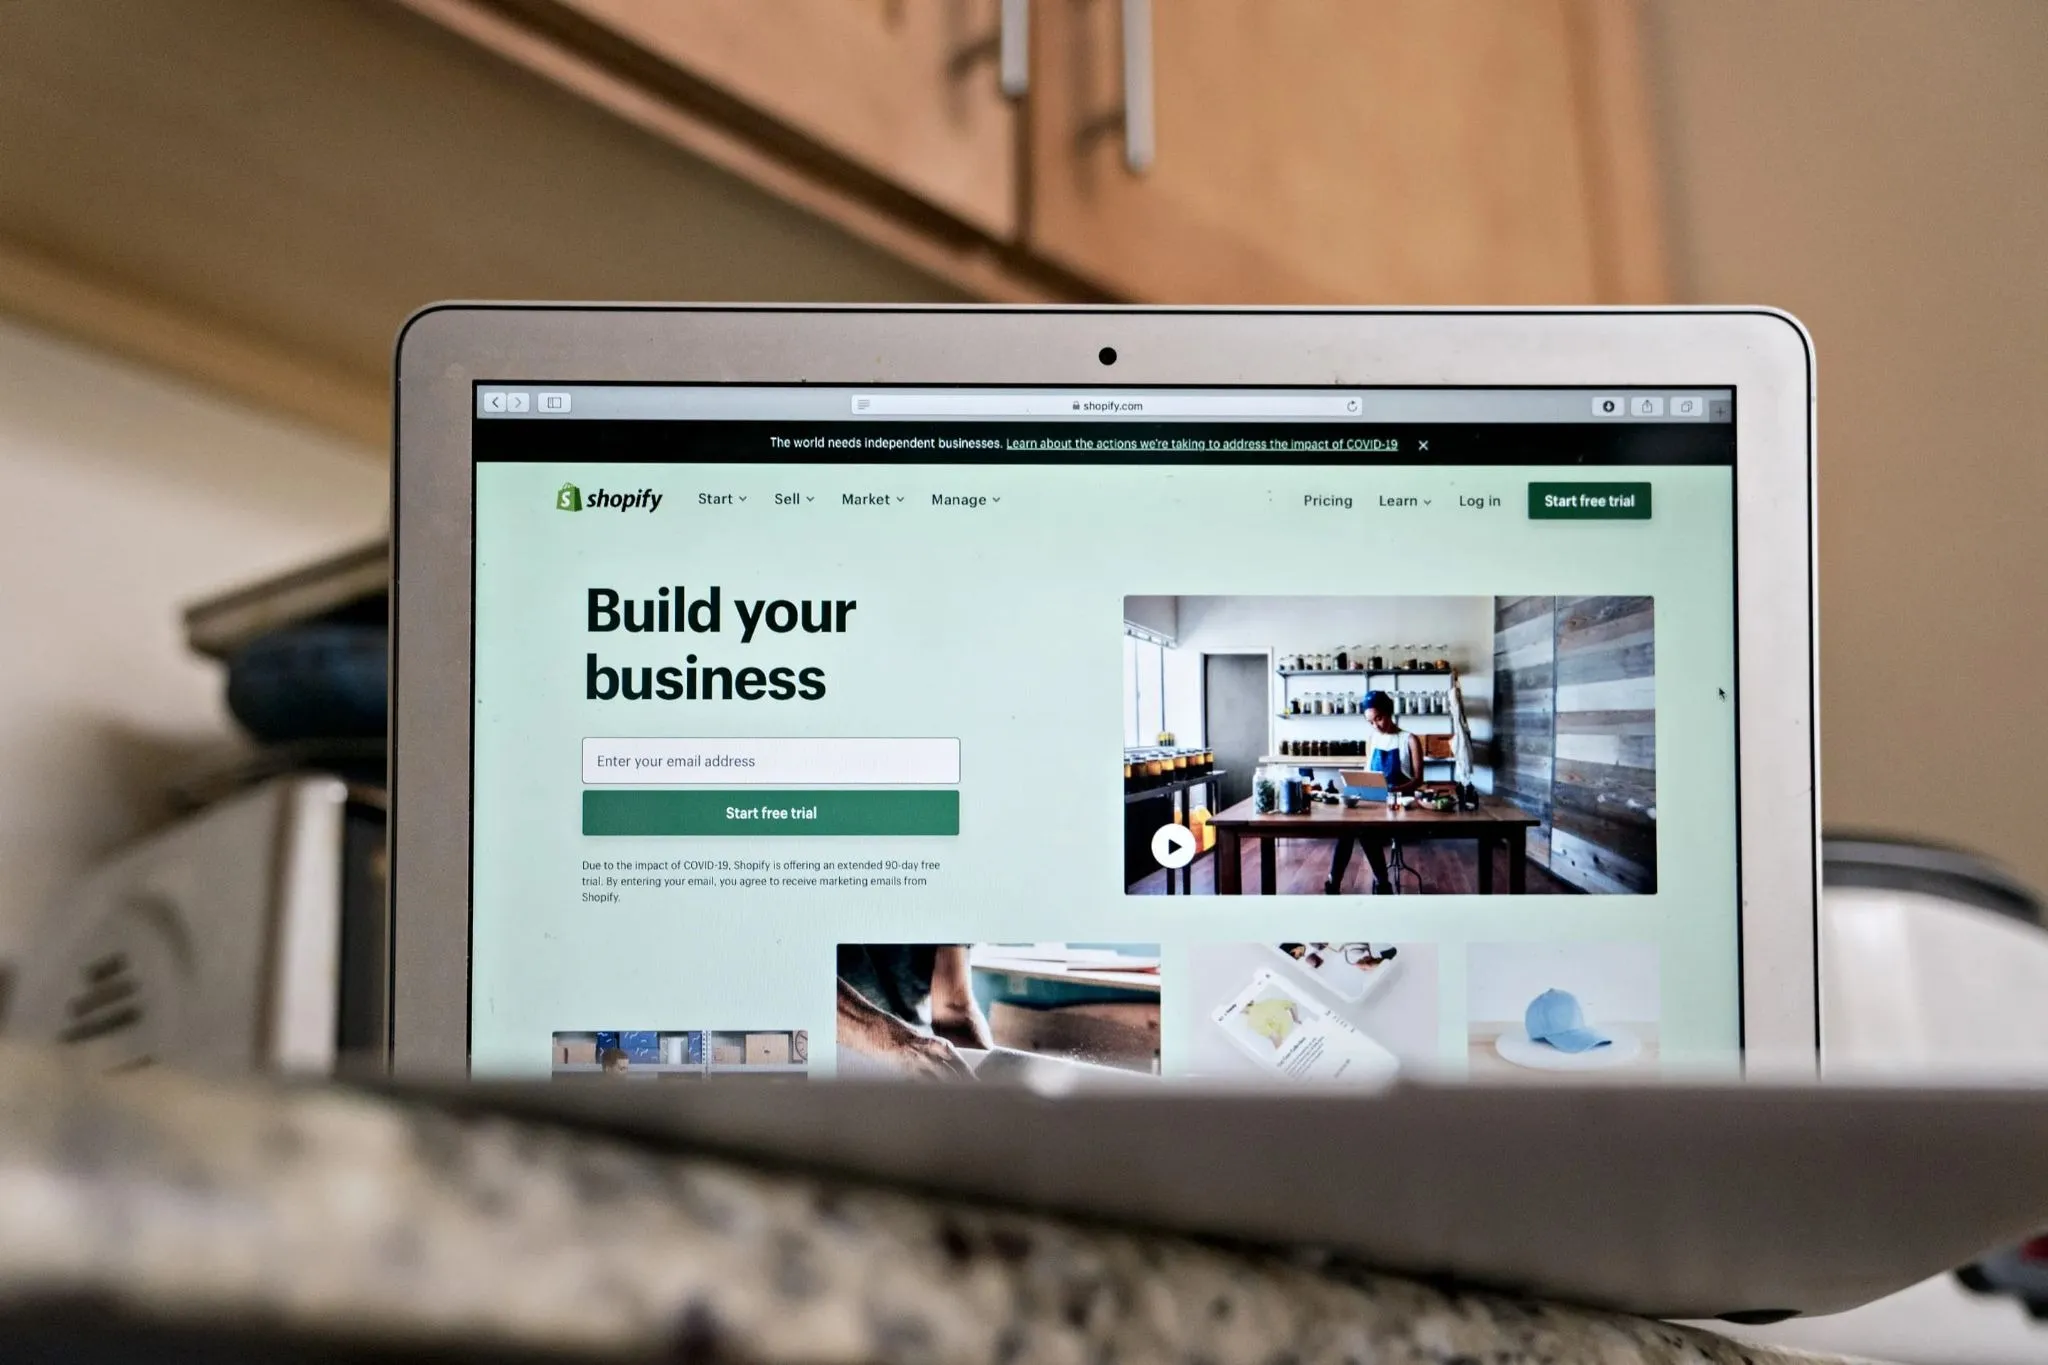
After deciding what to sell, it’s time to create your Shopify store and bring your business idea to life.
1 Create a Shopify Account
At the beginning, create a Shopify account using your email address. During the setup process, Shopify may ask for some basic information, such as your store name, business location, and what kind of products you plan to sell.
2 Choose the Business Plan
Shopify now offers several pricing plans designed for different stages of business growth. The Basic plan is ideal for beginners starting their first online store, while higher-tier plans include lower transaction fees, advanced reporting tools, and more staff accounts. Shopify also provides a free trial, followed by a discounted introductory offer for new users.
Current Shopify plans include:
- Basic ($33/month) – Best for solo store owners, with 2 staff accounts and essential ecommerce features.
- Grow ($92/month) – Designed for growing businesses, including 5 staff accounts and professional reports.
- Advanced ($399/month) – Built for scaling brands, with 15 staff accounts, advanced analytics, and custom reports.
- Plus (starting at $2,300/month) – Enterprise-level solution with unlimited staff accounts and advanced B2B features.
3 Enter Your Shopify Admin
After signing up, you’ll be taken to your Shopify admin. This is the main dashboard where you manage your store, including products, orders, payments, shipping, themes, and store settings.
At this stage, your store does not need to look perfect yet. Focus on completing the basic setup so you can move on to customizing your store, adding products, and preparing it for launch.
4 Check Your Basic Store Settings
Before moving to the next step, take a moment to review your store details. Make sure your store name, contact email, business location, currency, and basic account information are correct. These settings can affect how your store appears to customers and how payments, taxes, and shipping are handled later.
C. Choose a Domain Name
Your domain name is what people will type in to visit your store, so choosing the right one matters. A good domain should be easy to remember, easy to spell, and closely connected to your brand or products.
Try to keep it short and simple. Avoid long words, random numbers, hyphens, or anything that could be confusing when someone types it into a browser. If possible, choose a domain that sounds trustworthy and looks clean on product packaging, social media profiles, and marketing materials.
1 Make It Brand-Friendly
Your domain does not have to describe everything you sell, but it should fit the kind of brand you want to build. For example, if you plan to expand your product range later, avoid choosing a name that is too narrow.
A name like bestphonecases2026.com may work for one product type, but it can limit you if you later want to sell custom t-shirts, tech accessories, or lifestyle products. A more flexible brand name gives your store more room to grow.
2 Check Availability Before You Decide
Before you get too attached to a name, check whether the domain is available. It’s also a good idea to check social media handles at the same time, so your brand name can stay consistent across your website, Instagram, TikTok, Pinterest, or other channels you plan to use.
Shopify lets you buy a domain name directly, but you can also use domains from third-party services. Either option can work, but buying through Shopify may be easier for beginners because the setup is usually more straightforward.
Tip: If the exact .com domain you want is not available, don’t rush into a confusing alternative. A slightly different brand name is often better than a domain full of hyphens, numbers, or unusual spelling.
D. Customize Your Online Store Design
There are plenty of Shopify themes you can choose from, and the best option usually depends on the niche you’re targeting. Once you have a clear idea of your store’s direction, you can select a theme that matches your brand style and product type.
If you’re just getting started and don’t want to spend money on a paid theme yet, the free Shopify themes are a solid option. They may come with fewer advanced features, but they still offer all the core functions needed to run a professional store.
You can also stick with Shopify’s default theme if it already fits the look and feel you want. One advantage of most Shopify themes is their high customization, allowing you to easily adjust layouts, colors, and design elements to better reflect your brand identity.
E. Add Products to Your Store

Once your store structure is ready, it’s time to add products to your Shopify store. This includes uploading product images, writing product titles and descriptions, setting prices, adding variants (e.g., size or color), and organizing products into collections.
Before adding products, think about how each item will be sourced, produced, and shipped. Some sellers keep their own inventory, while others work with dropshipping suppliers, wholesalers, manufacturers, or print-on-demand providers. Your sourcing method will affect your profit margins, delivery times, product quality, and customer experience.
1 Add the Basic Product Details
Start with the essentials: product name, price, variants, inventory, product type, and collections. If your products come in different sizes, materials, colors, or styles, make sure each option is clearly added as a variant so customers can choose the exact product they want.
Your product title should be clear and easy to understand. Avoid stuffing it with too many keywords. A simple, descriptive title is usually better than one that looks messy or hard to read.
2 Create Product Collections
Collections help keep your Shopify store organized and make it easier for customers to browse your products. You can group items by category, style, season, or even popularity — for example, hoodies, oversized t-shirts, new arrivals, or best sellers.
To create a collection in Shopify:
Step 1: Open your Shopify dashboard and go to Products.
Step 2: Click Collections from the left-hand menu.
Step 3: Select Create collection in the top-right corner.
Step 4: Add your collection name, description, and other details, then click Save.
3 Upload Clear Product Images
When running a Shopify store, your product photos do a lot of the selling for you. Since shoppers can’t touch, try on, or inspect your items in person, clear and professional images help build trust and make products feel more real online.
Good product photography also helps customers better understand what they’re buying. Showing multiple angles, close-up shots, and real-life usage can help customers better understand whether the product is right for them.
Tip: If you’re unsure where to start, checking a detailed Shopify image size guide can help you optimize your storefront more effectively.
4 Use Product Sourcing and Fulfillment Tools
Shopify also works with many apps and service providers that can help sellers source products and automate fulfillment. For example, print-on-demand services can produce and ship products only after a customer places an order, which helps reduce upfront inventory costs.
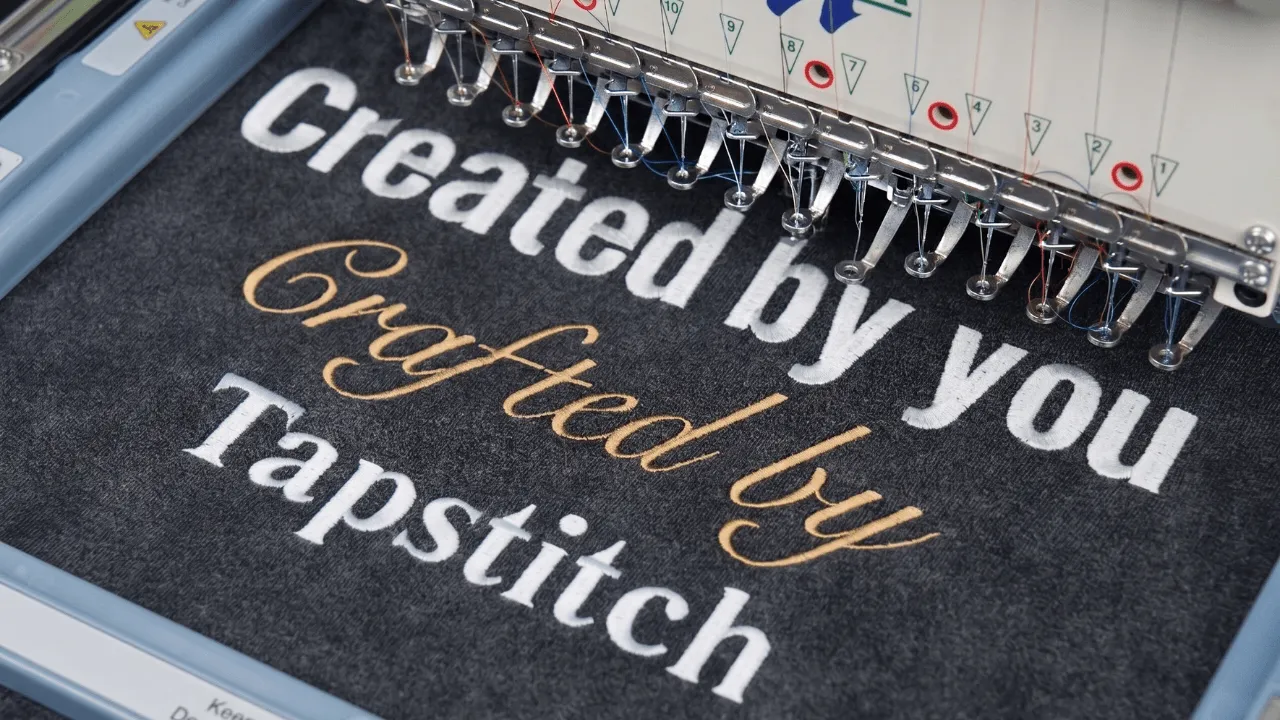
For custom apparel sellers, tools like Tapstitch can work with Shopify to make the process easier. With Shopify integration, you can connect your store, sync orders automatically, and offer custom apparel products without managing every order manually. This can be especially helpful if you want to sell personalized clothing or branded apparel while keeping your workflow more efficient.
F. Set Up Payment Methods and Shipping Rates
If your payment options are limited, shipping costs are unclear, or delivery times feel too long, customers may leave before checking out. A smooth checkout experience can make your store feel more trustworthy and professional.
1 Payment Ways
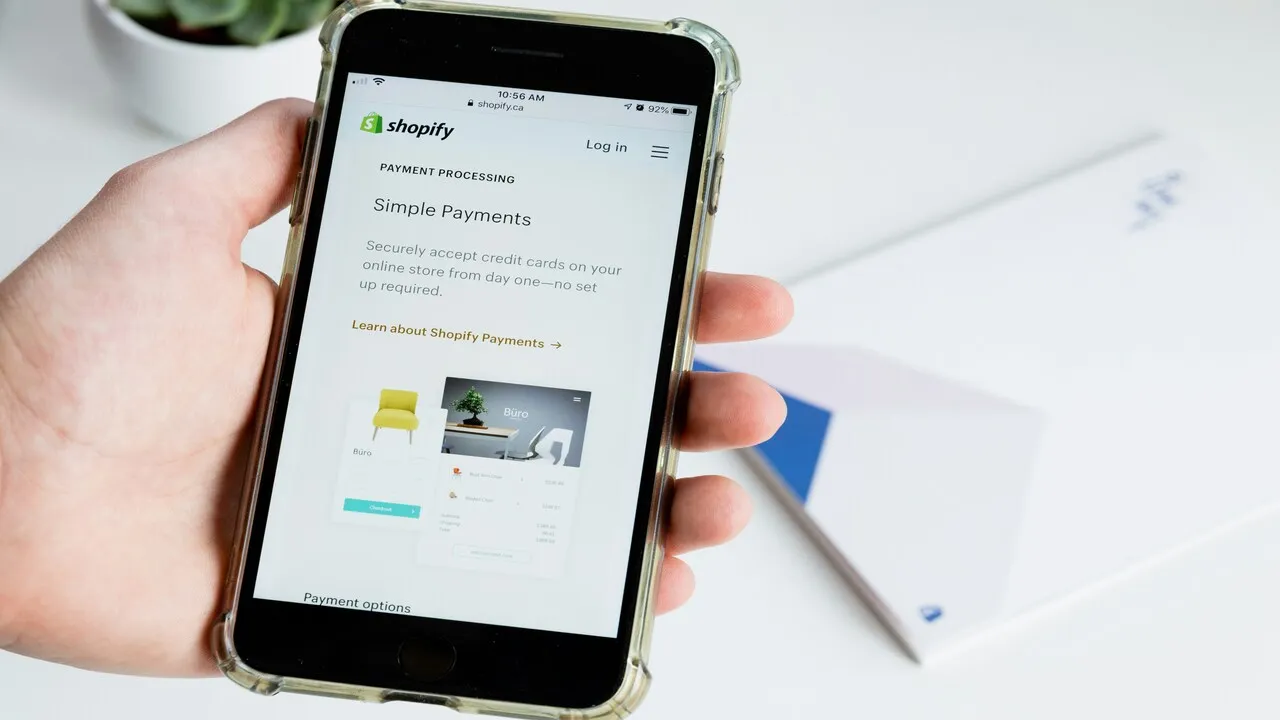
To enable Shopify Payments:
1. Open your Shopify admin dashboard and go to Settings.
2. Select Payments from the settings menu.
3. In the Shopify Payments section, choose the setup option that matches your account status.
- If you haven’t connected a card payment provider yet, click Complete account setup and follow the instructions to finish the process.
- If another payment provider is already active in your store, select Activate Shopify Payments. Shopify will ask you to confirm replacing your current payment options before activation is completed.
2 Setting Shipping Rates
Unexpected shipping costs are one of the fastest ways to lose a customer at checkout. If someone adds products to their cart and suddenly sees expensive shipping fees at the final step, there’s a good chance they’ll leave without completing the purchase.
That’s why it’s important to make your shipping costs easy to understand from the start. Depending on your business, you can offer flat-rate shipping, free shipping for larger orders, or rates based on weight and delivery location.
If you’re new to Shopify, keeping your shipping setup simple is usually the better choice. Clear options like a fixed shipping fee or free shipping over a minimum order amount can help reduce confusion and make customers feel more comfortable checking out.
G. Launch and Promote Your Store

Shopify gives you the store, but you still need to bring in the customers. That’s where marketing comes in.
1 Social Media
Many shoppers now discover new brands through platforms like Facebook, Instagram, YouTube, and TikTok before ever searching on Google.
Short-form videos, product demos, and lifestyle content can help drive both traffic and sales, especially if your content is easy to share and connect with your target audience. Instead of focusing only on selling, spend time building a recognizable brand presence and engaging with your followers consistently.
Don’t forget to add your Shopify store link to your social media bio so visitors can quickly browse your products and make a purchase.
2 SEO for Shopify Store
SEO can feel overwhelming at first, but getting a few key things right early on can make an impact for your Shopify store. Start by researching the keywords your target audience is actually searching for, then naturally incorporate them into your page titles, headings, and product descriptions.
It’s also important to write clear meta titles and meta descriptions for your pages, improve your store’s loading speed, and compress images so your site runs smoothly. Adding descriptive ALT text to product images and organizing your site navigation properly can also help search engines better understand your content.
3 Paid Ads
Paid advertising can help you bring traffic to your Shopify store more quickly. With platforms like Facebook, Instagram, and Google Ads, you can target specific audiences and manage your budget through bidding, daily limits, or campaign goals.
You can run search and display ads through Google, or create social media ads such as carousels, videos, and Stories through Meta Ads Manager.
How to Build a Shopify Store with Print-on-Demand
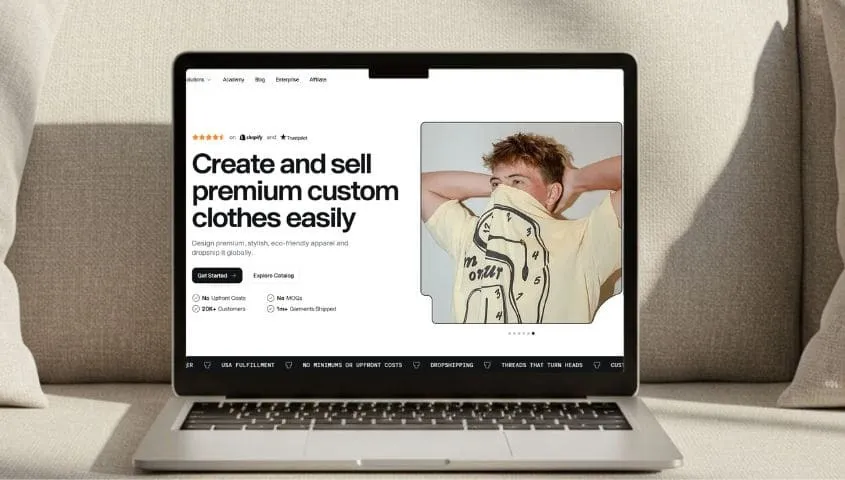
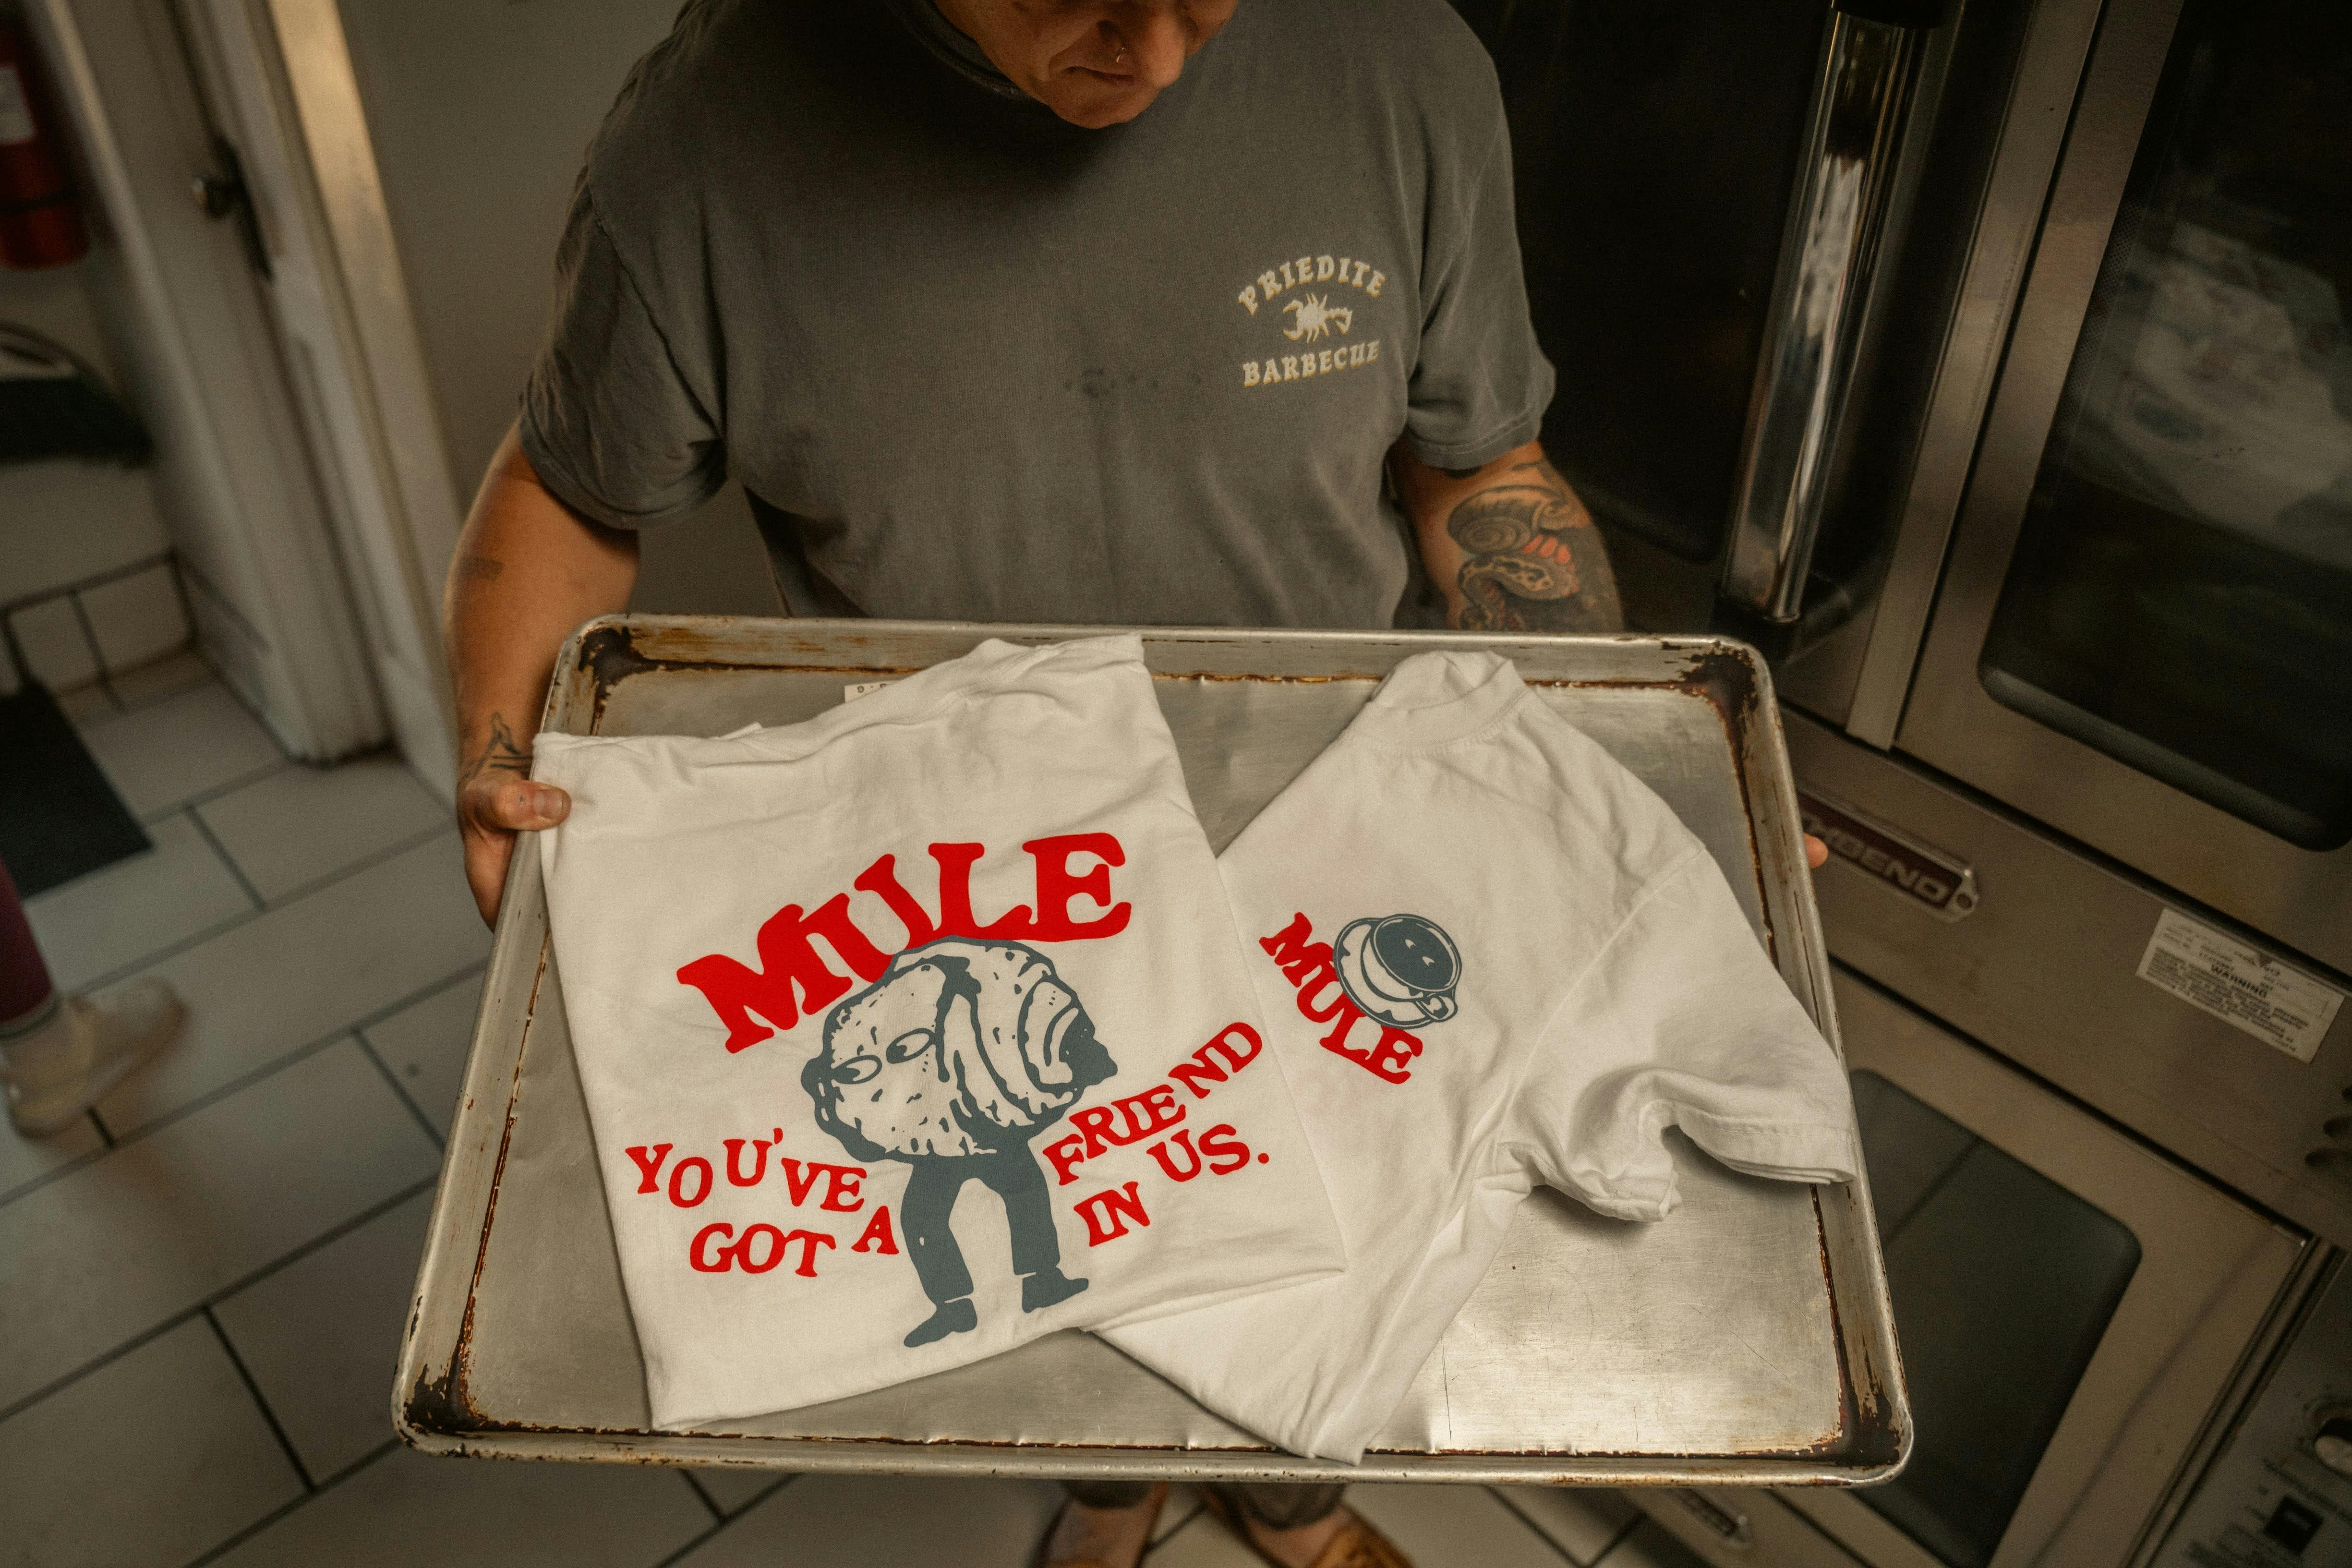
Choosing print-on-demand products to sell in your Shopify store can be a beginner-friendly way to test the market. You don’t need to hold inventory, manage production, or handle shipping by yourself. Instead, you can connect your Shopify store with a print-on-demand supplier like Tapstitch and focus on creating unique products that stand out.
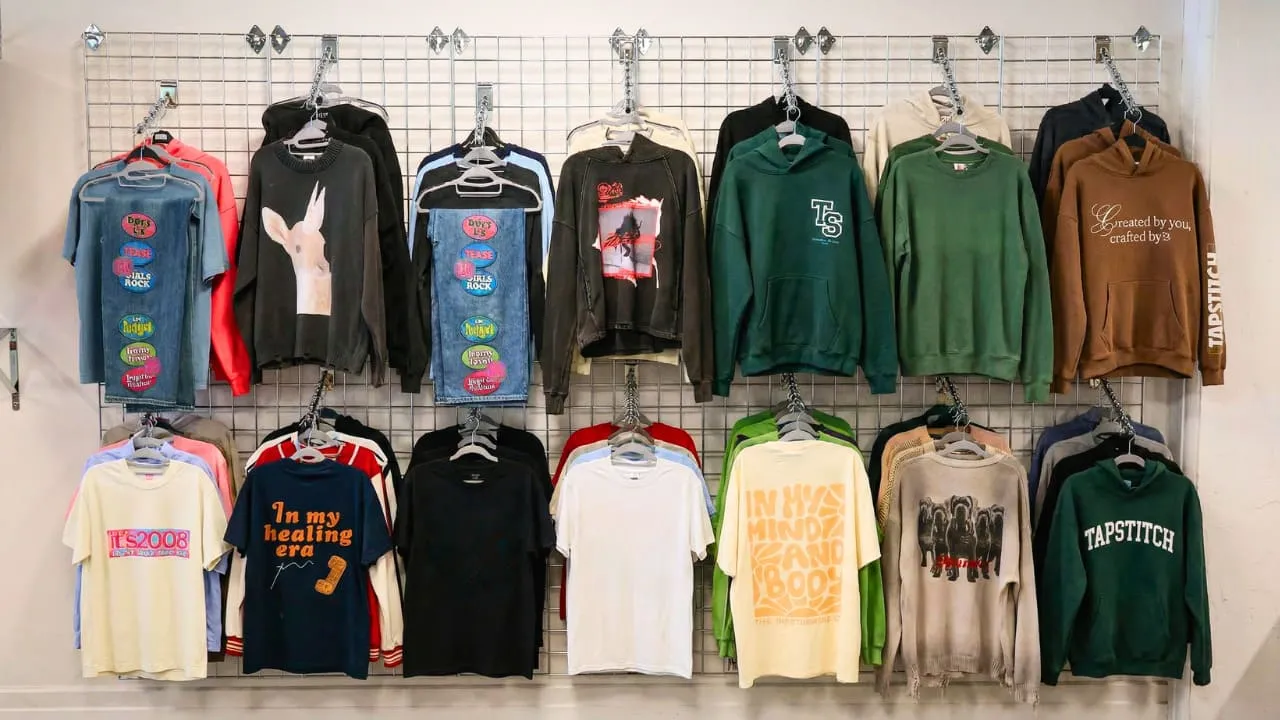
With Tapstitch, you can choose from a range of fashion-focused blank apparel, upload your designs, preview mockups in real time, and publish products to your Shopify store. When an order is placed, Tapstitch helps manage production and shipping, making it easier to run your store without manually handling fulfillment.
1. Create a free account.
2. Choose a blank apparel product from the Tapstitch catalog.
3. Upload best-selling designs and preview the mockup in real time.
4. Connect Tapstitch with Shopify and list your products.
5. Start making a profit without holding inventory.
FAQs: What Can I Sell on Shopify
What is Shopify?
In simple terms, Shopify is a website builder, product management system, order management tool, and payment, marketing, and shipping solution all in one. Unlike selling on marketplaces such as Amazon or Etsy, Shopify lets you build an independent store under your own brand.
What to Sell on Shopify?
You can sell almost anything on Shopify, but the best choices are usually niche products with steady demand, such as print-on-demand clothing like t-shirts and hoodies , beauty items, accessories, pet products, or home decor. The key is to pick something you can easily brand and market.
What are the best products to sell on Shopify?
The best products to sell on Shopify are products with clear demand, healthy profit margins, and a specific target audience. Popular choices include apparel, accessories, beauty products, home goods, digital products, and print-on-demand items.
For beginners, print-on-demand products can be a good option because they are easy to test and don’t require upfront inventory.
Is it worth it to make money on Shopify?
Yes, Shopify can be worth it if you have the right products, pricing, and marketing strategy. It gives you the tools to build and run an online store, but making money depends on how well you attract customers and turn visits into sales.
For beginners, it’s best to start small, test products, and keep costs under control before scaling.
To Summarize
You don’t need to be an e-commerce expert to start a Shopify store. What matters more is choosing the right products, keeping your store clear and trustworthy, and learning as you go. Hopefully, this guide has made selling on Shopify feel a little less overwhelming.
For beginners, starting with low-cost and risk products is often the easiest way to test the market. If you’re interested in selling custom apparel, Tapstitch can help you get started without holding inventory or worrying about minimum order quantities. Connect it with your Shopify store, create your products, and start building your brand one order at a time.







.webp)
.webp)


.webp)

%20(1).webp)
.webp)
.webp)

.webp)
.webp)
.webp)
.webp)
.webp)
.webp)


%20(3).webp)



.webp)

.webp)
.webp)
.webp)
.webp)
.webp)
.webp)








.webp)





.webp)

.webp)











.webp)



.webp)

.webp)
.webp)


.webp)

.webp)




.webp)
.webp)
.webp)
.webp)
.webp)

%20(1).webp)


.webp)

.webp)