




How to Start a Fashion Brand without a Factory



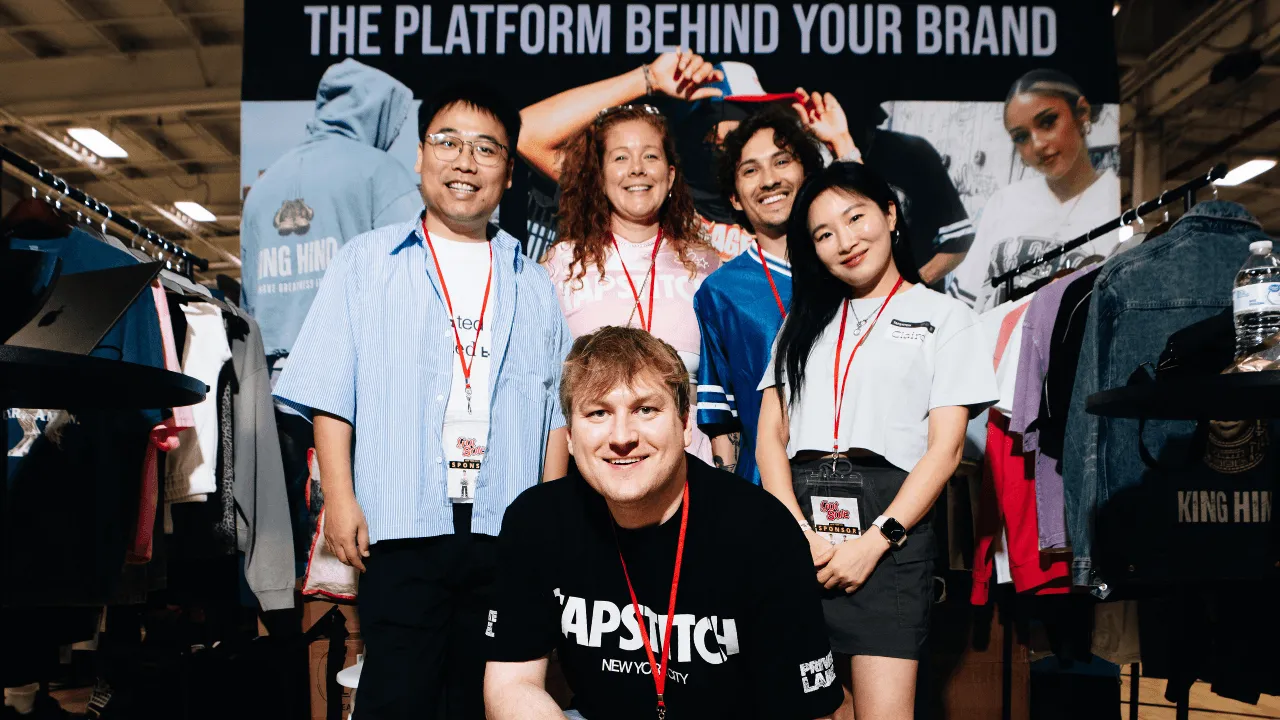
To start a fashion brand without a factory, choose a custom clothing supplier that supports the journey from an approved garment to a customer order. At Tapstitch, we offer customization of available apparel, store connections and direct fulfillment. We can fit a launch built around those services when your chosen products and order route meet the brief. You still run the brand: product approval, pricing, marketing, customer communication and store policies remain your decisions.
Choose a Partner for the Whole First-Order Journey
Evaluate both garment production and the route from checkout to delivery before taking payment from customers.
- Map the order journey. Trace the selected product and variant from the customer’s purchase to supplier configuration, production and shipment. Assign an owner to each handoff.
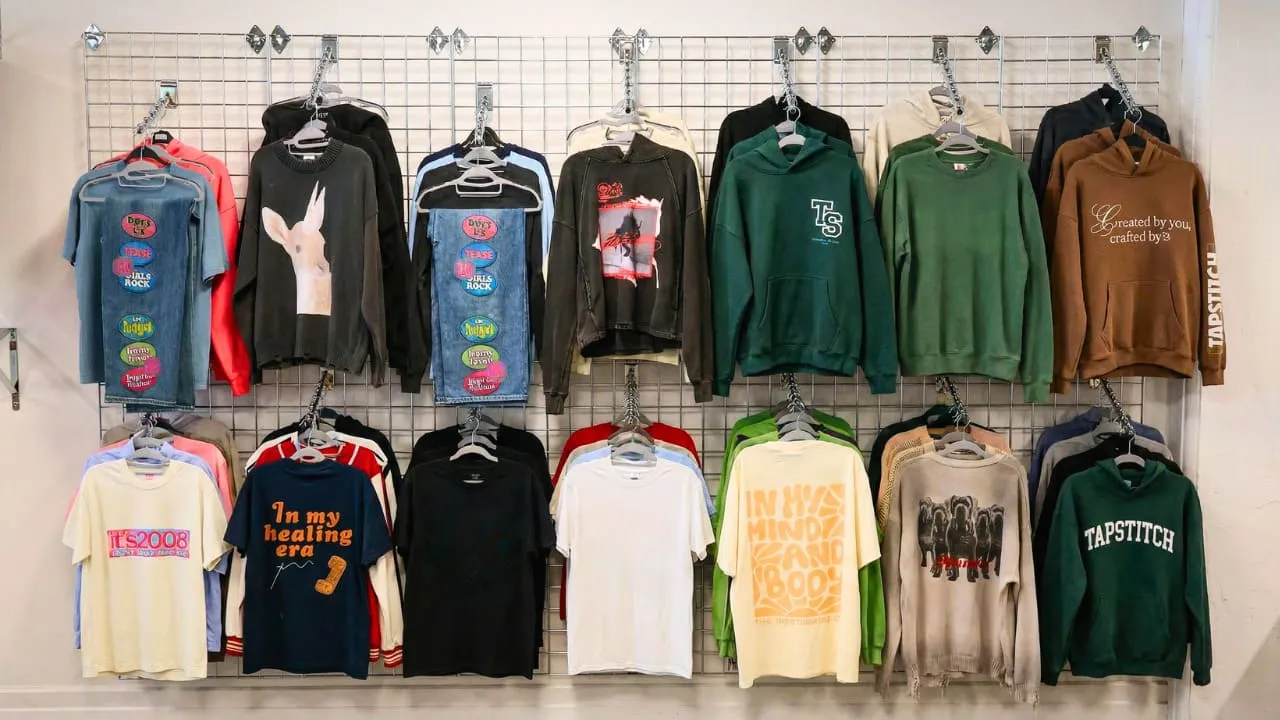
- Match the connection to your store. Tapstitch can support designs on existing apparel through customization and dropshipping. Use our catalog to select the garment and the Shopify connection guide for that connected-store route. Follow the instructions for your actual platform; sales channels do not all use the same workflow.
- Assign the brand’s responsibilities. Product approval, accurate listings, pricing, customer replies and store-facing returns remain with your brand. Assign these tasks before launch, even if one founder initially handles them all.
- Recognize when another partner is needed. Original garment development or outsourced sales and customer service management require a partner offering that work. Set a clear division of responsibilities instead of expecting a customization platform to operate the entire brand.
Approve the Product and Prepare the Store
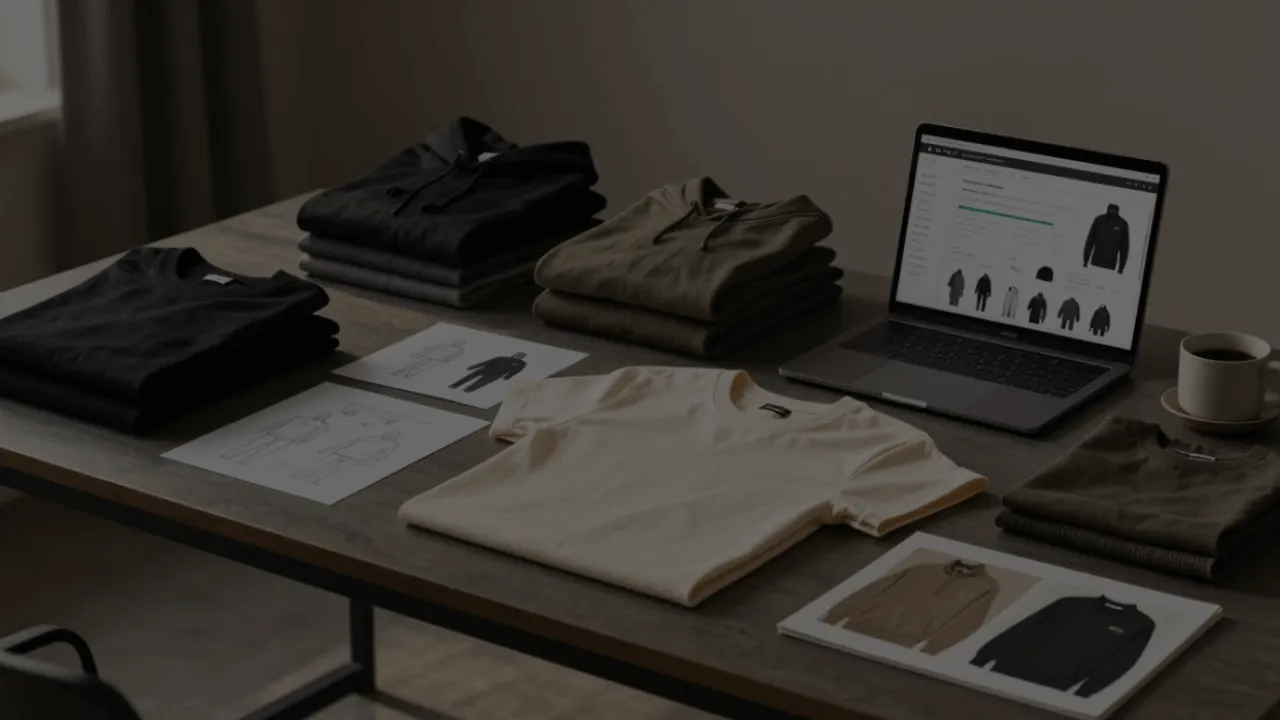
Approve the garment and the offer together. A sample can look good while the product page promises the wrong fit or a delivery schedule the order cannot meet. Launch readiness means the physical item and the customer-facing information agree.
Keep a small launch record for each product. Include the selected garment and variant, the approved design, photographs, the price calculation and the order setup. This record becomes the reference for the first sale and for any questions that arise afterward.
Set Acceptance Criteria for the First Sample
Define what the first item must demonstrate before you purchase it. Use criteria connected to your offer: fit, appearance, decoration placement, garment details and care instructions. Avoid vague standards such as “looks premium,” which don't help you decide whether to approve or revise the product.
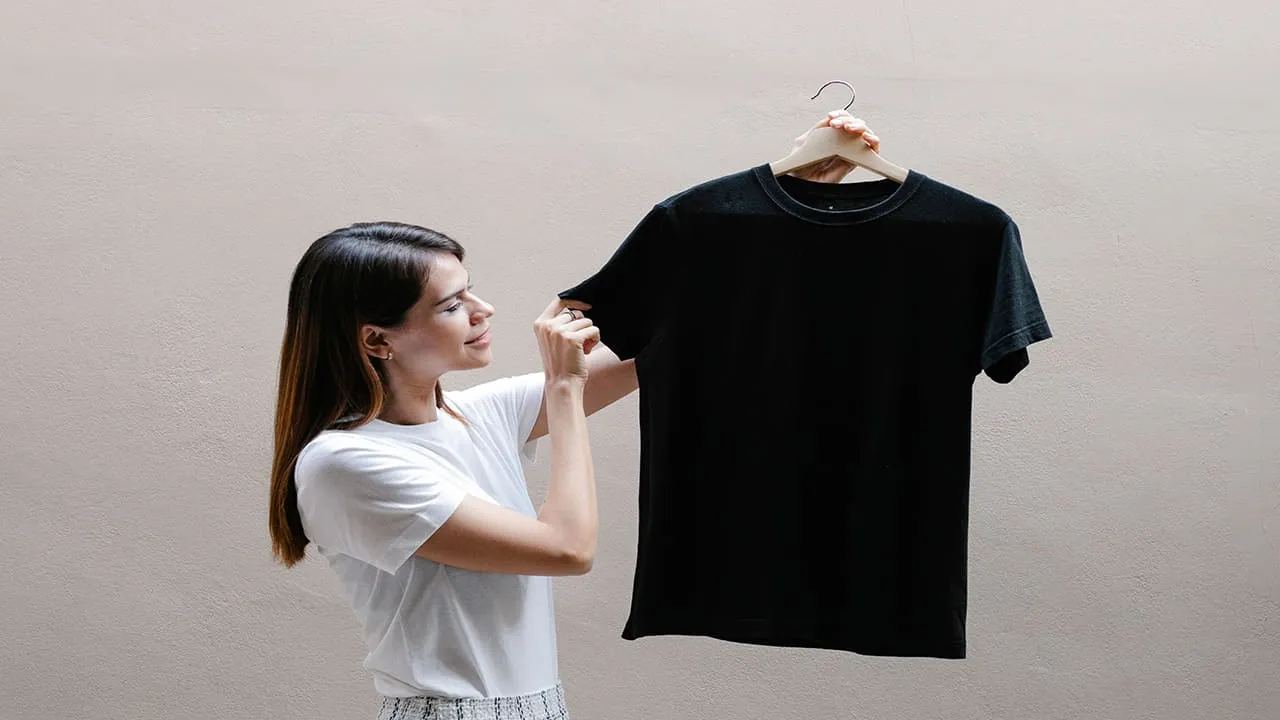
Order the actual configuration you intend to sell. An undecorated blank can help with fit, but it cannot establish the appearance of the finished graphic. Similarly, a garment without the planned brand components will not show the complete presentation you expect customers to receive.
Inspect the delivered item in a consistent order. Confirm the style, color, and size. Compare the artwork with the saved design. Look at the garment worn, inspect the relevant details,\\ and take photographs for the listing. If you evaluate it after washing, follow its care instructions and keep a before-and-after record.
Record the outcome as approved, revise the configuration or change the product. Explain the reason. An incorrect file and an unsuitable silhouette require different actions. A written decision helps you avoid approving an item merely because you have already paid for it.
Use a paid single-item order for this assessment when the selected product fits that route. Treat it as a product purchase, including shipping, rather than assuming a separate free sample program. Preserve the approved item as a reference while you prepare the store.
Prepare Listings, Pricing, and Customer Policies
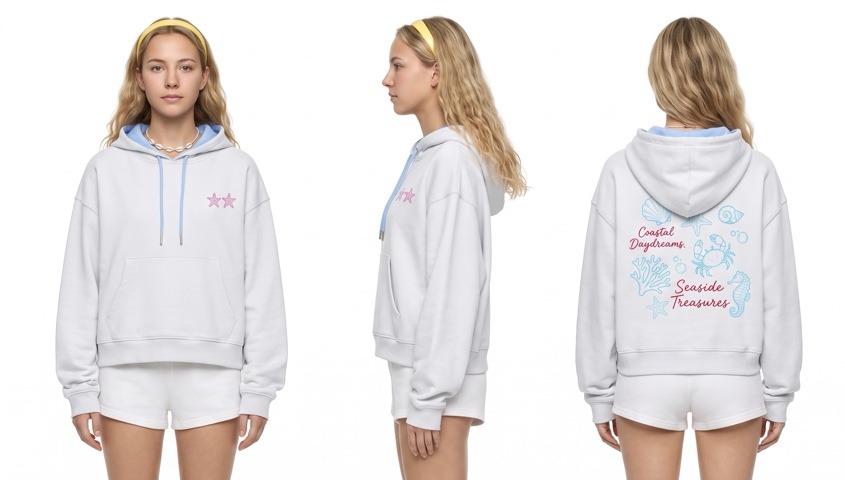
Translate the approved product into a clear listing. Use its actual fit and garment details, accurate variant names, and images showing the design customers will receive. Give shoppers the size information they need before checkout. A descriptive title should identify the product without making claims that the sample assessment cannot support.
Calculate the selling price from the configured order and the business costs you intend to cover. Consider garment customization, selected brand services, shipping, selling-channel charges and the cost of customer support. A positive difference between the selling price and one supplier charge does not guarantee business profit.
Decide what your store will say about production, shipping and returns. Keep production and transit as separate stages in your planning. Use the order's applicable delivery estimates to build the customer promise instead of copying a single headline across every product and destination.
Write customer policies you can implement. Identify where customers should contact you, how you will investigate a wrong or defective item, and how you intend to manage eligible returns. Make sure the policy does not promise that customers can send any item directly to the supplier for an automatic refund.
Before publishing, compare the listing with the launch record. A changed image, variant name or garment selection can break the match between what you approved and what the customer orders. Resolve those differences before inviting traffic to the page.
Follow the First Order from Store to Customer
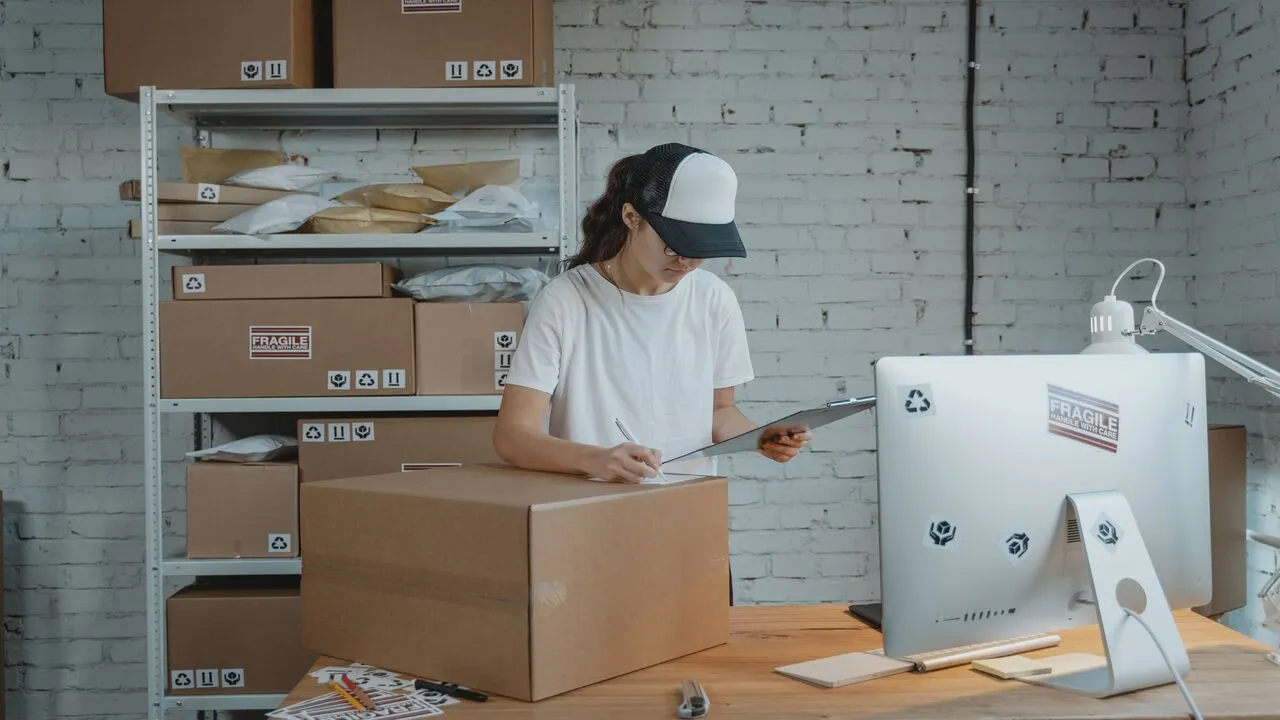
The first customer order should have an owner from checkout through delivery. Use the connected-store instructions to set up the order route, then monitor the handoff rather than assuming a successful product upload means fulfillment is ready.

A useful order record contains the store order identifier, selected variant, customer destination and supplier order status. Keep those details together so you can investigate an exception without repeatedly asking the customer for information already attached to the purchase.
Order Transfer, Production, and Tracking
Connect the store through the supported authorization process and prepare the products for that connection. Before opening sales, check that the relevant variants refer to the designs you intend to fulfill. A similar product title is not enough to establish that the right color, size and artwork will be ordered.
Follow our order synchronization test guide to check the handoff. Its unpaid test route checks order synchronization without sending the test into production. Use it to examine whether the store order reaches Tapstitch; use a separate paid product purchase when you need to inspect a physical item.
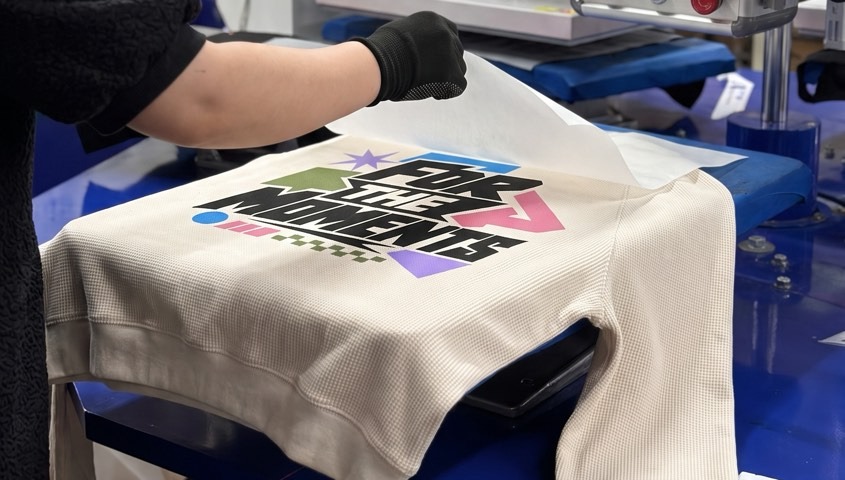
For a real order, distinguish its arrival in the supplier system from payment and production. Review the applicable status before telling the buyer the item is being made. If an order doesn't appear, check the connection or mapping before creating another order that could duplicate it.
Once the item ships, use the tracking information to communicate with customers. Our shipping explanation separates transit estimates from production time. A shipping estimate should not become an end-to-end delivery promise without accounting for the earlier steps.
Responsibility for Defects, Returns, and Customer Communication
Your customer purchased from your brand, so your brand should respond. When a buyer reports a problem, gather the order identifier, a clear description and relevant photographs. Separate a product or order error from a change-of-mind return or a sizing preference.
Tapstitch's fulfillment model handles manufacturing defects and order errors, while resellers manage customer returns through their own store policies. Do not tell a buyer that every return goes automatically to Tapstitch. Match your response to the issue and the applicable supplier process.
Give the customer an understandable update while you investigate. Explain what information you need and when you will follow up. Avoid promising a replacement or refund before you determine how to resolve the issue. A clear response can be practical without inventing a timetable.
Keep an exception record after the case closes. Note whether the cause was the product configuration, the store description, the order handoff or fulfillment. If several buyers misunderstand the same size description, revising the listing may be more useful than treating every complaint as a separate production issue.
Decide who checks the order queue during the first sales period. Even a small launch needs someone to notice an absent order or an unanswered buyer question. Assign that responsibility to a named person and keep a short record of actions taken. When you add another product, reuse the operating routine but review the new product configuration separately. A working first-order process gives you a useful starting point; it does not automatically approve every garment or destination you might add later.
Check That the Launch Is Ready for Its First Customer
Use a final readiness check: approved physical item, accurate listing, complete price calculation, working order handoff and a named owner for customer issues. Any missing item is a launch task, even when the storefront already looks finished.
Choose Tapstitch when its garments, connection and fulfillment route support that complete journey. Keep the offer focused enough to manage the first orders carefully, then expand from a process you understand.
FAQ
Wrapping Up
Starting without a factory still requires an approved product and a clear path from checkout to the customer. A supplier can handle its supported production and fulfillment work while your brand remains responsible for the offer, pricing and buyer communication.
Prepare the listing from the approved item, check the order handoff and assign responsibility for exceptions. Open sales when those pieces work together, rather than treating a finished-looking storefront as the end of preparation.