
Recent Searches
Popular Searches

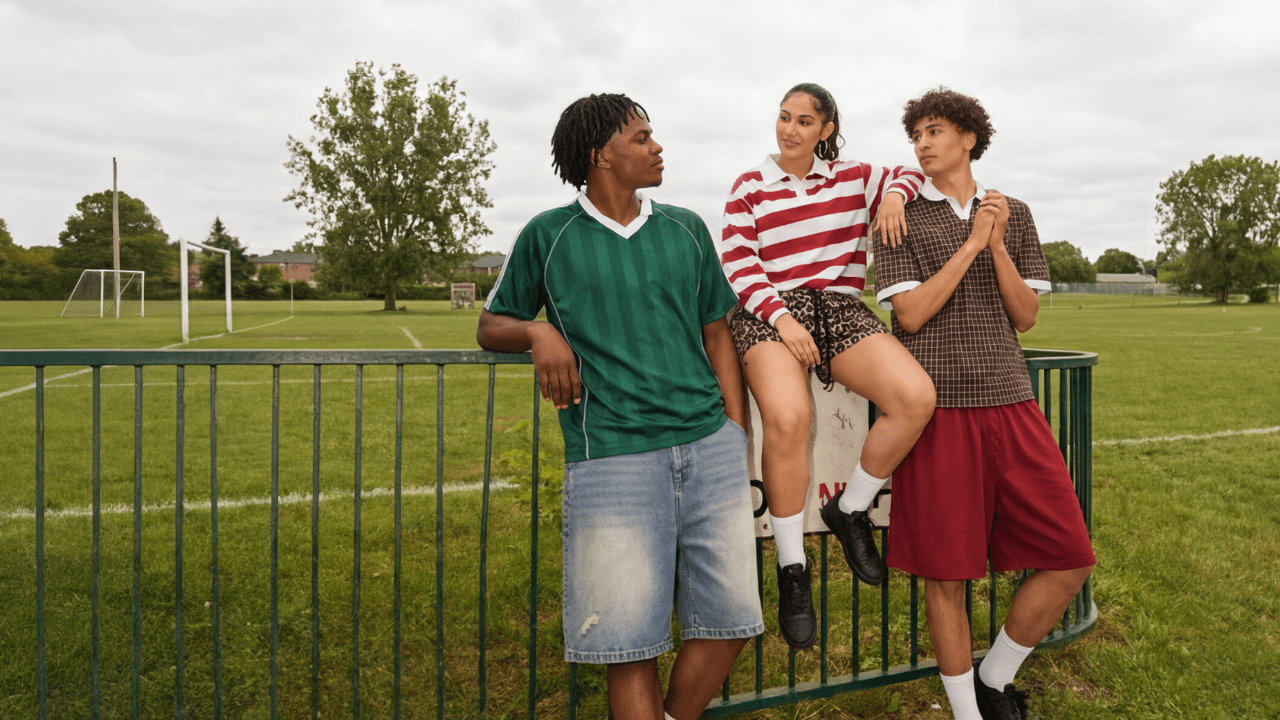
Placement and Design Size for Shirts: Ultimate Guide
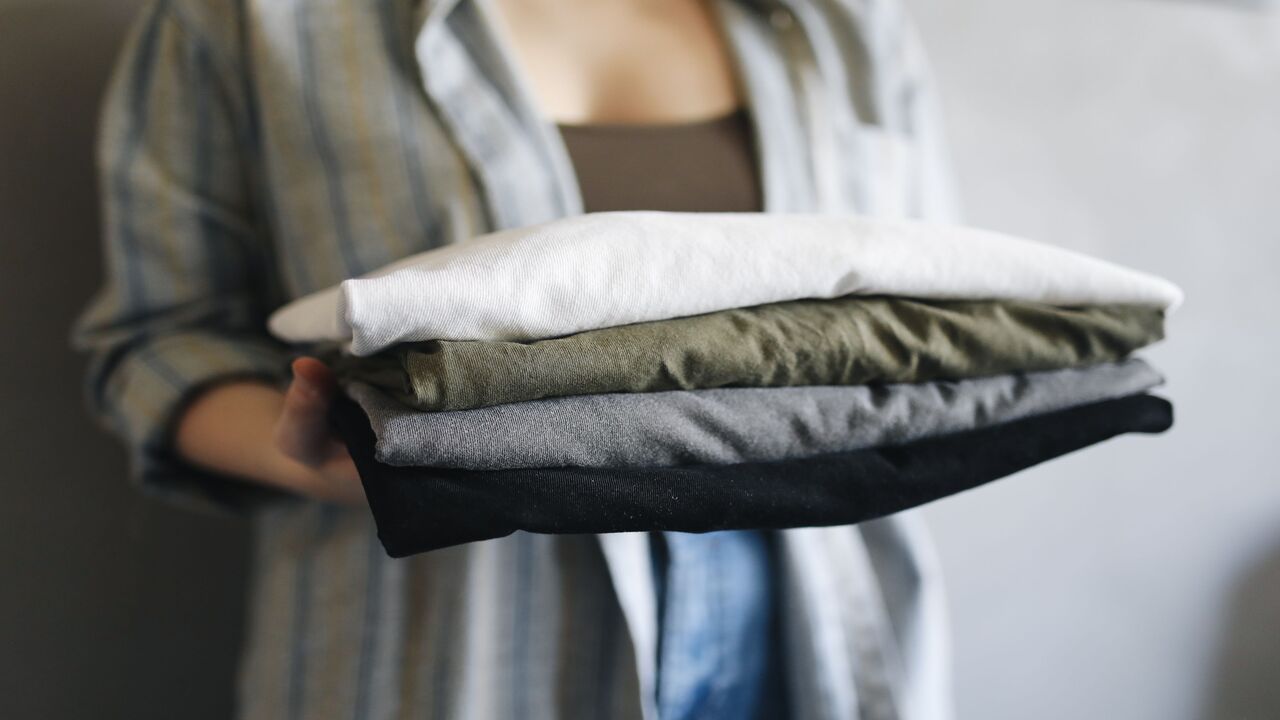
Finding the right design size for shirts is just as important as choosing the artwork itself. A design that’s too small can feel lost on the fabric, while one that’s too large may look unbalanced. This guide walks you through the best sizing and placement practices, offering clear tips on positioning your designs for maximum impact. Whether you’re creating your first tee or refining your t-shirt line, these insights will help you make every design look intentional, stylish, and wearable.
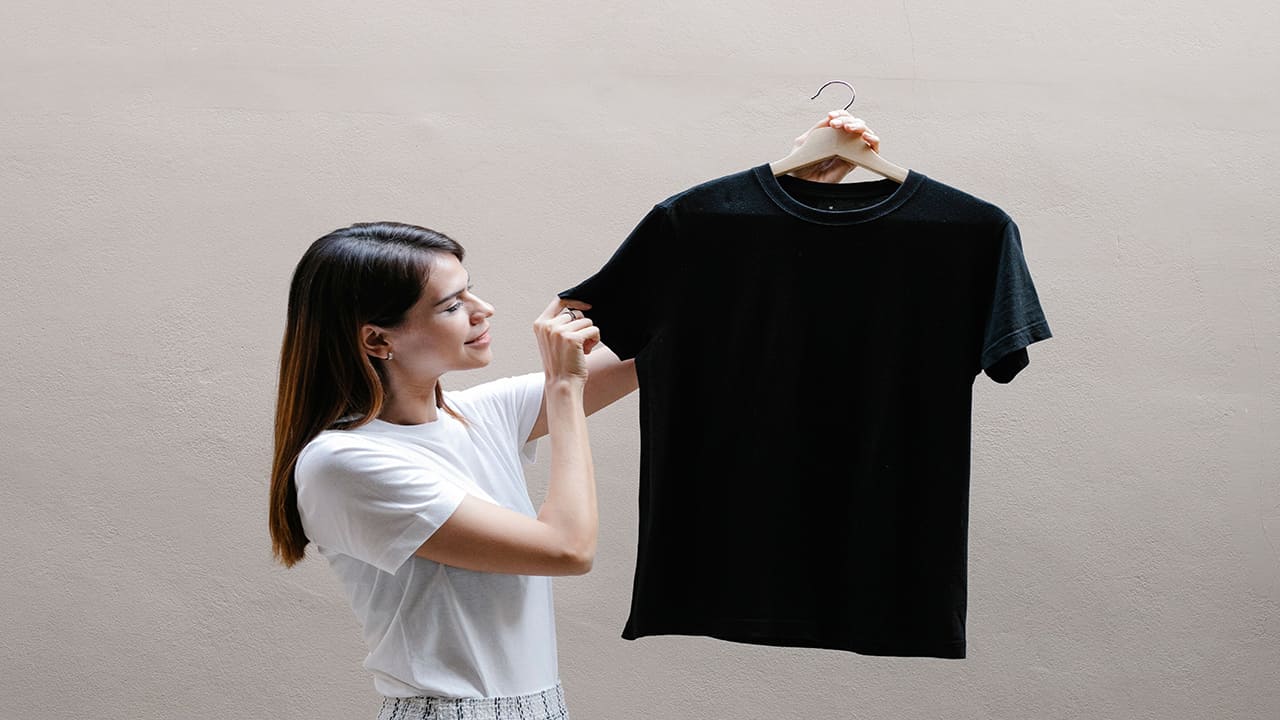
T-Shirt Design Size Guide: Best Practices
Before diving into specific placements, it’s important to understand the key principles behind choosing the right design size for shirts. These fundamentals shape how your artwork looks on different garments and help you avoid common mistakes, like printing designs that feel too small or stretched out. By keeping these principles in mind, you’ll create designs that not only look professional but also connect better with your audience.
Balance Between Shirt Size and Design Size
A design that looks great on a small tee might feel undersized on a large or oversized shirt. Always design your artwork based on the garment's dimensions. If it's too small, it will get lost; if it's too large, it will overwhelm the entire look. Think of your design as part of the shirt’s overall proportions rather than a separate element dropped on top.
Visual Center
When someone looks at a shirt, their eyes tend to land in the chest area first. That’s why placements like center chest or left chest are so popular — they match natural eye movement. By understanding this visual hierarchy, you can guide attention to the part of your design that matters most, whether that’s a bold graphic, a logo, or a short phrase.
Consistency Builds Recognition
If your logo jumps from sleeve to chest to back without a pattern, it can confuse your audience. Keeping a reliable placement across your designs, like always using the left chest for branding, helps establish a professional, cohesive look. Over time, this consistency makes your shirts more recognizable and reinforces your brand identity.
Learn more:Best T-Shirt Design Ideas for 2026
Standard T-shirt Design Placements and Recommended Sizes
Beyond the basic design size for shirts guidelines, there are more detailed placement and sizing options that can take your custom t-shirts to the next level and even help you earn extra income. Each print placement creates a different style and impact, so choosing the right t-shirt design placement is key to making your custom apparel stand out.
Here’s a useful t-shirt design placement size chart that shows how each print area works differently, helping you create custom shirts that better reflect your brand’s unique style.

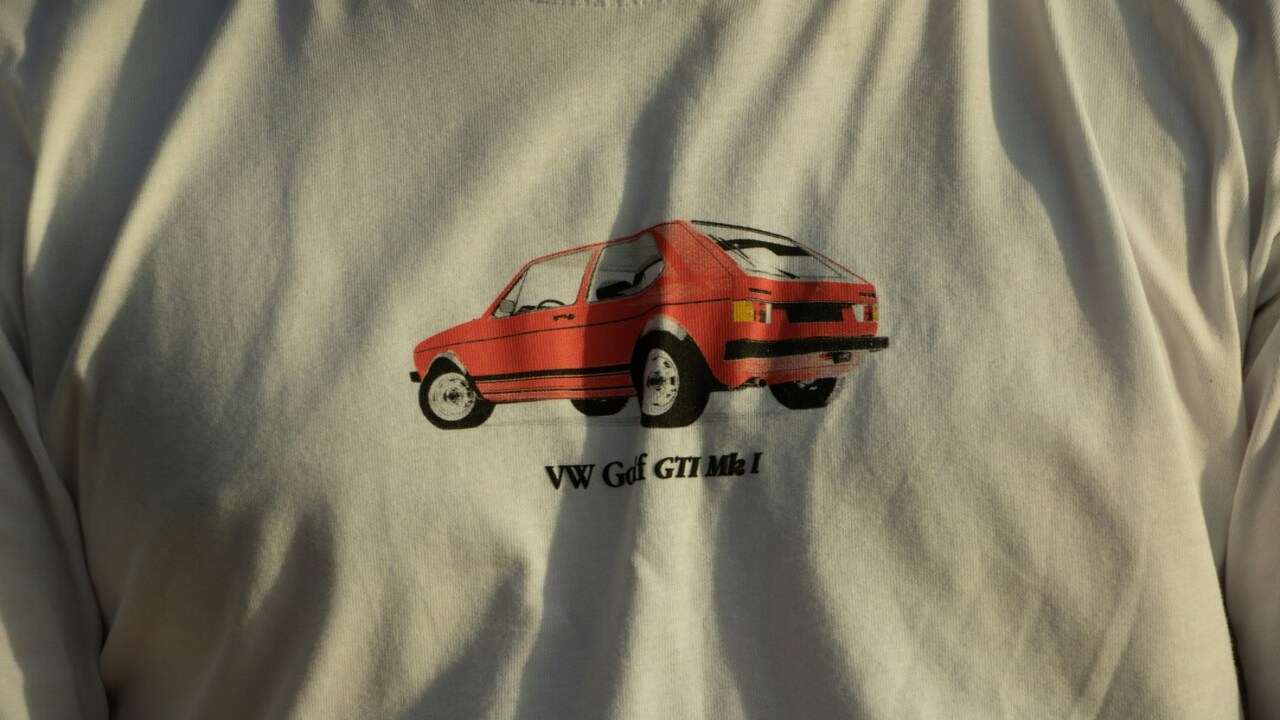
Center Chest Design

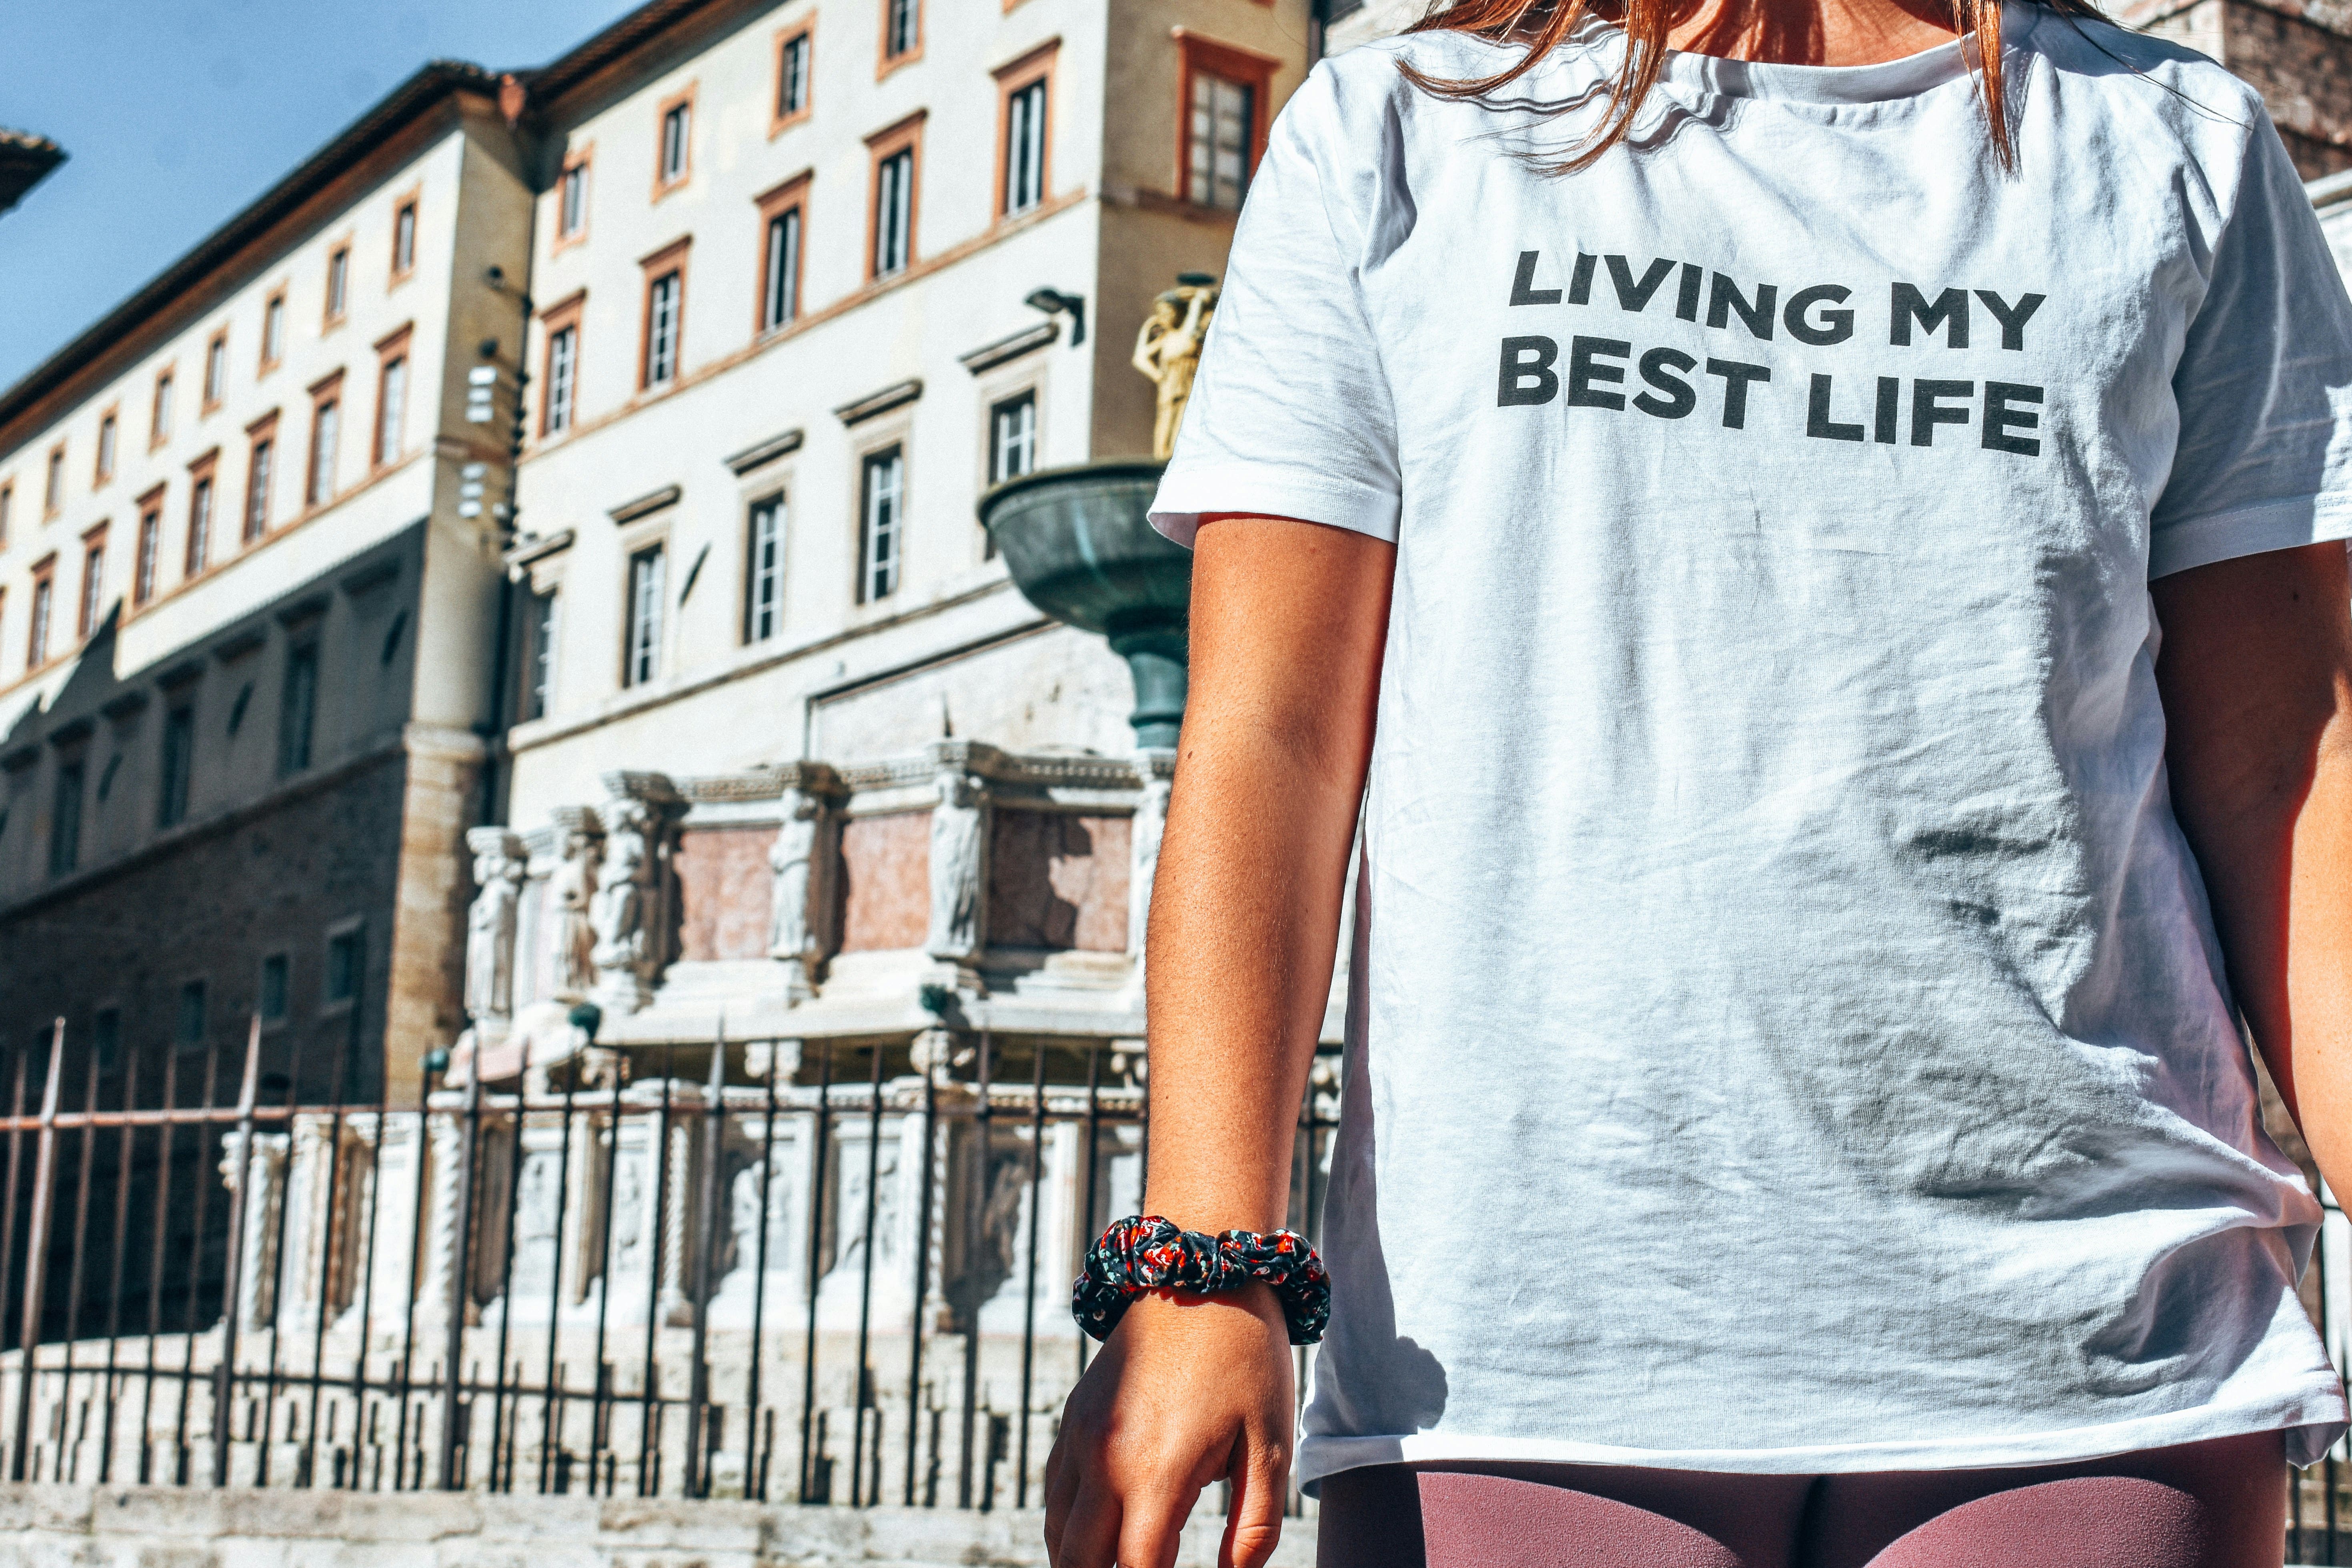
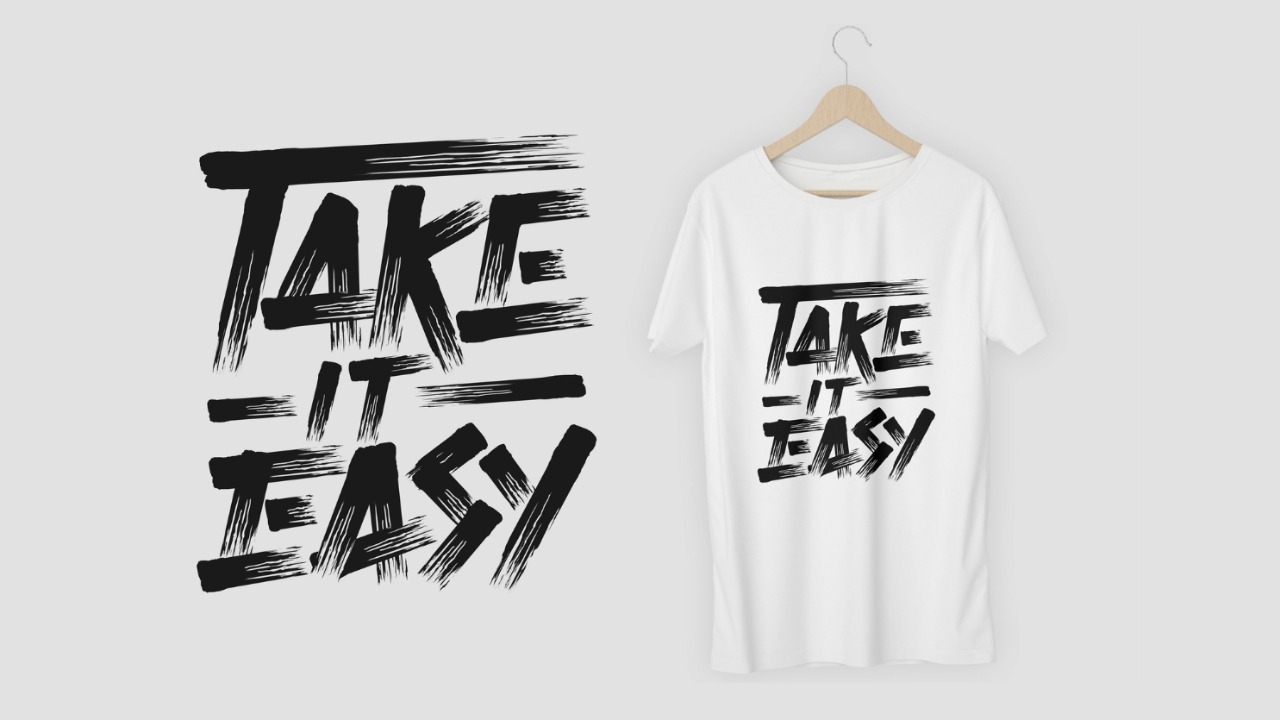
When most people think of a printed t-shirt, the first thing that comes to mind is a bold graphic right in the middle of the chest. It’s the classic choice in any t-shirt design placement guide, because it feels balanced and instantly grabs attention. The usual design size for shirts here is somewhere between 8 and 12 inches wide, but the exact measurement depends on the garment. A smaller size might look just right on a slim-fit tee, while a larger print can complement oversized streetwear styles.
What makes this placement so popular is its flexibility. Big logos, eye-catching artwork, or even simple text-based t-shirt quote designs all look natural in this space. If you’re aiming for casual wear, soft cotton tees highlight the relaxed vibe. On the other hand, heavyweight fabrics give the print more structure, which works well for bold, fashion-forward collections.
While most providers limit you to a standard 12" × 16" print area, Tapstitch offers a larger print range that gives you more creative freedom. Whether you want oversized streetwear designs or bold all-over prints, our extended design size for shirts helps your brand stand out.
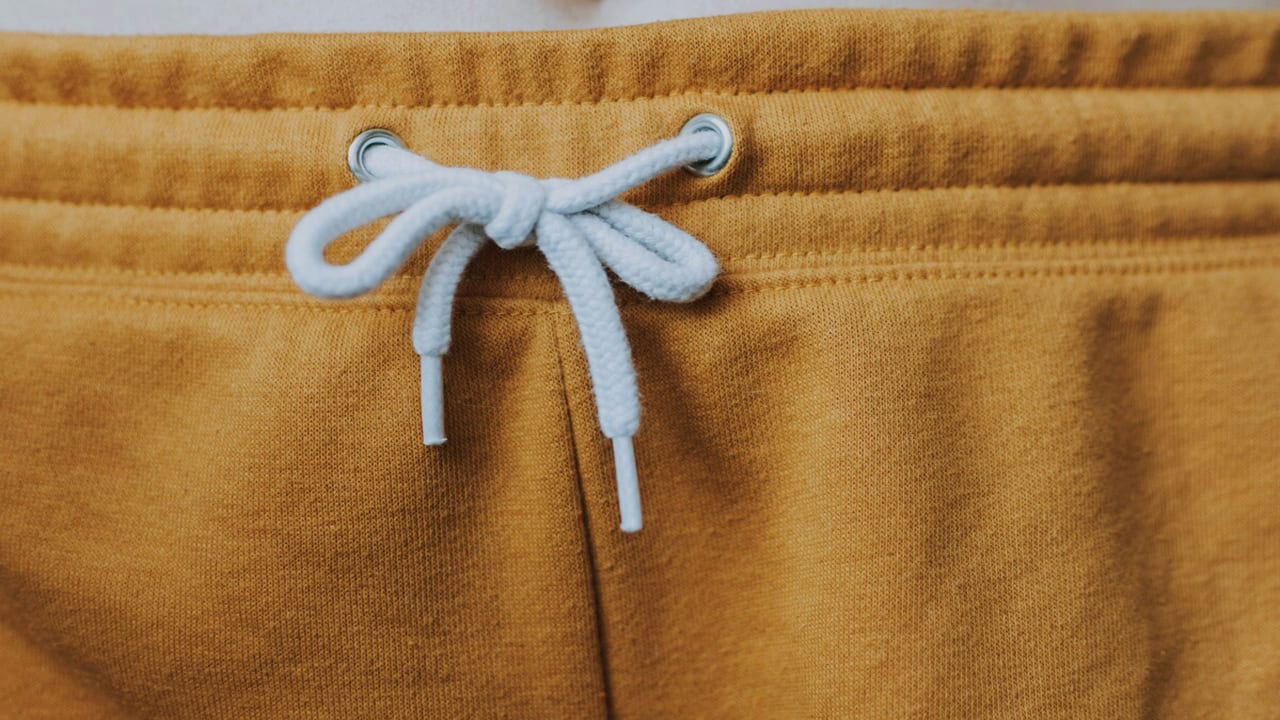
Left Chest Placements

If you want something more subtle, the left chest is a great option. Designs here are usually 3–4 inches wide — just enough to display a logo, emblem, or initials without dominating the shirt. It’s a placement you’ll see often on uniforms, polos, or promotional tees, because it delivers branding in a polished but understated way.
This smaller design size for shirts also works beautifully with embroidery, where fine stitching can add texture and elevate the look. Whether you’re printing on breathable cotton blends or performance fabrics, a left chest logo feels wearable in both professional and casual settings. For brands, this placement is also a smart move: by keeping your logo consistent here, you create a recognizable signature across your apparel.
Full Front
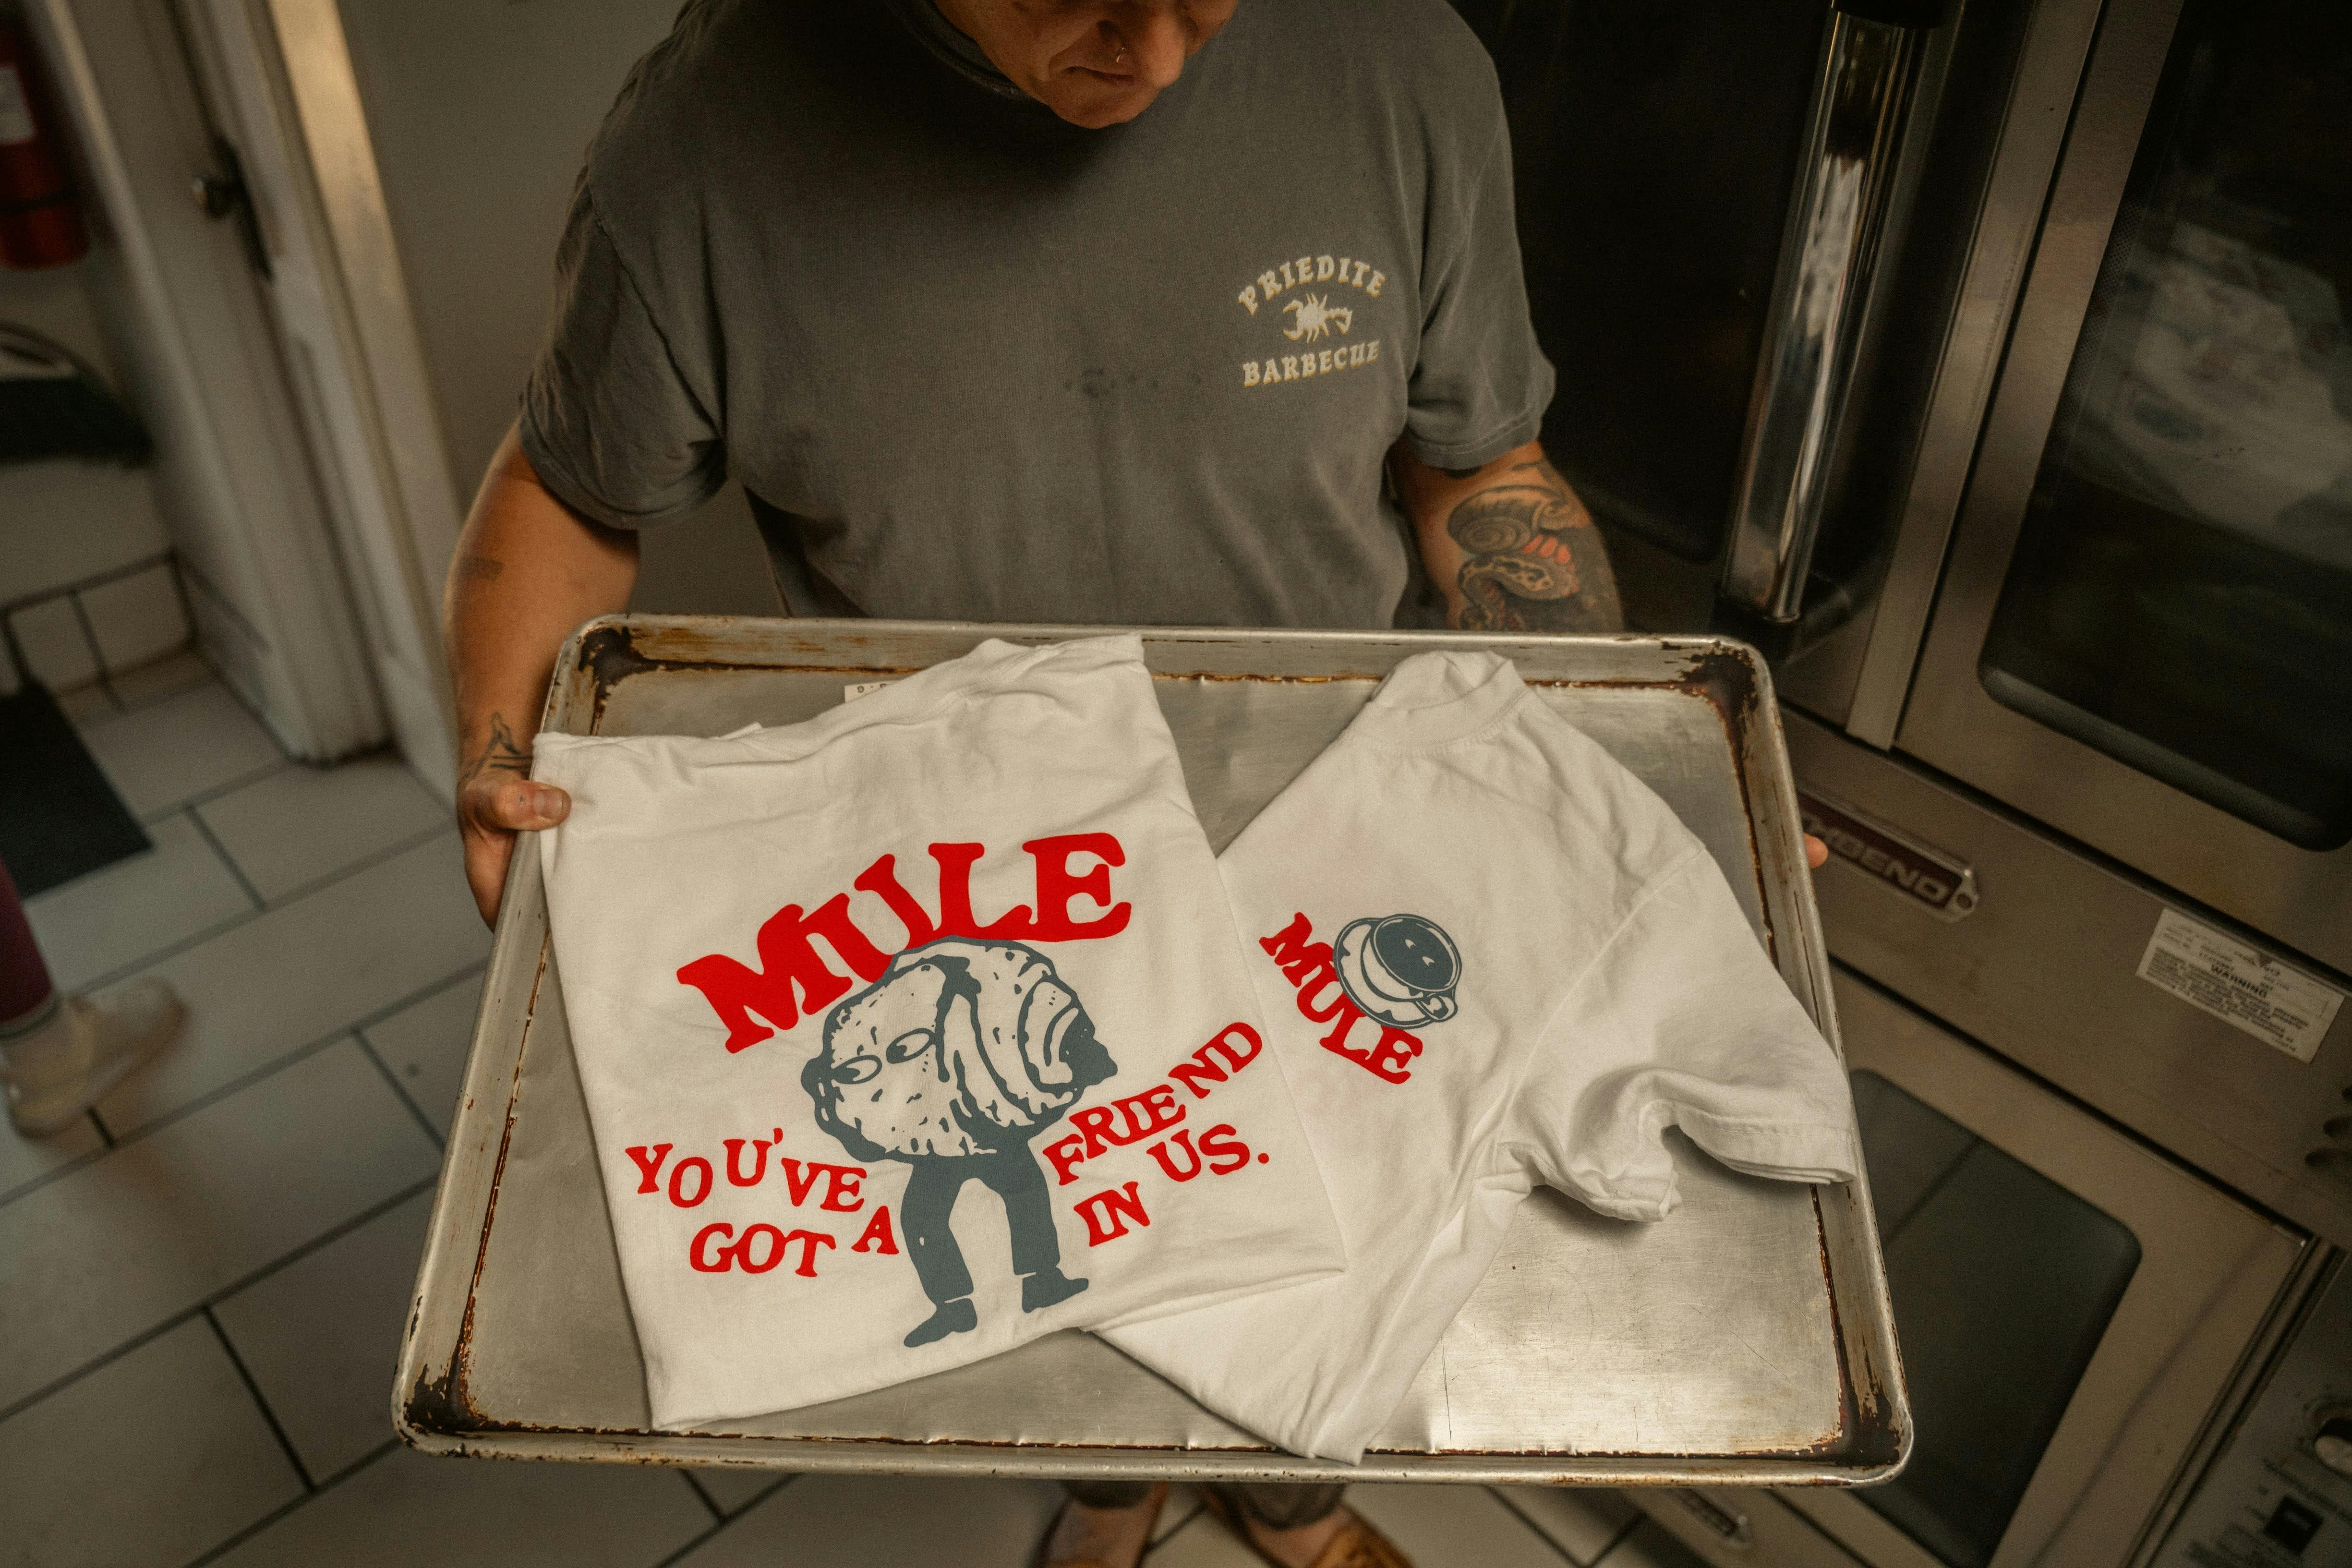
Full front prints are bold, eye-catching, and perfect for making a statement. In a t-shirt design placement guide, this placement is ideal for detailed artwork, portraits, or large graphics that span most of the torso. Typical design size for shirts ranges from 12 to 15 inches wide, depending on the shirt size and fit.
This placement works well on soft, lightweight cotton for a relaxed look, or on heavier fabrics if you want the design to hold structure and presence. Streetwear brands often use full front designs to create a dramatic impact, while event or merchandise tees leverage the space to showcase logos, messages, or artwork in full scale. If you’re aiming for maximum visibility, a full front is usually the safest bet.
Upper Back Print Placements
The upper back print is a subtle but effective placement. Usually positioned just below the collar, a design around 3–4 inches wide is enough to be noticed without dominating the shirt. In team apparel, sports jerseys, or group merchandise, this area is often used for brand names, small graphics, or inspirational phrases.
Because it sits high on the back, it’s comfortable for movement and doesn’t interfere with stretch or fit. Lightweight cotton or polyester blends work especially well here, keeping the print smooth and crisp. Using this placement consistently across your products can also reinforce your brand identity without being overpowering—a small detail that adds polish to your overall collection.
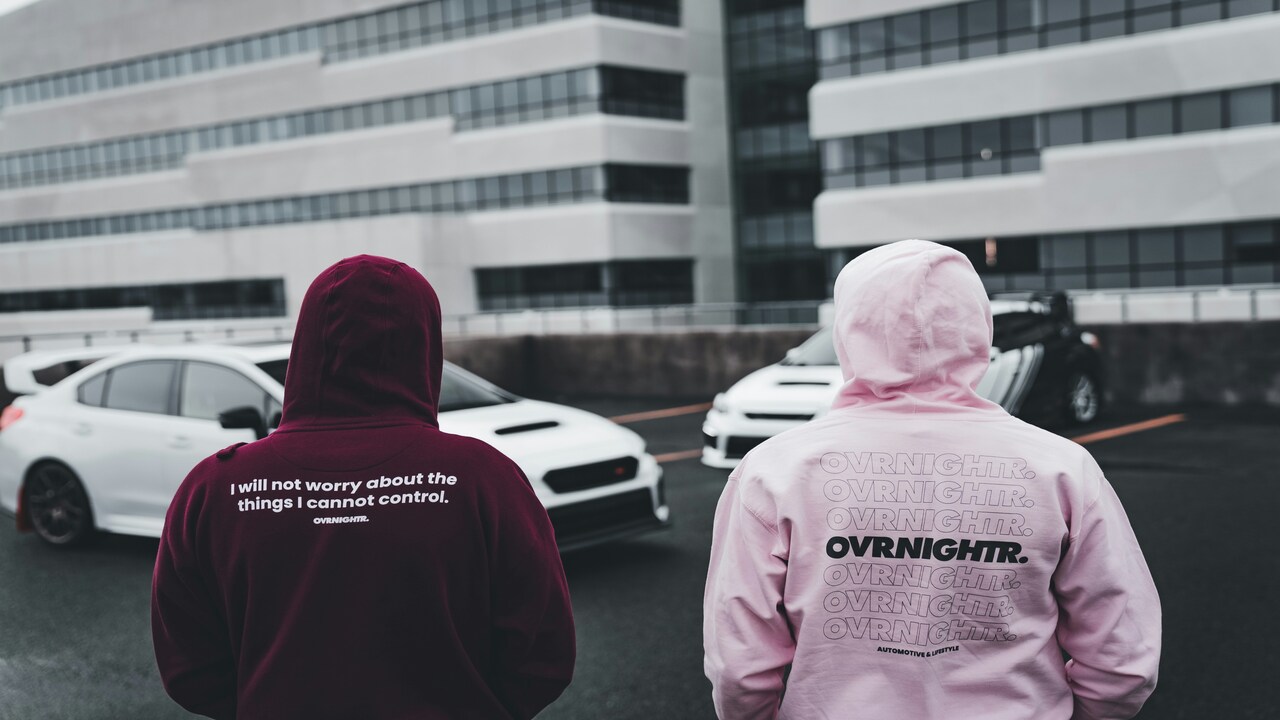
Full Back Design Placements

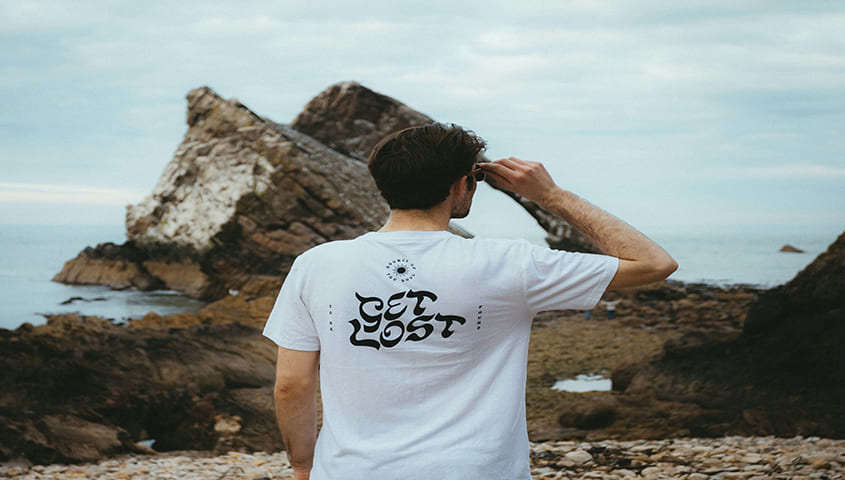
Full back prints are just as bold as full front designs, spanning most of the shirt’s back. They’re perfect for large graphics, promotional messages, or detailed illustrations. Standard design size for shirts is usually 12–15 inches wide, scaled appropriately to the garment.
This placement is especially popular in streetwear, event tees, and festival merch, where a bold back graphic can tell a story or make a statement. Heavier cotton fabrics or performance blends handle large prints well, keeping the design sharp and vibrant. Full back designs work especially well when paired with a smaller chest logo, balancing boldness with subtle branding.
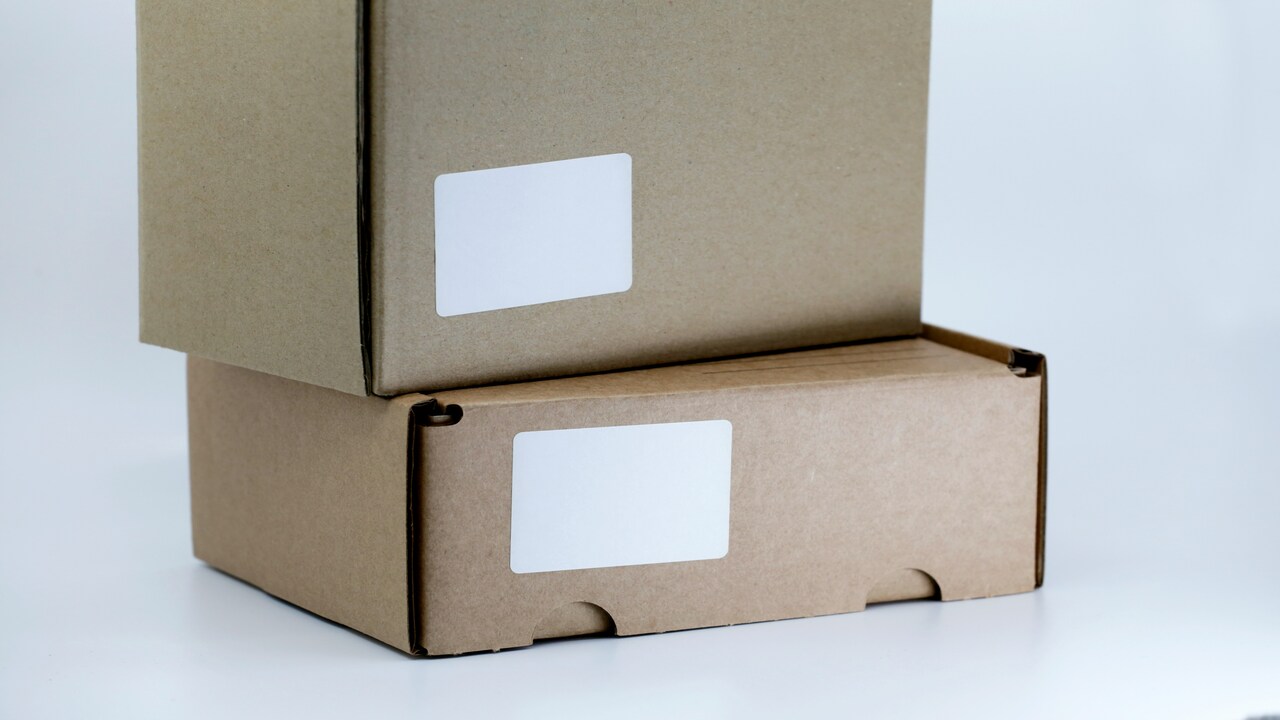
Label Placement
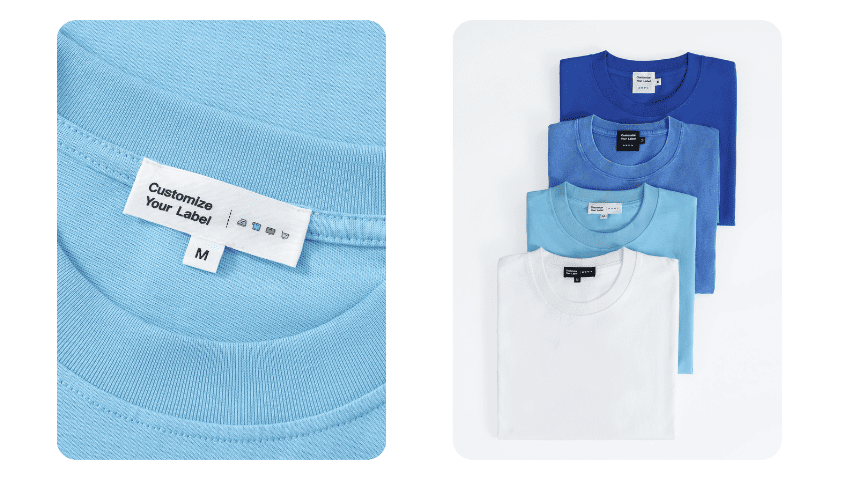
Custom labels, either inside the neck or on the outer back, are small but effective branding opportunities. Sizes are usually around 2–3 inches wide, enough to display a logo or brand message. This subtle placement helps replace generic tags and adds a premium feel to your apparel.
Tapstitch offers custom labels at $0.99 each with no minimum order quantity, providing branding services for your t-shirtsSizes available:
- Size available
- rectangle(2x6cm)
- Square(4x4cm)
- Background options
- Black
- White
Printed or woven labels work best on soft fabrics like ringspun cotton or lightweight blends to ensure comfort. Outer labels, often placed on the back neck, are great for lifestyle or streetwear brands wanting to add a signature touch. Even though it’s a small placement, consistency here reinforces brand recognition across all your shirts.
Sleeve Print
Sleeve prints are a creative way to add a unique touch. They range from 2 to 4 inches wide and can include logos, stripes, flags, or vertical text. In recent years, sleeve placements have become increasingly popular in streetwear and casual fashion because they add interest without taking over the main design space.
Long sleeves and hoodies offer more surface area, but even short sleeves can carry small graphics near the cuff. Fabrics like cotton blends, ringspun cotton, or polyester blends are ideal, as they maintain print quality while staying comfortable. Sleeve placements are also perfect for highlighting brand details subtly, complementing chest or back prints without cluttering the shirt.
All-over Print Placement
All-over prints cover the entire shirt, turning the garment into a complete canvas. This bold approach requires high-resolution files and templates to ensure the design looks seamless across seams and edges. It’s one of the most impactful ways to showcase your artwork, especially in streetwear, festival fashion, or statement collections.
Polyester blends or fabrics compatible with sublimation printing work best for all-over designs, as they allow edge-to-edge coverage without cracking or fading. Because this type of design dominates the shirt, other placements like chest or sleeve prints are usually minimized or omitted. All-over prints are perfect if you want to create a shirt that’s truly eye-catching and unique.
Custom T-shirt Design Placement Tips

To create the best custom t-shirts, you need to understand the design placement and design size for shirts that match your brand’s style. Once you have that figured out, these tips will help you steer clear of common mistakes and bring your perfect T-shirt design to life.
Focus on Popular Print Areas
When you think about the most in-demand shirts, the classics always lead. Center chest and full front prints are versatile, eye-catching, and work across almost every niche. The left chest logo is a timeless option, especially for uniforms, corporate tees, or event giveaways. For trend-driven audiences, back prints and sleeve designs are increasingly popular, giving a streetwear vibe that feels fresh and modern.
Match Placement with Audience Style
Not every placement works for every audience. Streetwear fans often prefer oversized graphics that dominate the center chest or bold prints along the sleeves. Fitness and performance wear tends to favor more subtle logos, think a small left chest print or an upper-back logo that won’t distract from movement. For corporate and event shirts, a clean left chest logo paired with a centered back print keeps the design professional and balanced. Aligning placement with your audience’s fashion preferences makes your t-shirts feel relevant, intentional, and on-trend.
Adjust Design Size for Shirt Fit
One of the biggest mistakes designers make is ignoring fit when deciding design size for shirts. An oversized tee can handle a 12–15 inch wide front graphic without looking overwhelming, while a regular fit shirt is better suited for 8–11 inches. For kids’ tees, scale designs down to 5–7 inches so they stay proportional and don’t dominate the garment. A good t-shirt design placement guide always connects placement with the right sizing.
Don’t Overlook Small Branding Spots
Sometimes, subtlety is the most powerful design move. Adding a neck label (inside or outside), a hem tag, or even a small cuff or sleeve logo can elevate your design into something that feels premium. These smaller placements are especially popular in streetwear, where small details create a big brand impression.
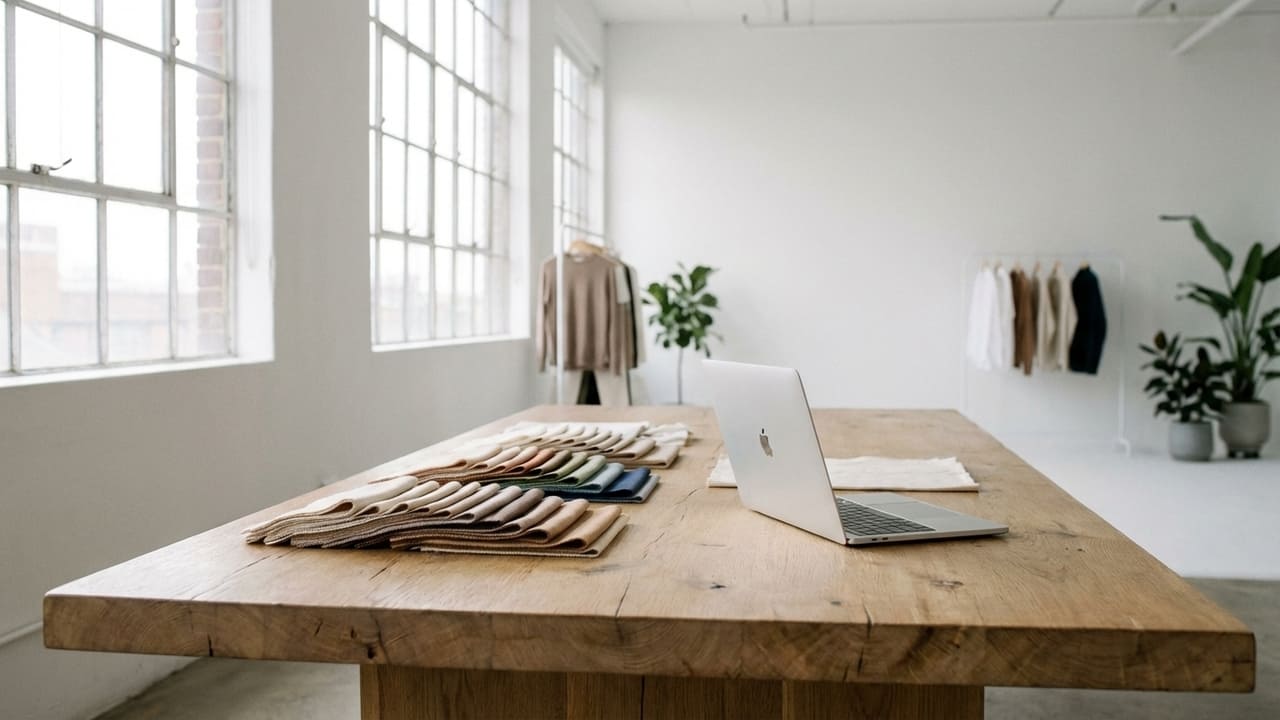
Use Tools to Preview Placement
Even the best sizing charts can’t replace a visual check. Mockups let you see how a design looks across different shirt sizes and fits before you print. If you’re working with POD, tools like Tapstitch’s design tool help you preview placements instantly and make adjustments on the fly. Consistency in placement across your product line not only reduces guesswork but also builds a stronger brand identity.
Design Popular Custom T-shirts with Tapstitch
Choose a reliable POD partner like Tapstitch to bring your ideas to life. With no minimum order quantity, zero upfront cost, and access to over 100+ t-shirt styles, you can design the best custom t-shirts without limitations.
Step 1: Select Your Product
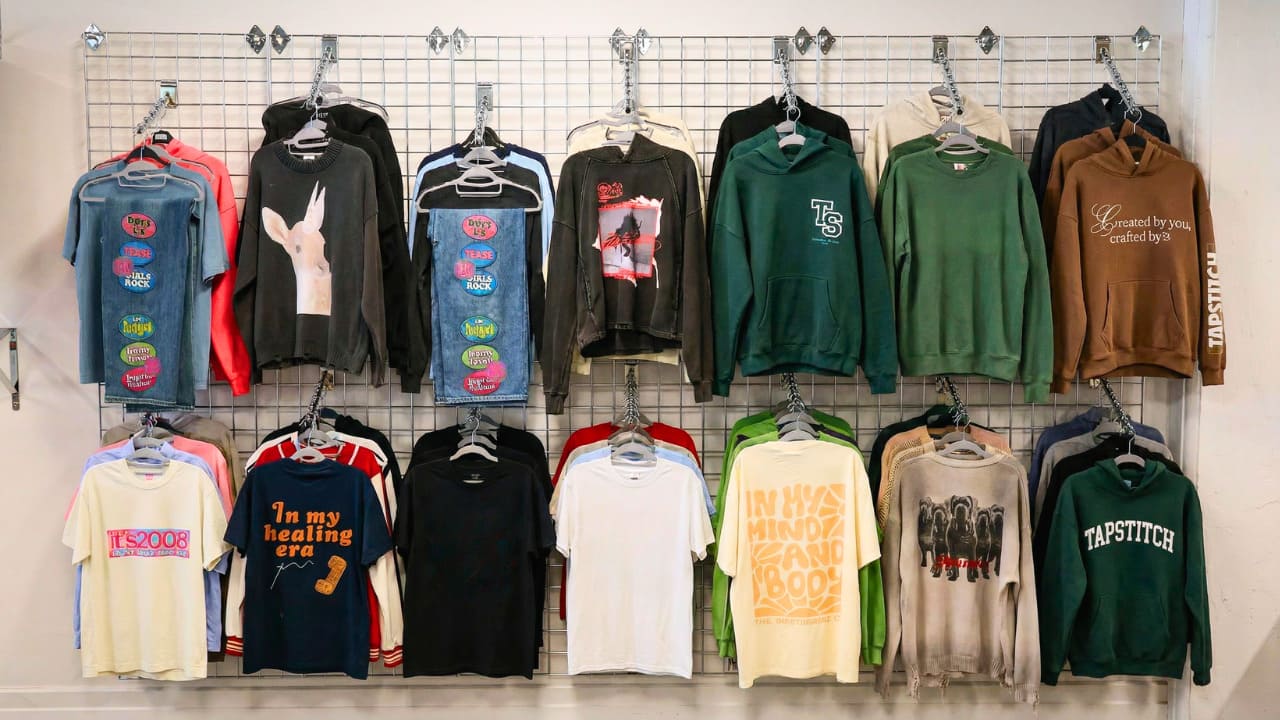
Browse our t-shirt catalog and choose styles that fit your store’s vibe. From streetwear to activewear, Tapstitch offers fashion-forward pieces that meet today’s market trends. If you’re looking for on-trend styles, you’re in the right place.
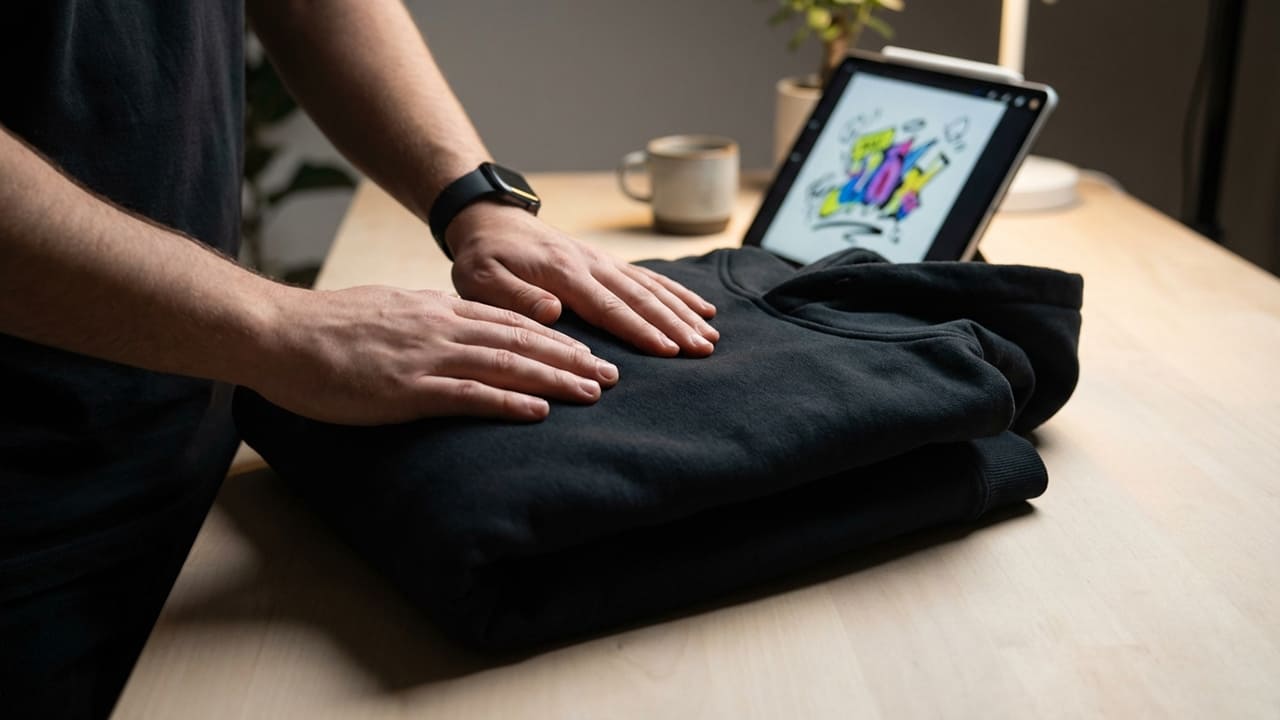
Step 2: Add Your Design
Upload your artwork using our intuitive design tool. It comes with features to remove backgrounds, align and resize graphics, and preview multiple placements with ease. You can also design across different product colors, making it simple to create a full apparel line. To ensure high-quality results, make sure your files meet the recommended design size for shirts—at least 1024 pixels and 150 dpi resolution.
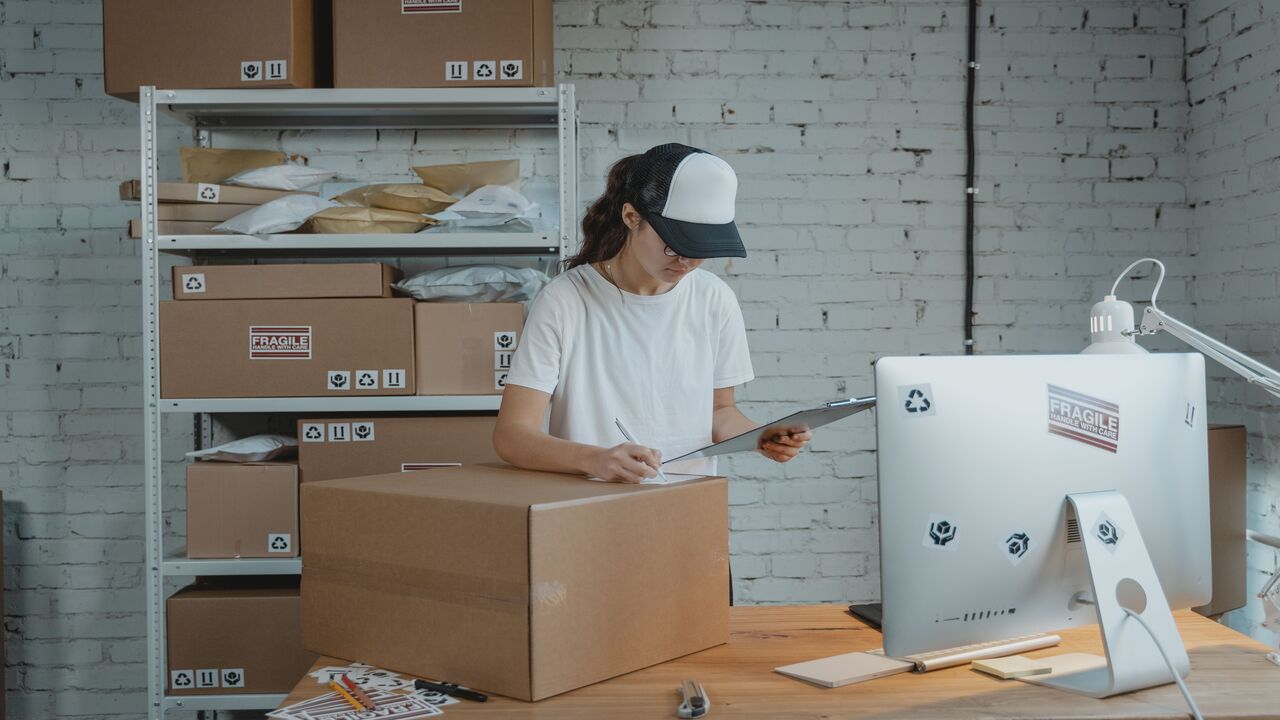
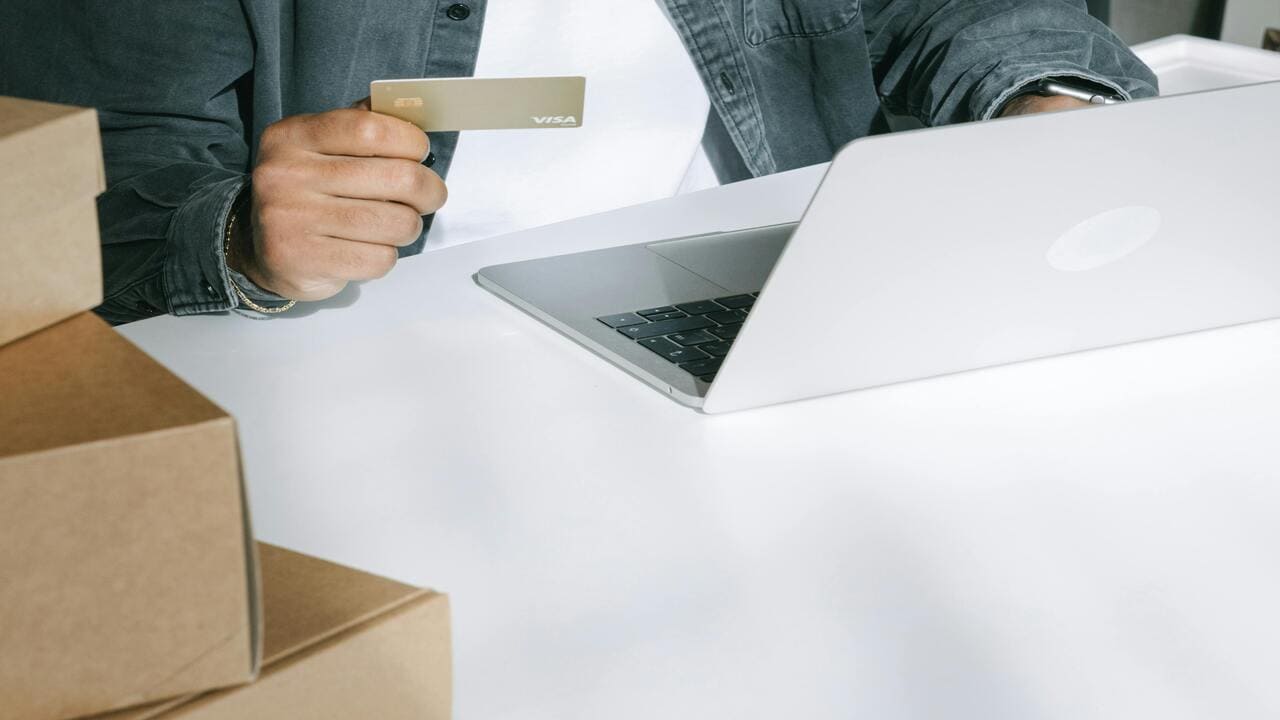
Step 3: Connect Your Online Store
Easily integrate Tapstitch with popular platforms like Shopify, Etsy, BigCommerce, and Wix. Once connected, your custom t-shirts are automatically fulfilled and shipped worldwide. Wherever your customers are, Tapstitch ensures on-time delivery with professional quality.
Step 4: Start Making Money
Promote your designs with targeted ads on Google, Instagram, or YouTube to grow your niche brand awareness. With Tapstitch handling production and shipping, you can focus on building your audience—and watch your t-shirt business turn into a real income stream.
FAQ
1.What Is the Best Design Size for Shirts?
The most common design size for shirts is around 12" × 16" for a full front or back print. Smaller placements, like the left chest, usually work best at about 3.5" × 3.5". The right size depends on the shirt style, placement, and your design goal, but using these standard sizes ensures your print looks balanced and professional.
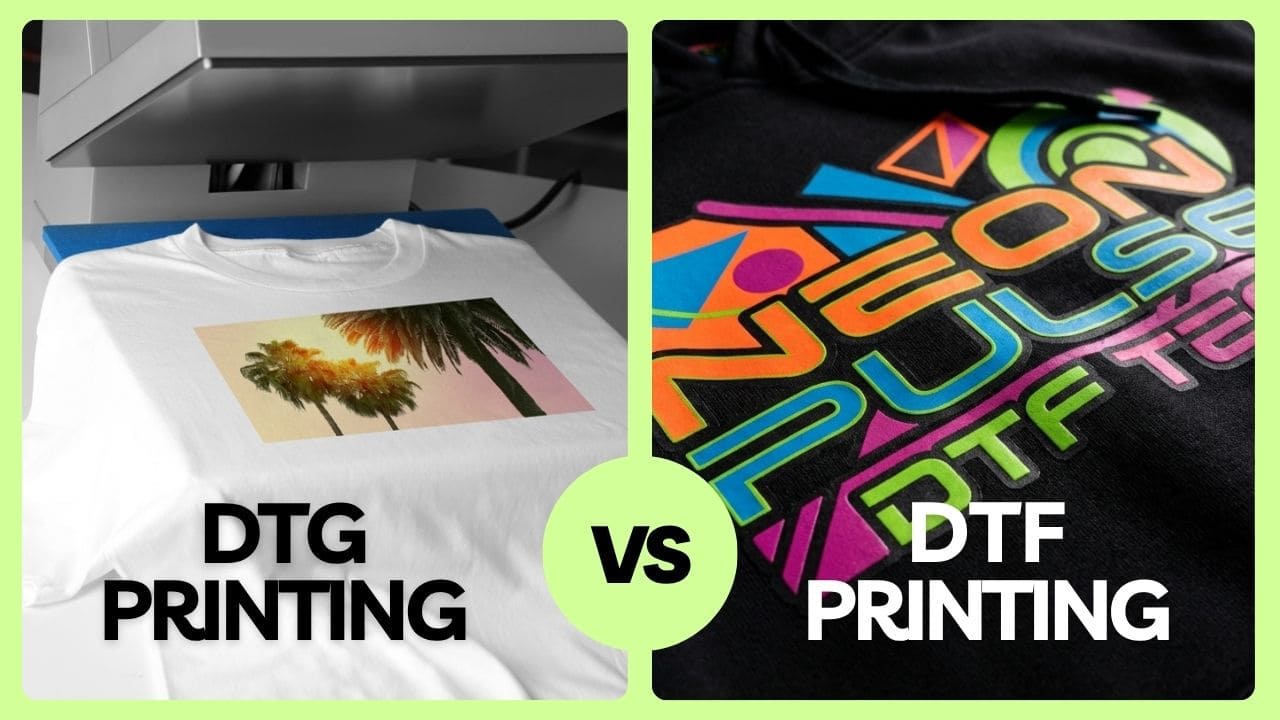
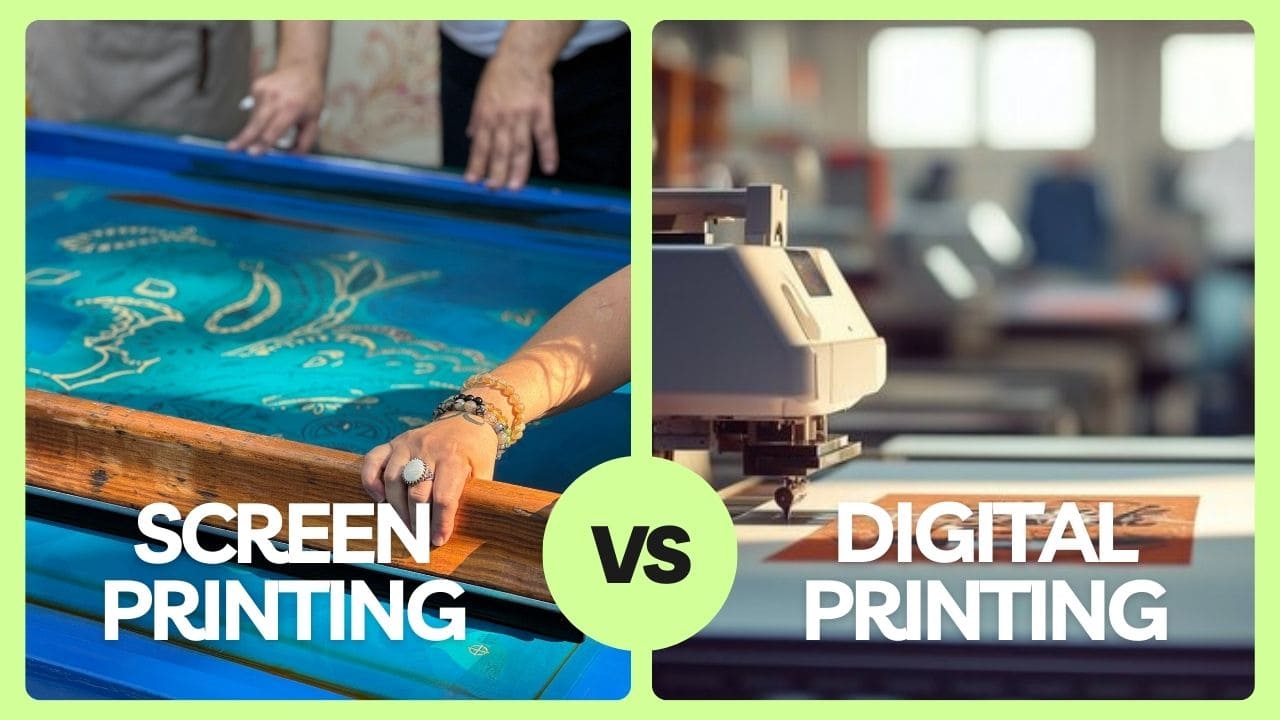
2.Does the Printing Method Affect Design Placement?
Yes. Different printing methods like screen printing, DTG, or heat transfer. For example, DTG usually allows larger full-front prints, while heat transfer may work better for smaller chest or sleeve designs. Choosing the right method ensures your t-shirt design placement looks clean and lasts longer.
3. How Far Down Should a Chest Print Go?
A center chest print usually starts about 3-5 inches below the collar to look balanced. Left chest prints sit slightly higher, typically 4-5 inches from the neckline. Following these guidelines keeps your t-shirt design placement looking professional and consistent across sizes.
Final though
Design size and placement may look like small details, but they decide how your shirts connect with people. Now you know the right dimensions, the ideal spots, and what mistakes to avoid, you’re already ahead of most beginners. All that’s left is to put it into practice—start creating, test your designs, and refine until it feels just right.


.jpg)


.jpg)

.png)
.jpg)


.jpg)
.jpg)


.jpg)
.jpg)
.jpg)
.jpg)
.jpg)
%20(1).jpg)

.png)

.png)


%20(1)%20(1).jpg)


.png)
.png)


.jpg)

.jpg)
.jpg)
.png)


.png)


.jpg)
.png)
.png)


.png)

Inspiration Starts Here. Let's Make Something Beautiful.
Make high quality clothes easily with Tapstitch.