



How to Build a Shopify Clothing Brand with POD



Building a Shopify clothing brand with print-on-demand requires a platform that supports your selected garments and the order workflow behind the storefront. At Tapstitch, we offer a Shopify connection to publish products, map variants, and receive orders for fulfillment. We are a good fit when the route, available apparel, and branding match your launch. Choose another service when an essential product or automation requirement falls outside the supported setup.
Choose a POD Platform That Fits Your Shopify Order Flow
Start with a single order. The customer chooses a color and size in Shopify, pays for your shop and expects the selected design. The supplier needs the corresponding garment, artwork and destination. Your setup must preserve that relationship from the product page through fulfillment.
Assess the garment and the integration together. A connected platform helps when it includes the product you intend to sell. A suitable blank is useful when you can configure and fulfill it through the workflow your business needs. Don't make either decision in isolation.
Tapstitch can fit a Shopify brand built around our available apparel and customization route. Our connection guide explains how to install and authorize the app. Use it to establish the correct store connection before publishing the products attached to that account.
Define what you expect to automate and what you will review manually. Order transfer, payment, product updates and customer communication are separate tasks. Assign an owner to each step that needs attention, then evaluate whether the resulting process is manageable for your launch.
Do not choose the platform based on a finished-looking storefront alone. The setup is ready when the actual products, variants, payment settings and fulfillment responsibilities form a usable route. That's how you decide whether Tapstitch fits your Shopify clothing business.
Connect the Store and Prepare the Product
Connect the correct store before creating the product workflow. Then prepare the garment and listing as one configuration. A successful installation gives you access to the connection; product-level setup determines what an order will request.
Keep a launch record for each item. Save the chosen garment, approved design, store product, variant details and pricing plan. This makes it easier to trace an error if a similar-looking listing points to the wrong configuration.
Set up the Connection and Map Product Variants
You can begin the connection from Tapstitch or install the Tapstitch app through Shopify. Sign in to the intended shop, review the requested permissions and complete the authorization. Confirm the connection belongs to the store you will use, particularly if you manage several shops.
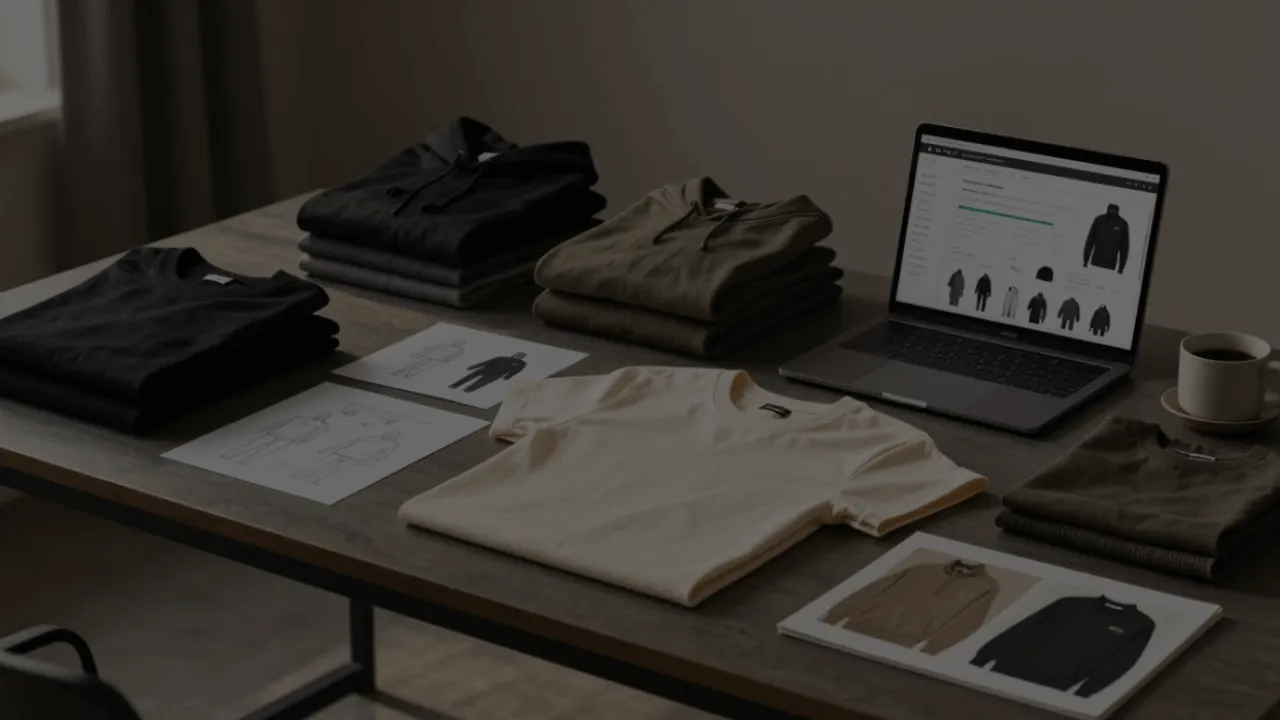
Create the product from the selected garment and saved design. Select the intended store during publishing, and review the product details before completing the process. Keep the size, color and artwork relationship consistent rather than relying on similar titles to identify variants.
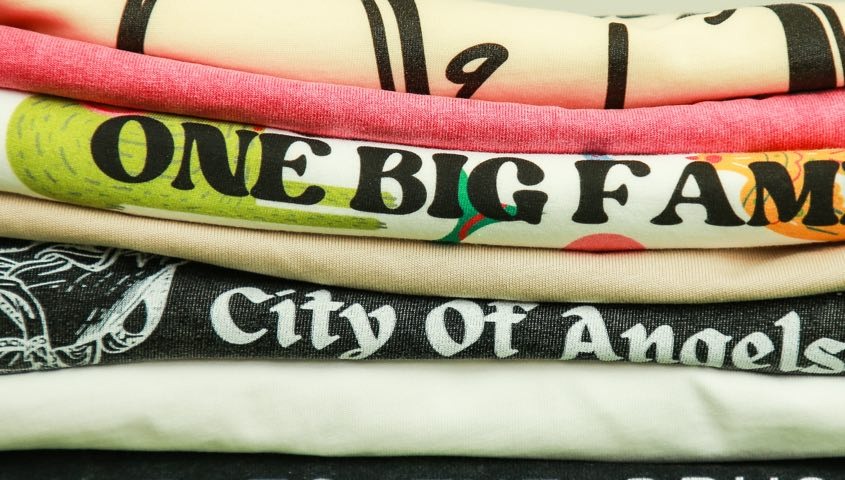
Our product publishing and update guide distinguishes a published product from a synced variant. Review both states. A listing can be visible while a variant still needs attention before you can identify the correct item for fulfillment.
Treat SKU and variant records as operational information. Use names your team can understand, and preserve the relationship with the supplier product. After deleting or adding an option, review the remaining variants instead of assuming the earlier approval still applies to the updated product.
Plan product edits deliberately. Changes made directly in the store may not appear automatically in Tapstitch. Follow the supported update route and inspect the result in both systems before accepting orders for the revised offer.
Configure Branding and Product Information
Prepare the customer-facing page from the product you intend to fulfill. Use the approved garment's fit and size information, images of the actual design and accurate color names. Make the selectable options clear enough that a customer can distinguish them without contacting the store.

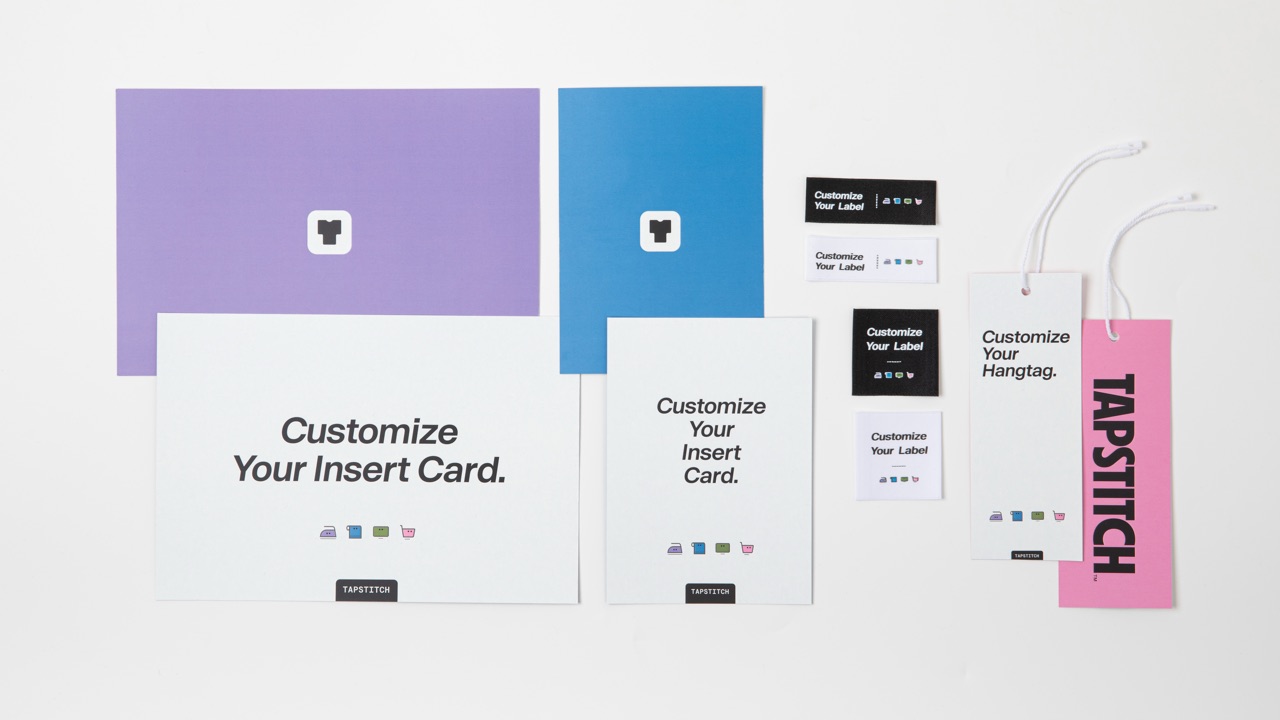
Choose the applicable brand components before making them part of the offer. Tapstitch's branding services include labels, hangtags and insert cards. Custom labels require international fulfillment, and hangtags and insert cards are not available for orders fulfilled through US fulfillment, so confirm the fulfillment route before making them part of the offer.
Do not use a branded mockup to promise an accessory absent from the order setup. Product photography and description should represent the garment and presentation that will reach the customer. Keep exploratory visuals separate from the images used to sell the item.
Set the retail price based on the fully configured cost and your business expenses. A supplier's estimated profit display is a planning aid, not a guarantee of net earnings. Decide how shipping charges, selling costs and customer issues will affect the offer before publishing the price.
Check the product page after publishing. Look at it as a buyer: choose each intended option, examine the relevant images, and read the description. Fix errors before driving traffic to a page that may look complete but describes the wrong configuration.
Check the Order before Opening Sales
Verify which Shopify product and variant reach Tapstitch and what happens next. An order handoff check is not a physical production or delivery test unless you buy and receive an item.
Check the Product and Variant
- Run the synchronization check. Follow our order synchronization test instructions for an unpaid test order that does not enter production or shipping. Inspect the order relationship; a completed checkout does not establish that the whole fulfillment route has been tested.
- Compare the selected configuration. Check garment, size, color and design. Investigate synchronization records and product setup before manually creating another order, so a missing order does not become a duplicate purchase.
Review Payment and Delivery
- Confirm payment and submission settings. Our Auto Payments guide explains the relationship with Auto Order Submission. Choose the intended setup and understand payment failures. A paid Shopify purchase does not establish that the supplier order has been paid.
- Check the buyer-facing shipping offer. Use the applicable route and destination. Separate production from transit and verify the charge customers see for the order you intend to serve.
Record and Recheck the Setup
- Keep the check’s evidence. Record the store and supplier order references, selected variant and result. Recheck the affected path when garments or variant structures change; the result applies to the configuration tested.
- Keep storefront and operating records aligned. Retain traceable variant identifiers when renaming products. Make sure updated images show the ordered design, and review changed fields before promoting a revision. These records help investigate customer questions.
Handle Fulfillment and Exceptions
Monitor order progress and assign an owner for exceptions. An absent order, payment failure, production issue and return request require different responses. Identify the cause before choosing an action or explaining the status to the customer.
For synchronization issues, compare the store order, variant setup, and supplier records. For an order already in the supplier system, inspect its payment and production state. Do not describe an order as shipped until the applicable shipment information exists.
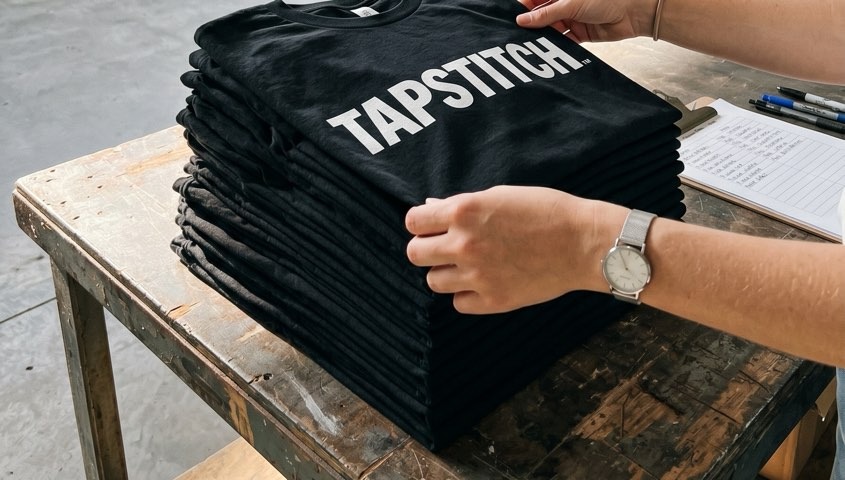
Use tracking information to communicate progress after dispatch. Our shipping information separates transit estimates from production. Give customers order updates instead of using a fixed schedule for every garment and destination.
The Shopify seller remains responsible for customer communication and store-facing returns. Use the supplier's process for relevant manufacturing or order issues, but do not send every customer return directly to Tapstitch. Build a policy you can operate and make its contact route clear.
Keep an exception log that explains what failed and how you resolved it. If several cases originate from an inaccurate size description or an ambiguous variant name, correct the product page. If the issue is the connection, correct that workflow. The useful response follows the cause rather than applying the same remedy to every complaint.
Decide who reviews the order queue during the launch. Automated transfer can reduce manual work, but a person still needs to notice exceptions and respond to customers. Set a review routine that matches your order volume, and record the follow-up owner. A manageable routine is more valuable than assuming that installation removes every operational task.
Separate changes to future products from changes to existing orders. If you revise a graphic or description, preserve the version relevant to each purchase. That makes customer questions easier to answer and prevents an updated listing from becoming the reference for an order placed under an earlier configuration.
Choose Tapstitch when the approved apparel, Shopify setup and operating responsibilities match your business. Finish the product and order checks before opening sales, then expand from a workflow you understand.
FAQ
Wrapping Up
A Shopify clothing launch needs product preparation and order configuration to work together. A connected store should lead each customer selection to the intended garment, variant and design, with payment and exception handling understood.
Check the published offer and order handoff before opening sales. Keep a clear owner for customer questions and fulfillment issues, and review the affected settings whenever you change a product or its variants.