
Recent Searches
Popular Searches

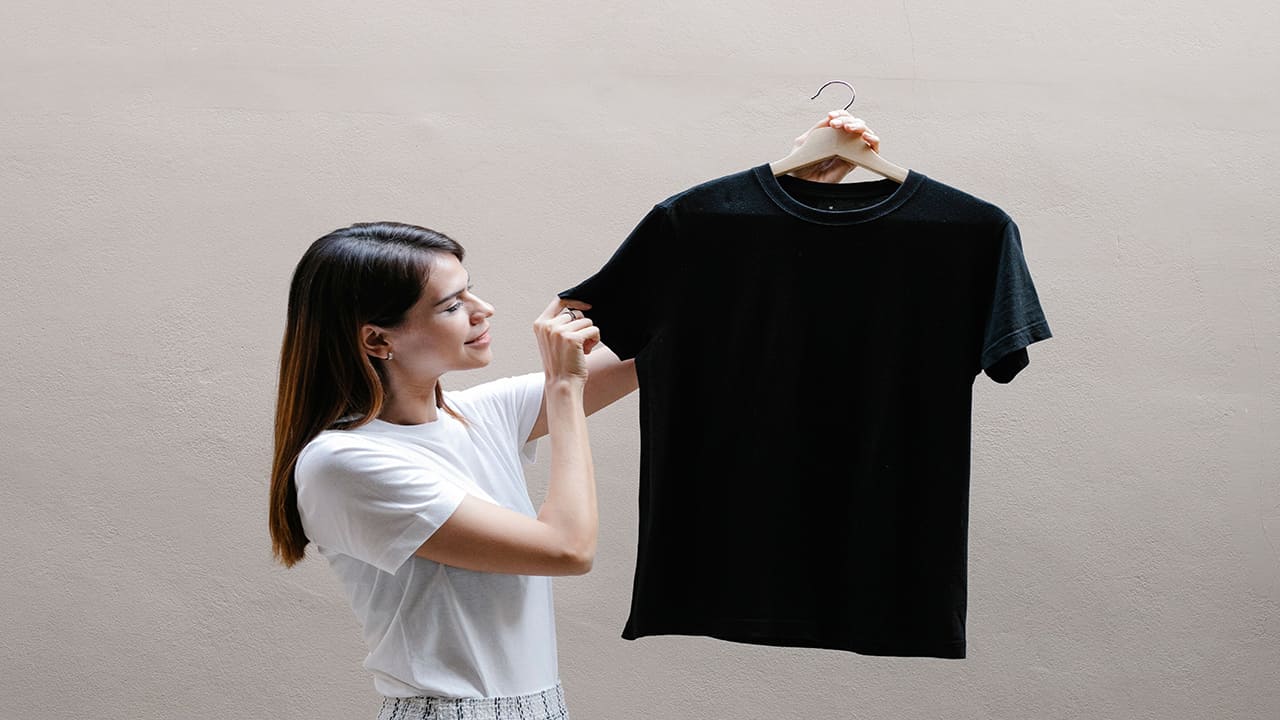
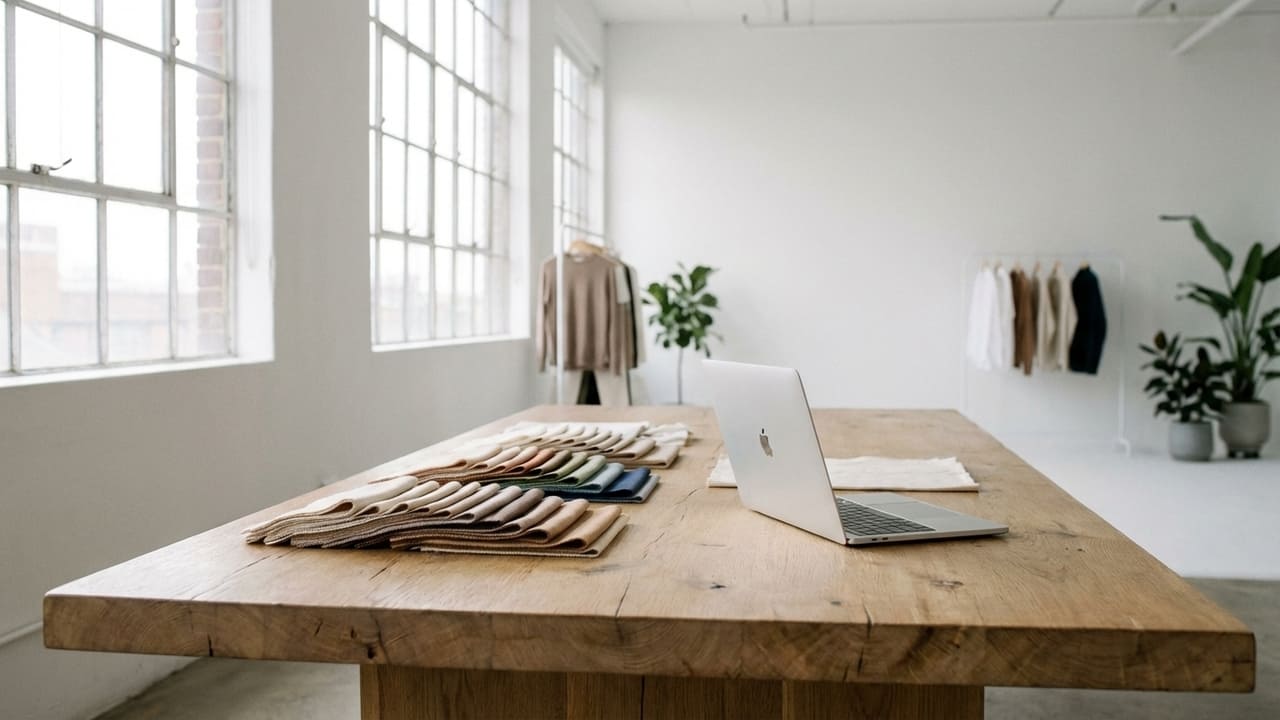
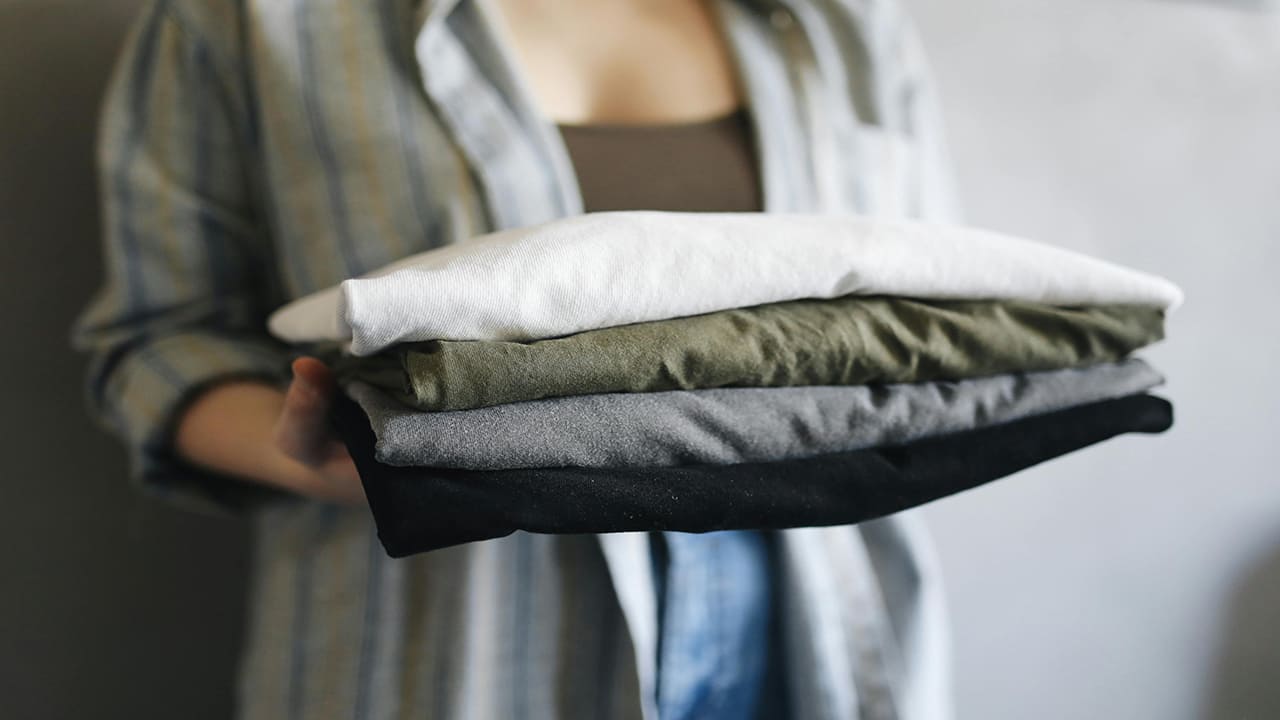
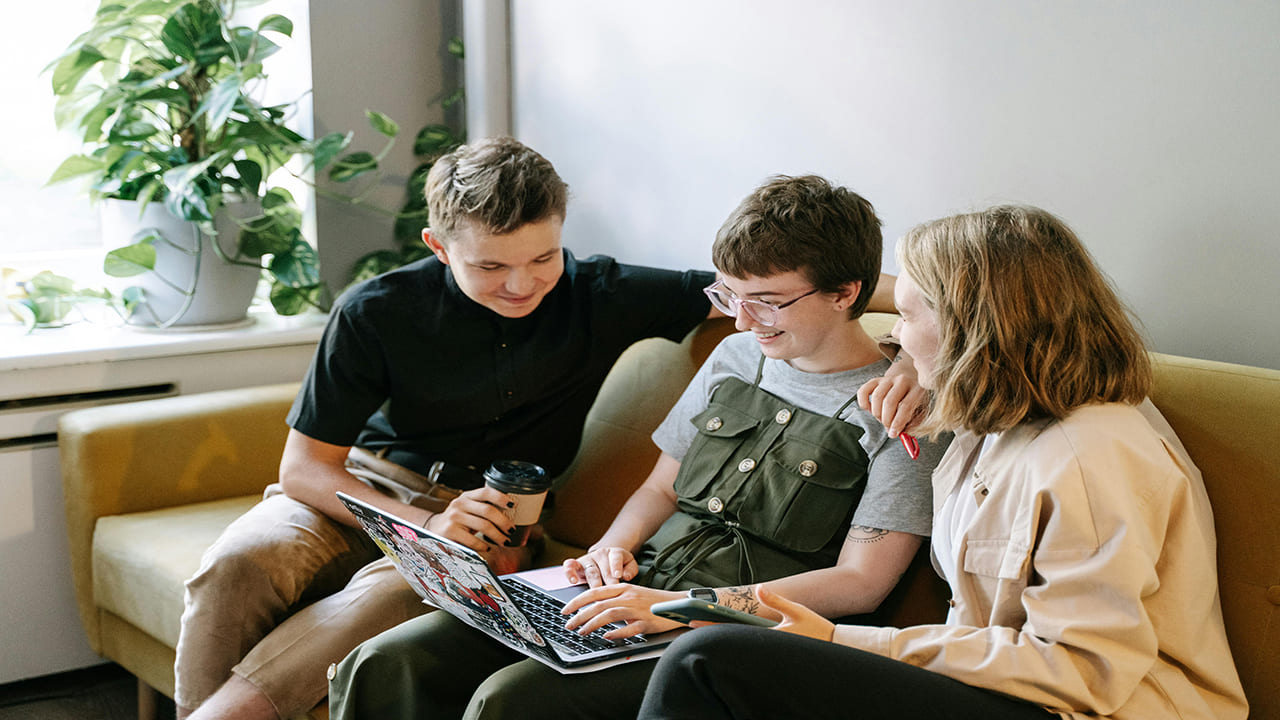
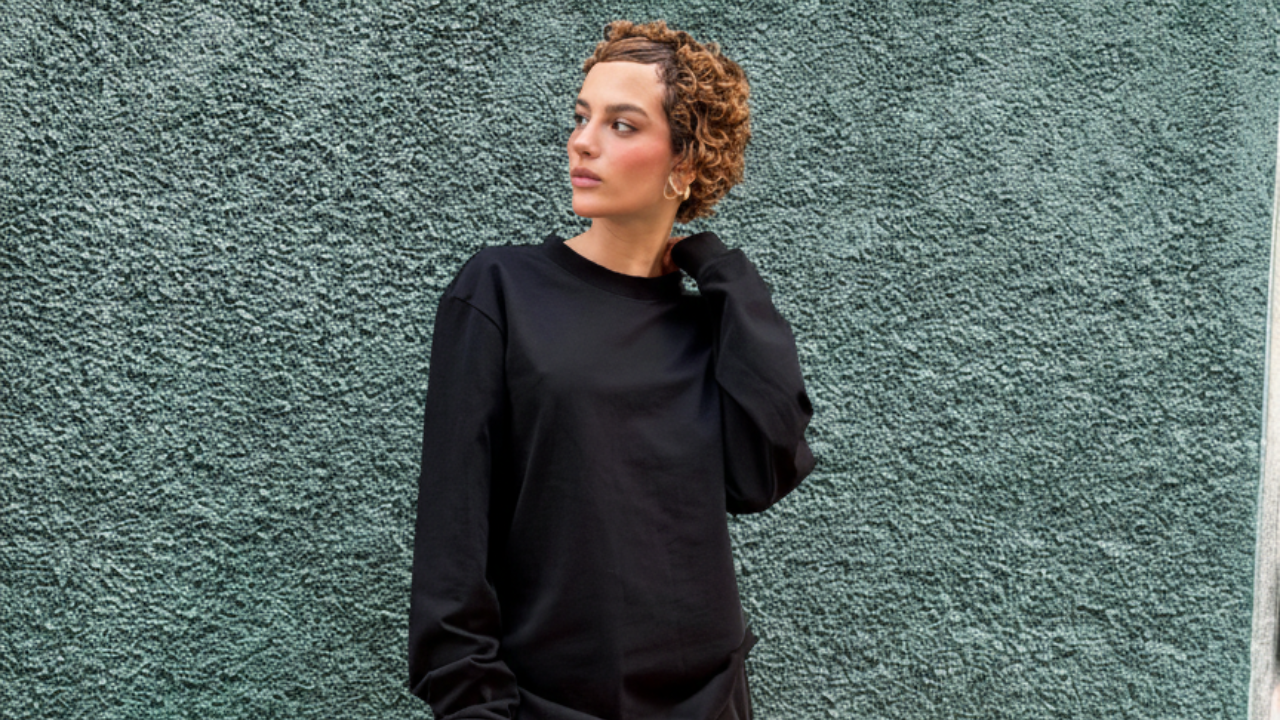
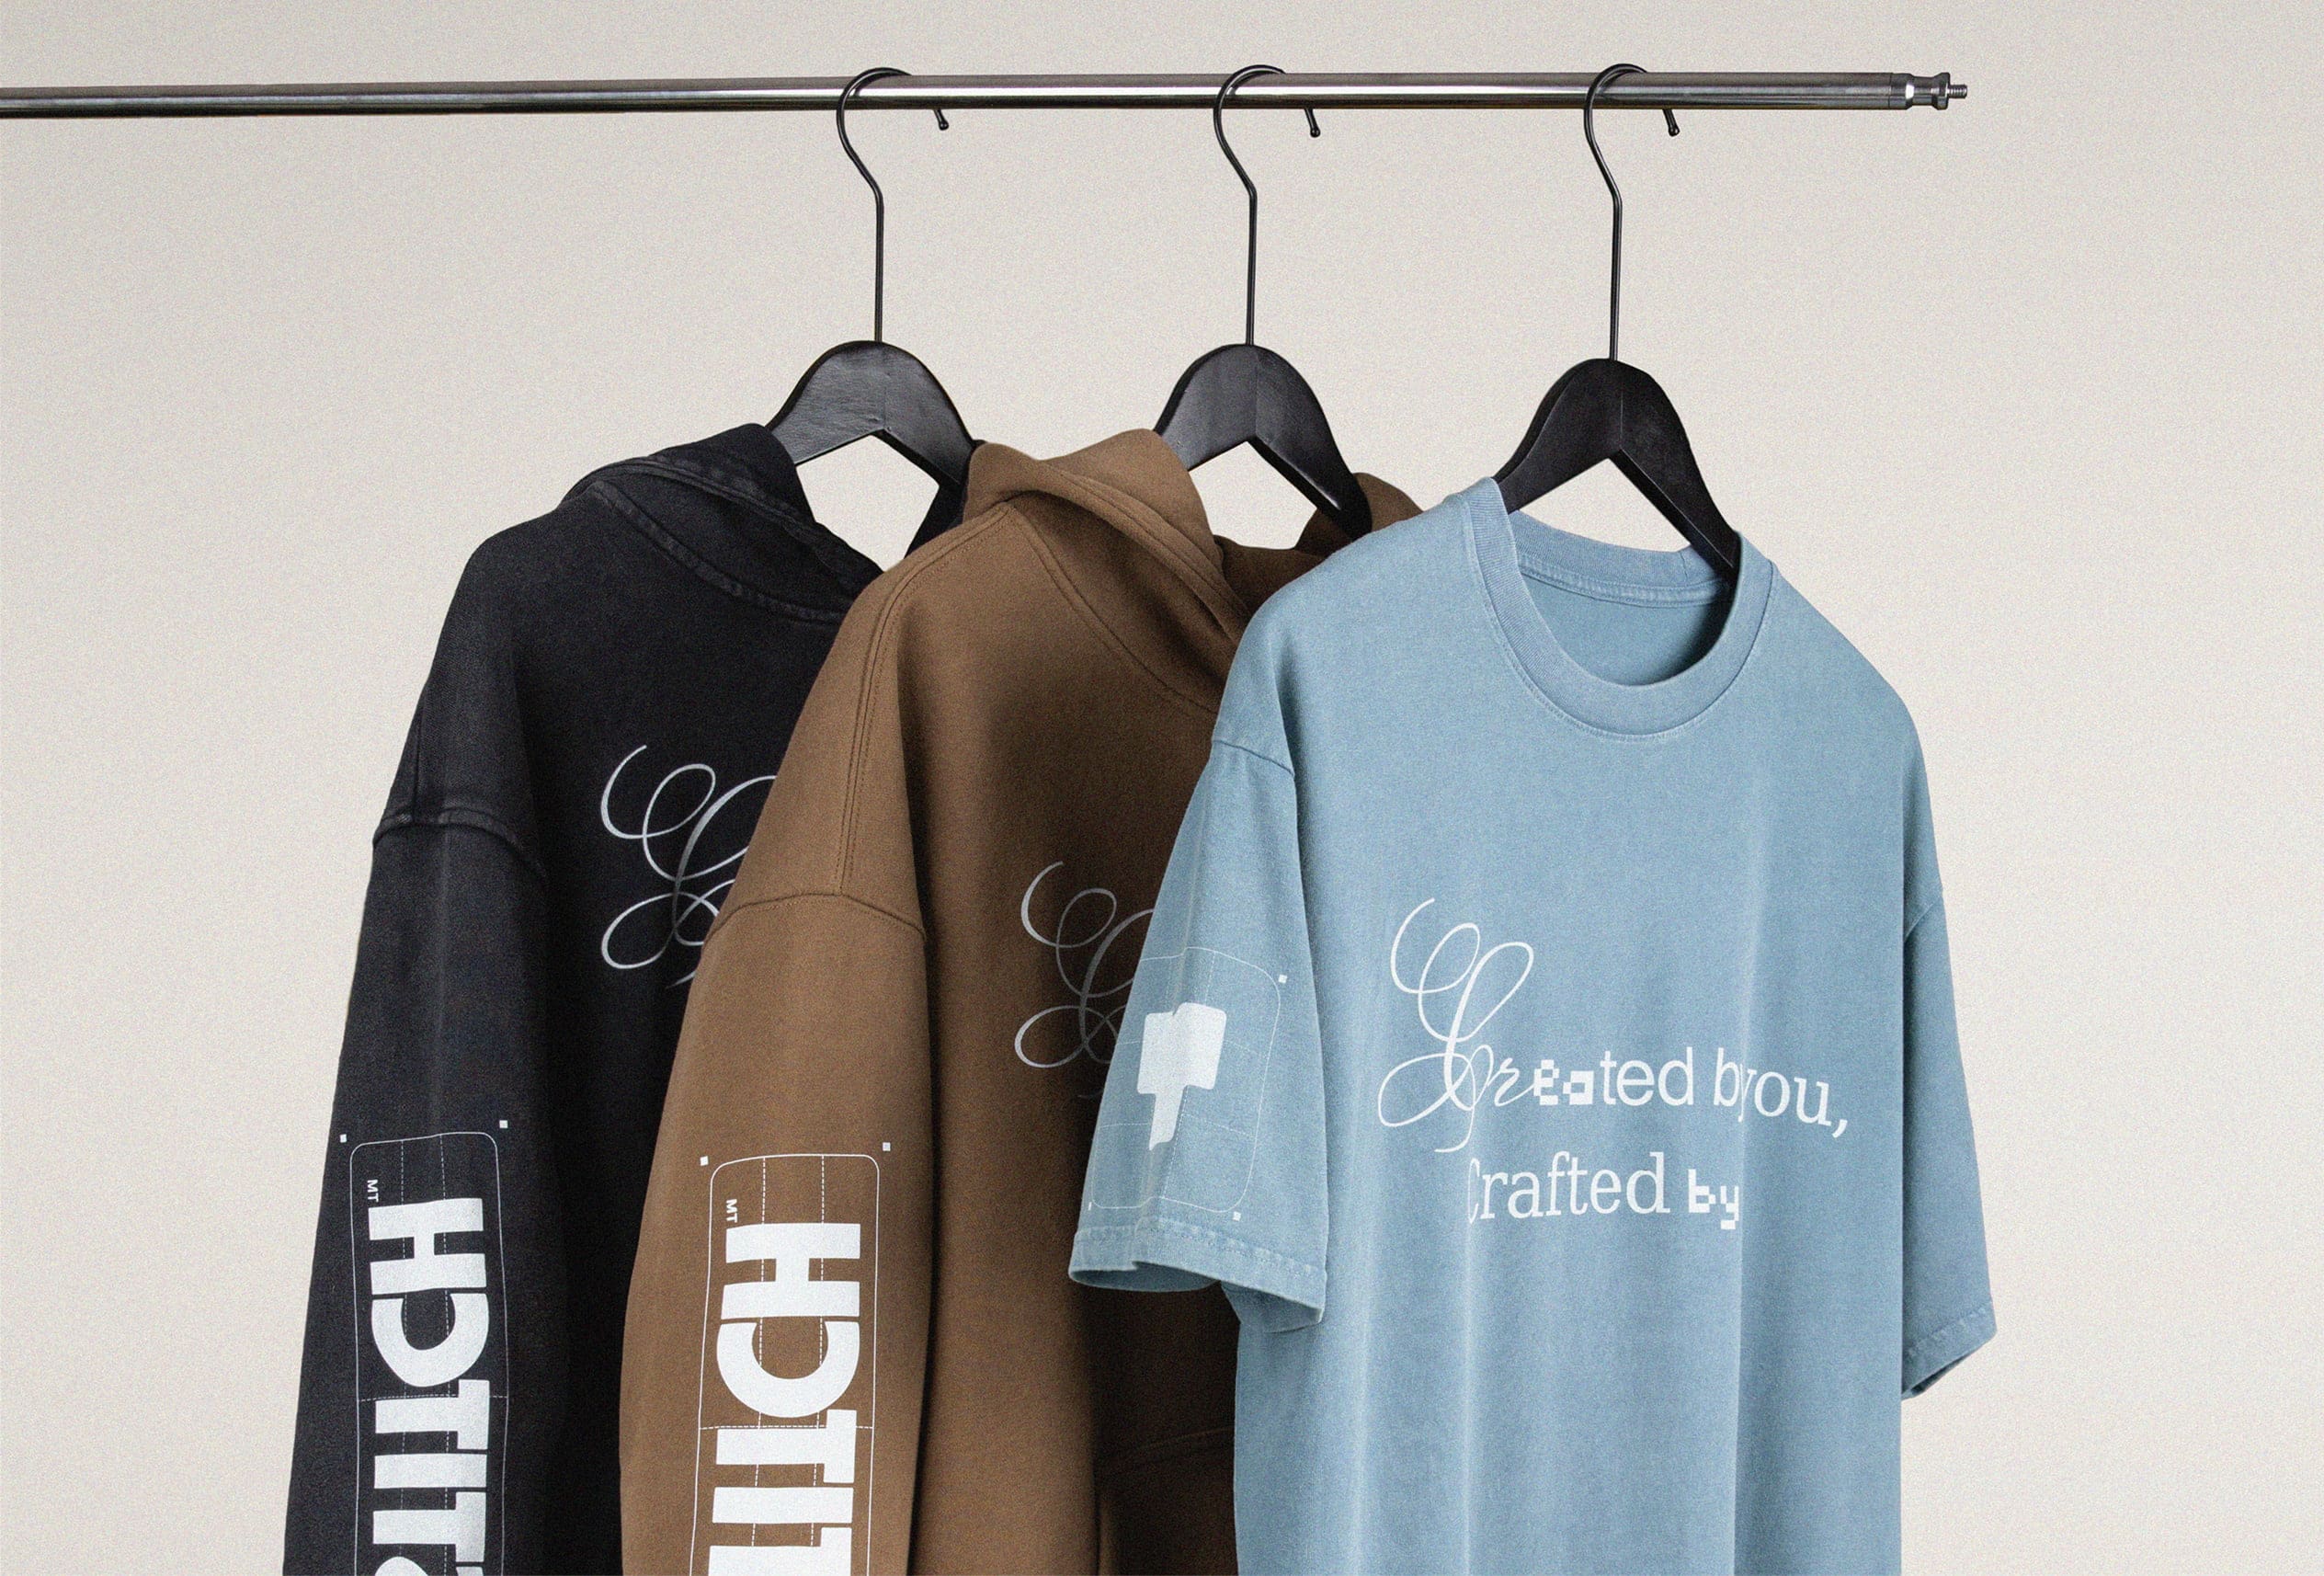
Custom T-shirts: How to Make Your Own Shirts at Home

Wondering how to make your own shirts at home? From print on demand to iron-on transfers and tie-dye, there are plenty of ways to create custom t-shirts. In this guide, we’ll show you nine easy methods for how to make your own shirts and how Tapstitch can help you turn your designs into high-quality products you can sell.
Top 9 Ways to Make Your Own Shirts at Home
There are many ways to make custom shirts at home, each with its own level of creativity, tools, and skill required. Some methods are perfect for beginners looking for a quick DIY project, while others are better suited for those seeking a more professional finish. Let’s start by looking at print-on-demand, the easiest way to get high-quality custom shirts without needing any special equipment.
Print on Demand
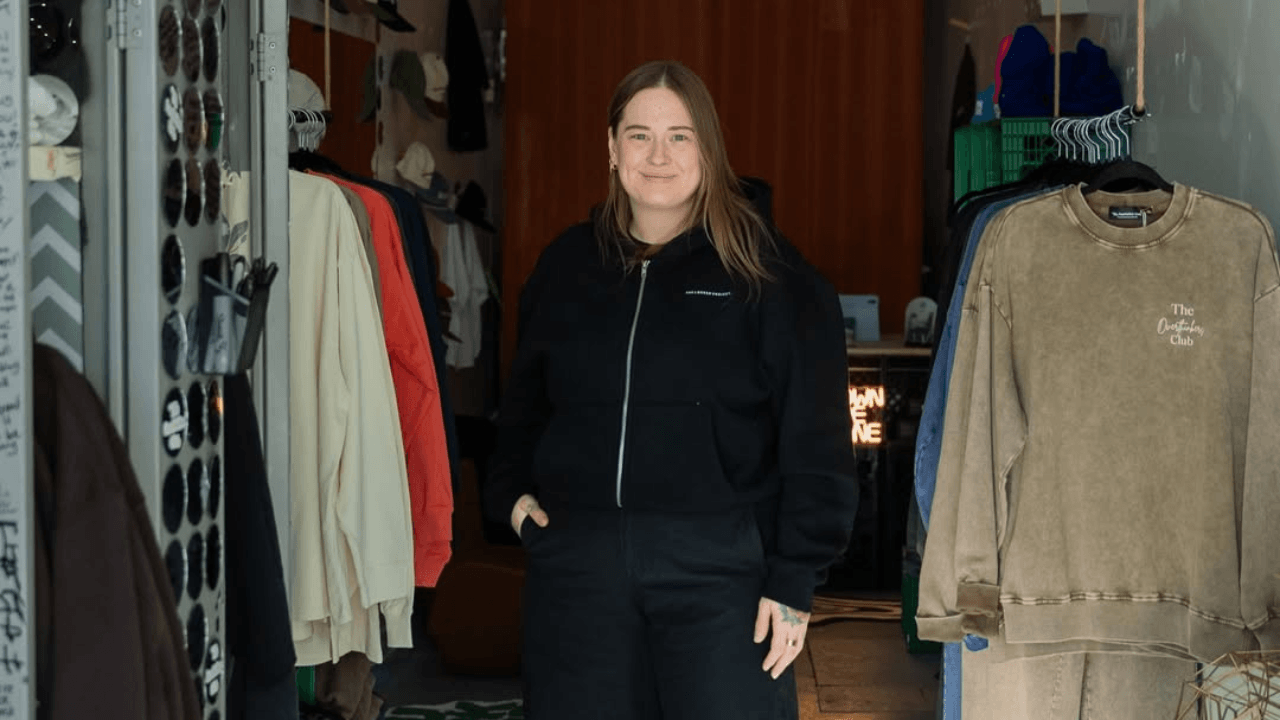
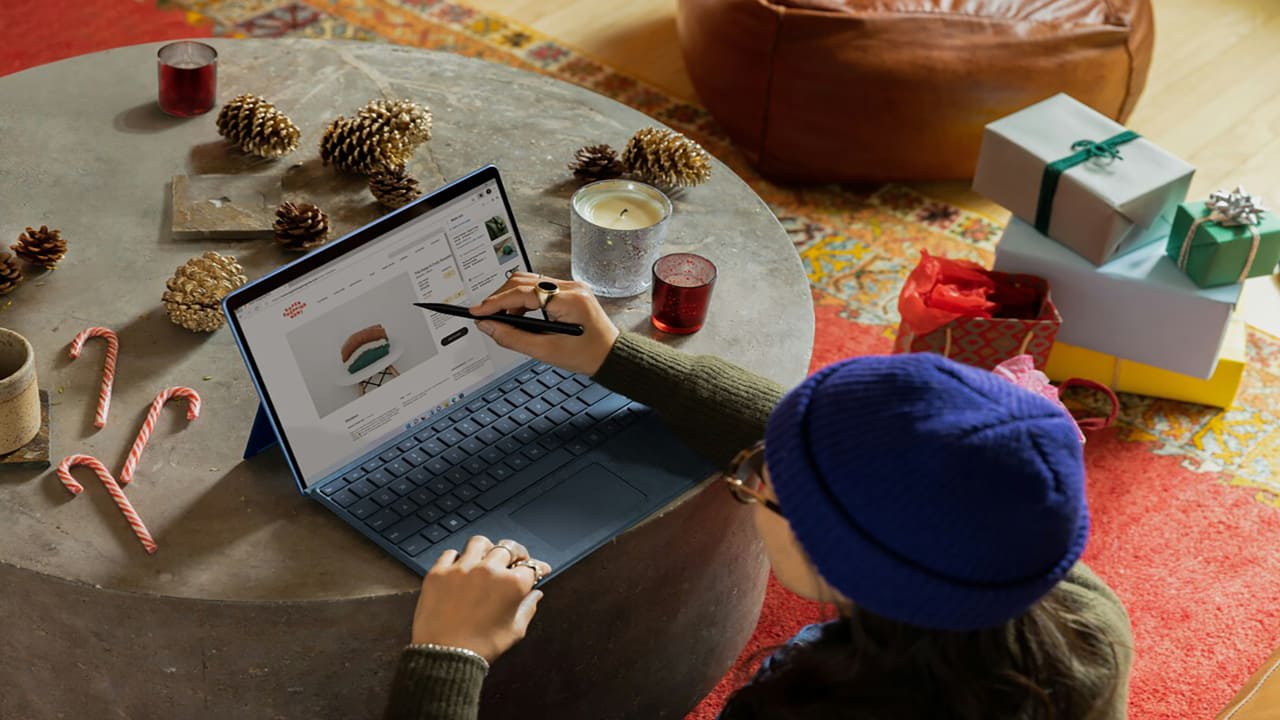
The most convenient and affordable way to make custom products at home is through print on demand. A reliable POD provider, like Tapstitch, takes care of the printing and shipping for you, so you can bring your unique t-shirt ideas to life right from home. Whether you want to create one-of-a-kind gifts for family and friends or launch your own online business to start earning money, POD makes it simple and accessible.
One of the biggest advantages of print-on-demand is that it’s beginner-friendly and requires no equipment investment. You can test multiple designs risk-free, focusing entirely on creativity and marketing while a POD service handles production and logistics.
On the other hand, because you don’t print the shirts yourself, profit margins may be lower compared to bulk production. Turnaround speed and the variety of available products also depend on the POD provider, so choosing a reliable partner is important.
Degree of Difficulty: Beginner-friendly
Even if you’ve never printed a custom t-shirt before, this method is easy to try at home with minimal equipment or technical skills.
How Print on Demand Works at Home
Step 1: Create or upload your design
Start by creating your unique t-shirt design — this could be artwork, a logo, or text. You can also use the Tapstitch online design tool to customize colors, fonts, and graphics.
Step 2: Choose your product
Select the type of garment you want to print on. Many POD platforms offer a wide range of products, from t-shirts and tank tops to custom hoodies, jackets, and more. You can also pick sizes, colors, and fits to suit your style.
Step 3: List your product
Once your design and product are ready, add them to your online store. Most POD services integrate smoothly with popular e-commerce platforms, making it easy to showcase your custom apparel.
Step 4: Order Fulfillment and Shipping
When a place orders, the POD partner takes care of printing, packaging, and shipping. Your design is printed on high-quality garments using professional machines, ensuring vibrant colors and precise details.
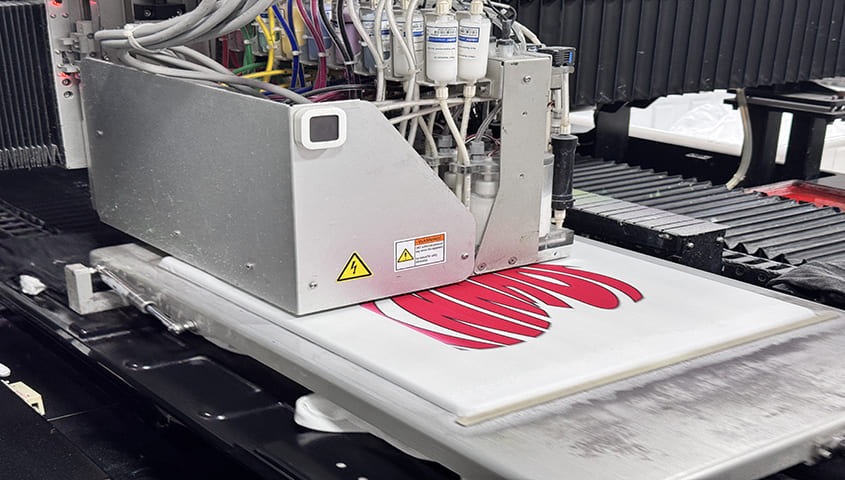
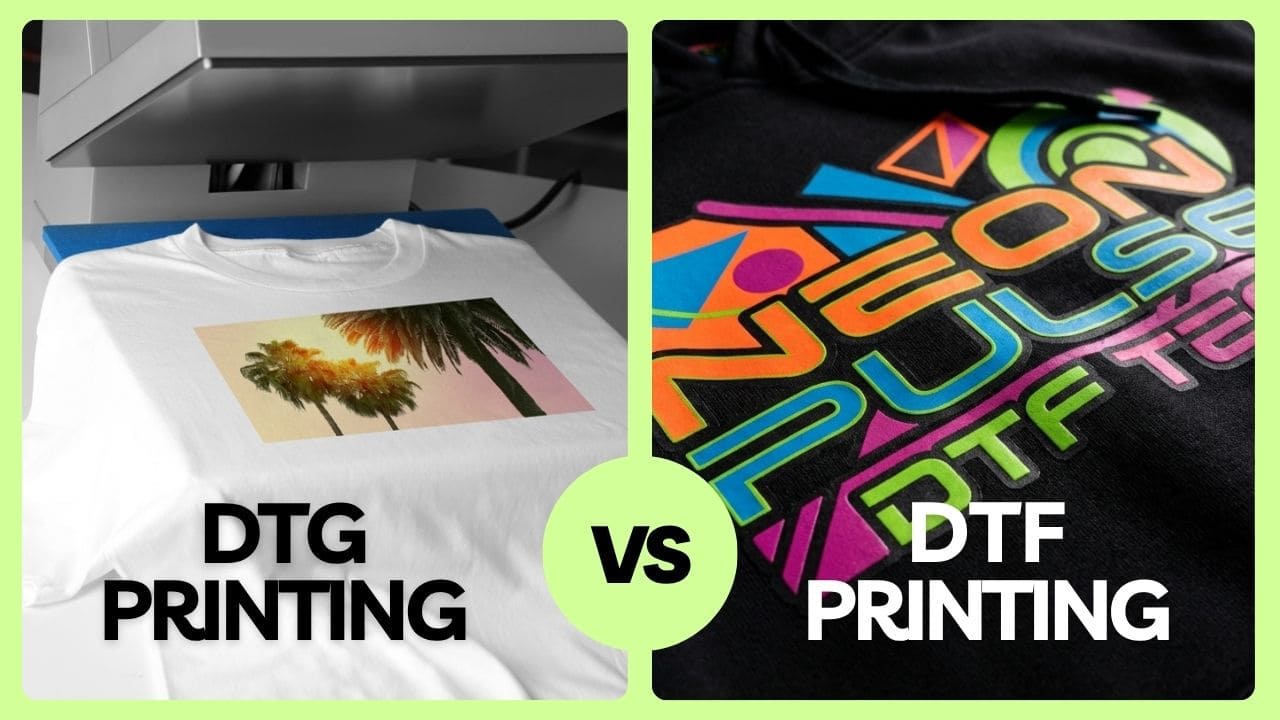
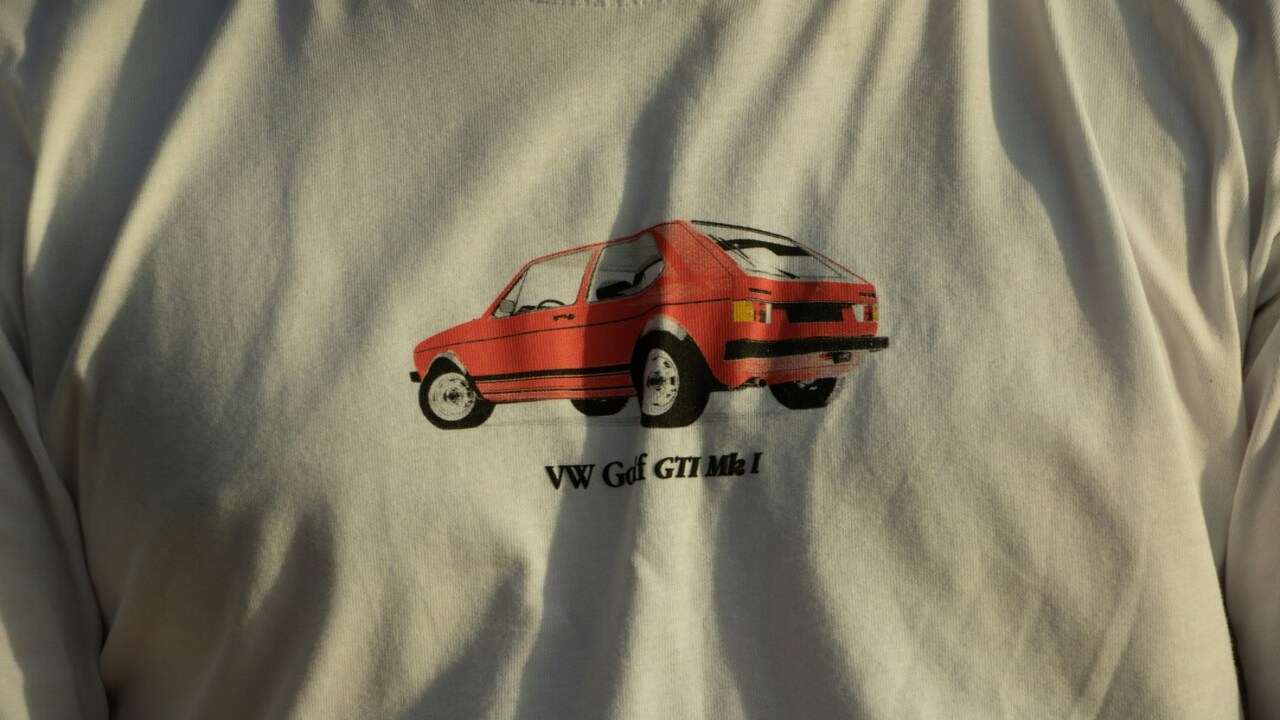
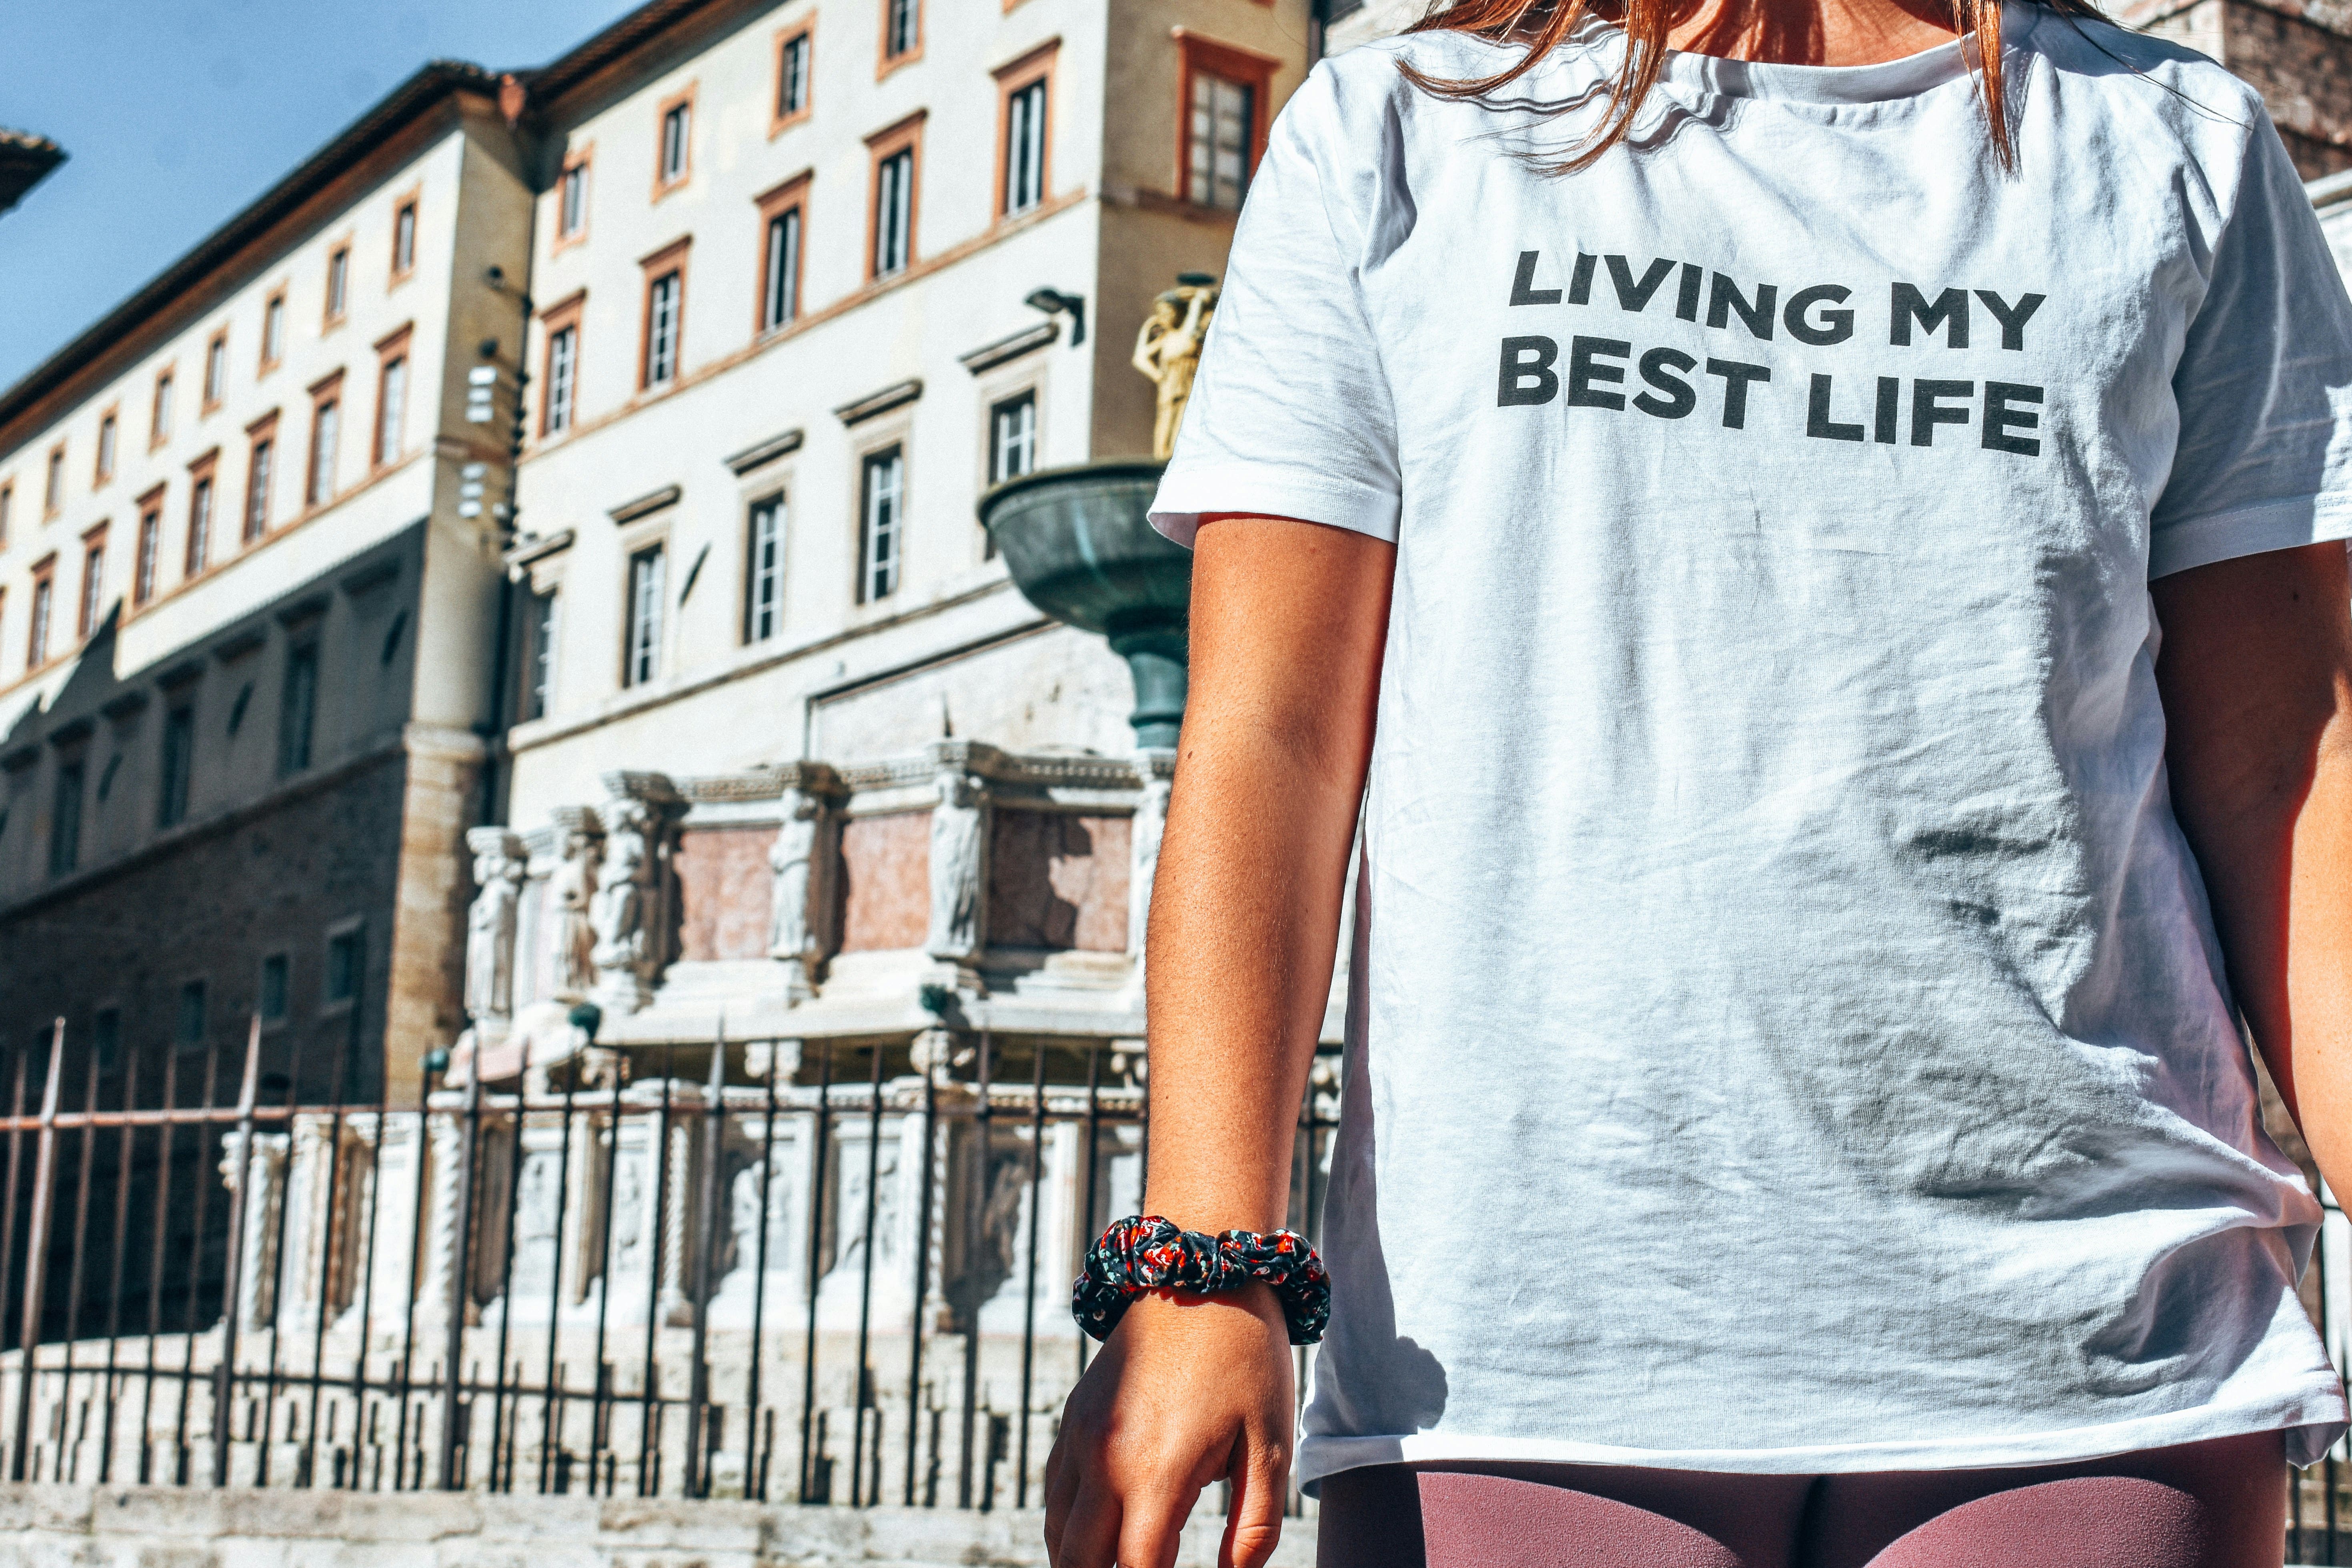
Direct to Garment Printing (DTG)
DTG printing is a high-end inkjet method that prints designs directly onto garments, producing vibrant and highly detailed images. It is ideal for complex graphics, multi-color designs, or photo-quality prints. Because it requires specialized equipment and careful handling, this method is considered demanding and best suited for those ready to invest in professional-grade printing at home or in a small studio.
One of the main advantages of DTG is that it allows for small batches or even single-shirt orders without the need for additional setup like screens or plates, making it flexible for unique or limited-edition designs. On the other hand, the equipment is expensive, requires technical knowledge to operate, and pre-treatment of garments adds an extra step. Printing larger batches can also take more time, which is important to consider when planning production.
How it Works
1. Create design – Use high-resolution digital files and ensure the design is properly sized for the shirt.
2. Prepare garments – Pre-treat cotton shirts to ensure the ink adheres properly.
3. Print design – Load the shirt into the DTG printer, and it prints the design directly onto the fabric.
4. Cure print – Heat-cure the shirt to set the ink and make the print durable.
Degree of Difficulty: Demanding
DTG is considered demanding because it requires specialized equipment, technical knowledge, and careful handling to produce high-quality, detailed prints.
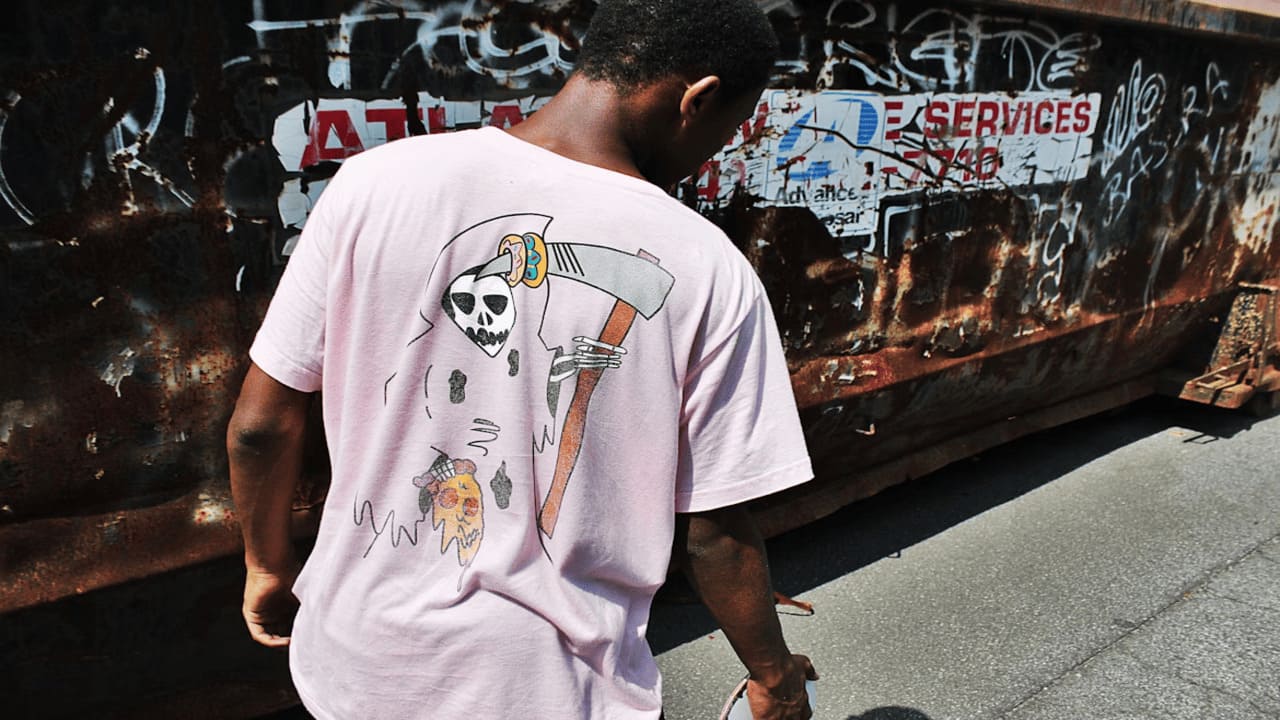
Iron-on Transfer
How to make your own t-shirts at home? Iron-on transfer is a simple and affordable way to create custom t-shirts at home. The design is first printed on special transfer paper and then applied to the garment using heat from a household iron or heat press. This method is ideal for beginners who want to try personalized shirt-making without investing in expensive equipment.
In practice, iron-on transfers are inexpensive and quick to set up, making them ideal for single shirts or small batches. They can produce colorful designs with ease, though the prints are generally less durable than professional methods like DTG. After repeated washes, the design may crack or fade, and highly detailed graphics might not transfer with perfect accuracy.
1. Prepare your artwork digitally and adjust the size to fit your shirt.
2. Follow the manufacturer’s instructions to print the design on the transfer paper.
3. Place the printed transfer paper onto the shirt and use an iron or heat press to transfer the design.
4. Allow the paper to cool slightly, then peel off the backing to reveal the printed design.
Degree of Difficulty: Basic
Iron-on transfers require minimal tools and no advanced technical skills, making them easy to use at home.
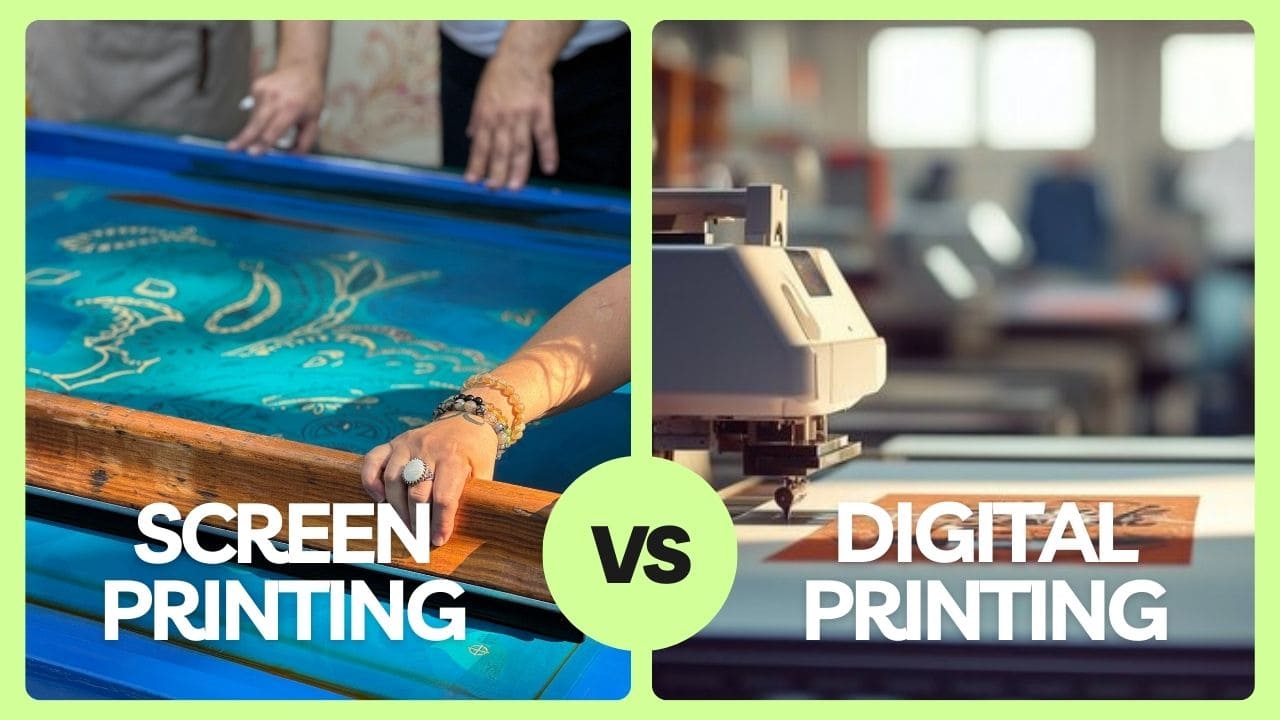
Screen Printing
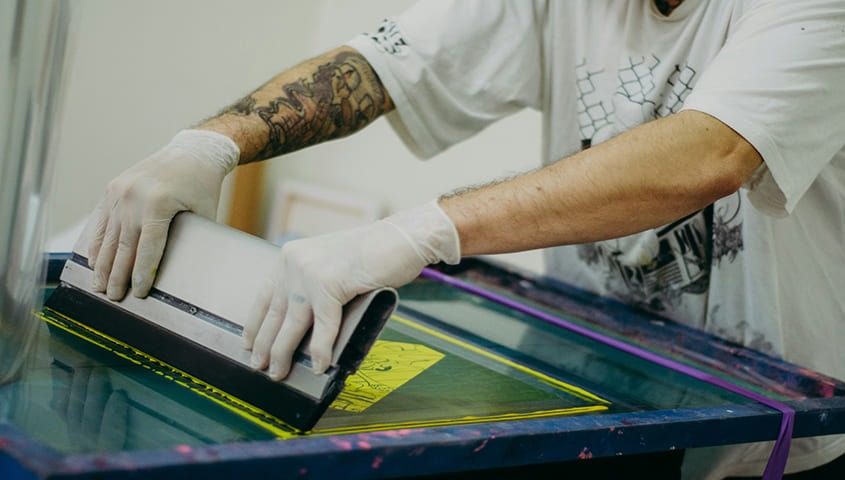
Screen printing is one of the most popular and time-tested methods for custom clothing. It uses stencils (or “screens”) to apply layers of ink directly onto fabric, creating bold, long-lasting designs. This technique is widely used in the fashion industry and is especially effective for bulk orders with simple graphics or solid colors.
Screen printing delivers vibrant, durable prints that can withstand many washes. It’s cost-effective for large batches, as setup costs are spread across multiple items. However, it is less efficient for small runs because each color requires a separate screen, making detailed or multi-color designs more complex and time-consuming.
How to Make Your Own T-shirt with Screen Printing
1. Create stencil – Prepare a screen with your design as a stencil.
2. Apply ink – Spread ink across the screen, pressing it through the open areas onto the garment.
3. Cure the print – Use heat to dry and set the ink for durability.
Degree of Difficulty: Technically demanding
Screen printing requires specialized tools and careful setup for each color layer, making it more suitable for creators willing to handle a detailed, hands-on process.
Curious about the difference between DTG and screen printing? Learn more in our DTG vs Screen Printing guide.
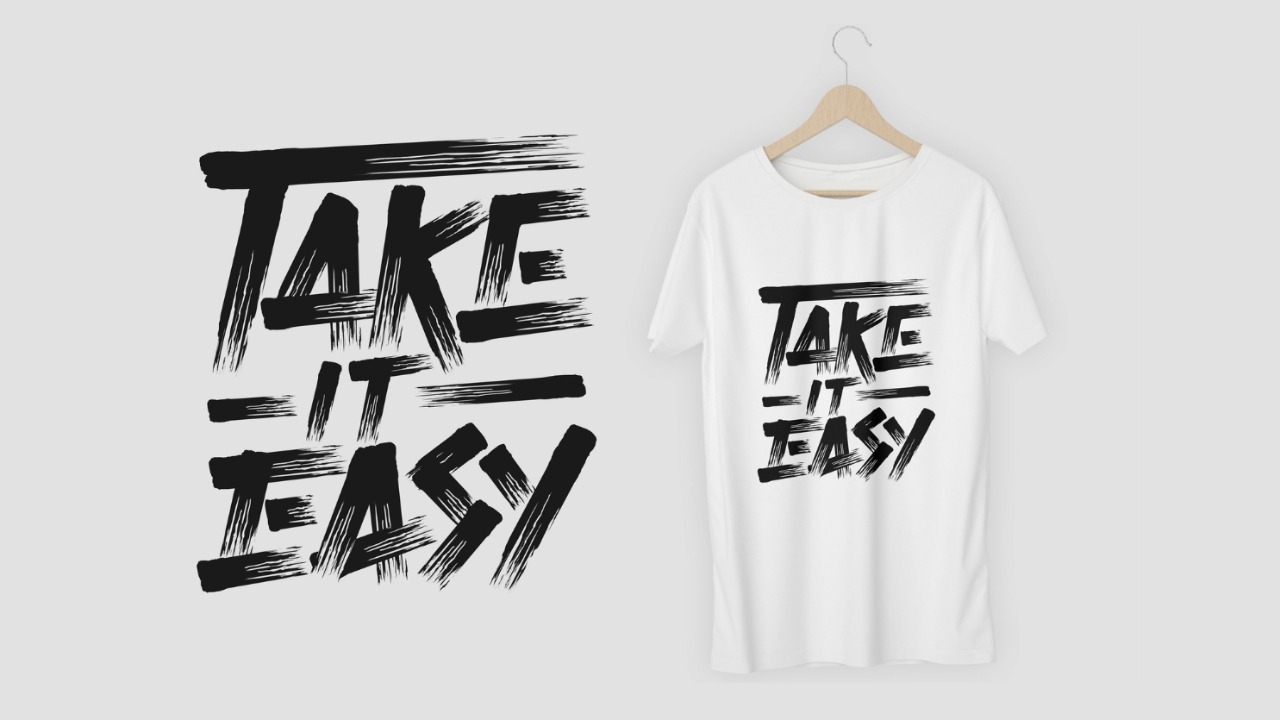
Heat Transfer Vinyl (HTV)
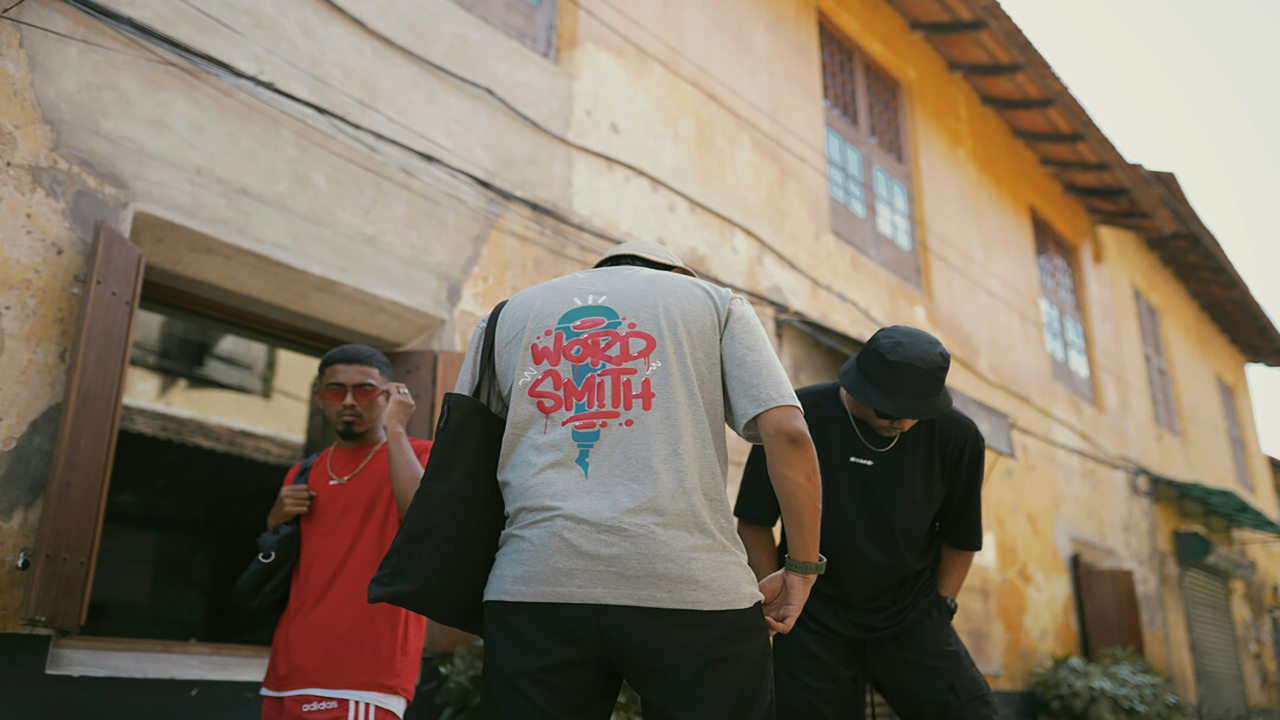
Heat Transfer Vinyl (HTV) is a popular method for making custom t-shirts at home because it allows you to cut out shapes, text, or logos from sheets of colored vinyl and then transfer them onto fabric using heat. This technique is especially loved for bold, solid-color designs such as team names, slogans, or simple graphics. Unlike iron-on transfers that print an image, HTV gives your design a clean, professional look with a slightly raised texture on the fabric.
HTV creates vibrant, durable designs that last longer than iron-on transfers, especially when cared for properly. It works well for both small-scale projects and personalized single pieces, making it perfect for home creators. You can even get creative by adding catchy text to your shirts. Take a look at the best t-shirt quotes for inspiration that fit every style and occasion. However, the method is limited when it comes to complex, multi-color, or highly detailed graphics since each color requires separate cutting and layering. For larger quantities, the weeding and pressing process can also become time-consuming.
Tools required: Vinyl cutter or cutting machine, HVT sheets in desired colors, heat press or household iron, and weeding tools.
Degree of Difficulty: Medium
HTV is manageable for most beginners with the right tools, but it does require patience and precision during cutting and weeding.
Fabric Paints
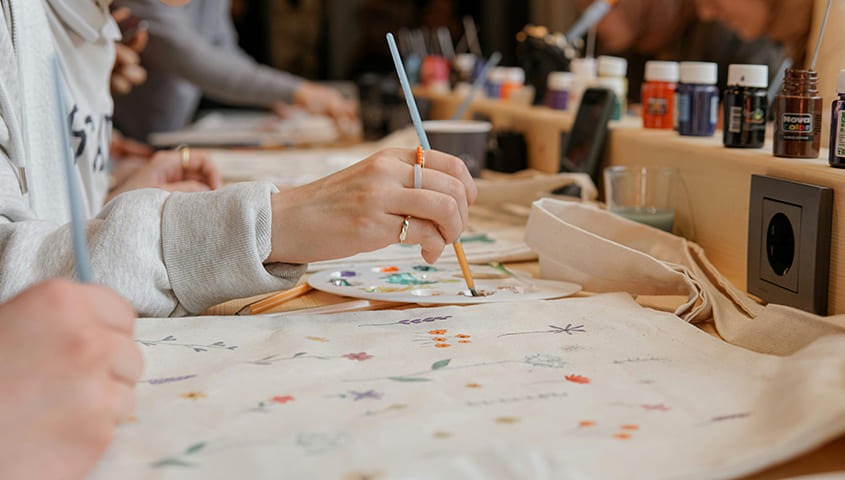
Fabric paints offer a creative and hands-on way to customize t-shirts at home. With brushes, stencils, or even freehand designs, you can apply vibrant colors directly onto the fabric, giving your shirts a unique, artistic touch. This method is especially suitable for crafters who enjoy painting and want full control over every detail of their design. Unlike printing techniques, fabric paints allow for textured effects and layering of colors.
There’s something uniquely satisfying about painting directly onto fabric. With fabric paints, you can experiment freely, layering colors, adding textures, or creating hand-drawn designs that can’t be replicated by machines. This approach is affordable and accessible for beginners, but it can take time and patience to perfect each piece. The results may vary depending on your technique, and without proper heat-setting, the colors may fade after washing.
How to Design a Shirt at Home
- Create design – Plan your artwork and choose colors.
- Apply paint – Use brushes, sponges, or stencils to apply paint directly to the fabric.
- Dry and set – Let the paint dry fully, then heat-set it according to the manufacturer’s instructions to improve durability.
Degree of Difficulty: Easy
This method is easy for anyone to try at home, even without prior experience, and it encourages experimentation with color and design.
Embroidery Design
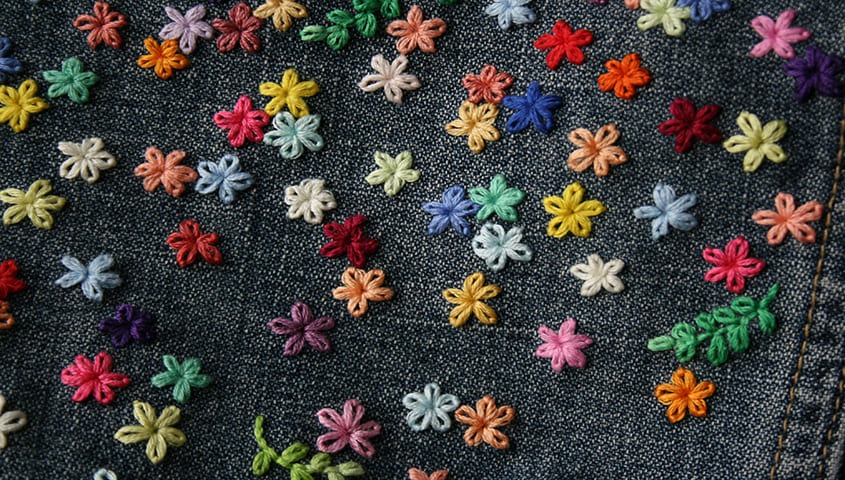
There’s a special charm in adding thread to fabric. Embroidery transforms a simple t-shirt into a piece of wearable art, with raised textures and intricate patterns that give your design a luxurious, long-lasting feel. Unlike printing methods, each stitch is deliberate, creating a tactile design that stands out both visually and physically. This technique is perfect for anyone looking to elevate their shirts with a premium, handcrafted touch.
Embroidery gives your shirts a tactile, premium feel that instantly elevates their look. The stitched designs hold up well over time and wash after wash, making them ideal for logos, lettering, or intricate patterns. On the flip side, embroidery demands patience and skill — mistakes are hard to fix, multi-color designs take longer, and the right tools are essential to get professional-looking results. While it’s more work than simple printing methods, the attention to detail makes each shirt feel truly special.
Degree of Difficulty: Challenging
It demands precision, practice, and specialized equipment, but the results are rewarding for those willing to invest the effort.
Sublimation
Imagine a design that doesn’t just sit on the surface of a t-shirt but actually becomes part of the fabric itself. That’s what sublimation offers. By turning dye into gas under high heat, this method bonds the colors directly into polyester fibers. The result is a print that feels weightless, looks incredibly vibrant, and holds up through countless washes. It’s especially loved for bold, all-over patterns and sportswear where durability and brightness are essential.
What makes sublimation stand out is the finish—it produces colors that stay bright wash after wash, without peeling or cracking, and the print feels like part of the fabric rather than something laid on top. This makes it a great choice for detailed graphics or edge-to-edge designs. The downside is that you’re limited to polyester garments, and the process relies on dedicated equipment. It also takes some practice to master, so it’s not quite as straightforward as beginner-friendly methods like print-on-demand.
How to Print on Shirts Using Sublimation
1. Start by preparing your artwork in design software and printing it onto sublimation paper with special inks.
2. Place the transfer on top of a polyester shirt and apply firm heat and pressure using a heat press.
3. When exposed to heat, the ink transforms into gas and bonds with the fabric fibers.
4. Once the paper is removed, the shirt reveals a smooth, vibrant design that’s now part of the garment itself.
Degree of Difficulty: Intermediate
Sublimation requires the right tools and some technical knowledge, but it rewards you with professional-quality results once mastered.
Tie-dye
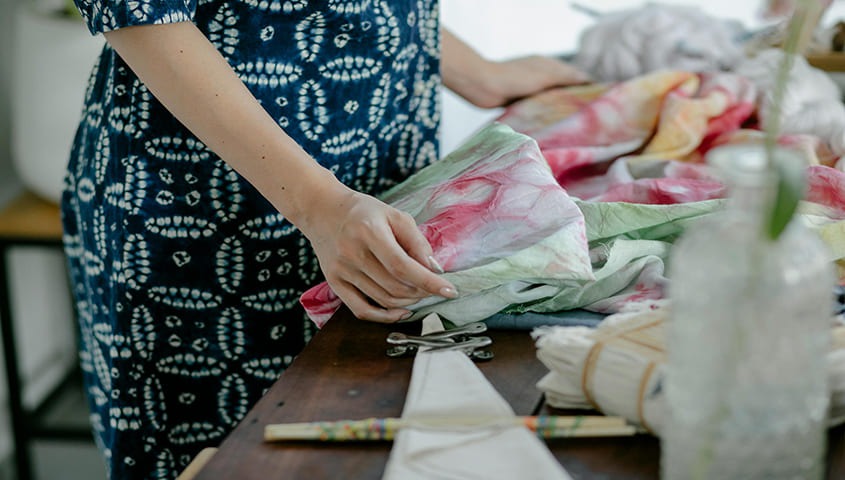
Few DIY methods feel as playful and creative as tie-dye. It’s not just about adding color to a shirt — it’s about experimenting with folds, twists, and rubber bands to see how each pattern unfolds. No two results are ever the same, which makes this technique a favorite for people who want shirts with a personal, handmade touch. Tie-dye works especially well on cotton or other natural fabrics that can absorb dye deeply, producing bold, vibrant patterns.
The beauty of tie-dye lies in its unpredictability — each shirt becomes a one-of-a-kind piece. It’s affordable, requires minimal equipment, and invites a lot of creativity, making it a fun choice for small batches or even group activities at home. On the downside, it can get messy, and you don’t always have full control over the final outcome. Achieving consistency across multiple shirts is tricky, which may be a drawback if you’re aiming for a uniform product line.
How it Works
- Choose a plain cotton shirt and dampen it slightly.
- Fold, twist, or scrunch the fabric and secure it with rubber bands to create your base pattern.
- Apply different dye colors to the sections, letting the fabric soak up the pigments.
- Place the shirt in a plastic bag and allow the colors to set, usually for several hours or overnight.
- Rinse, wash, and dry to reveal the unique design.
Degree of Difficulty: Manageable
It takes a bit of practice to control folding techniques and color blending, but overall, tie-dye is a very approachable method, striking a balance between creativity and accessibility.
How to Start a Small Clothing Business with Print on Demand

Building a clothing business from home has never been more achievable. With the Print on Demand model, you don’t need to stockpile inventory or invest in costly machinery. Instead, you can focus on the part that excites you most — designing. If you’ve ever searched for how to make your own shirts and actually sell them, this approach gives you a low-risk path to turn that idea into a brand.
Research the Market to Design Your Shirts
Every great shirt business begins with an audience. Who are you designing for — streetwear fans, fitness communities, or local causes? Look into what styles they buy, what colors they wear, and what messages resonate. Understanding your audience also helps you choose the right design size for shirts, ensuring your graphics look balanced and professional. This research not only sparks design ideas but also saves you from creating products nobody wants.
Choose a Reliable POD Supplier
Your supplier is the backbone of your business. A good POD partner handles printing, packing, and shipping, so you can focus on building marketing. Look for:
- Print quality (your shirts should feel as good as they look)
- Fast shipping times (customers don’t want to wait weeks)
- Customization options (labels, packaging, styles)
A trustworthy supplier ensures your brand feels professional right from the first order. Companies like Tapstitch provide both flexibility and consistency, so when demand grows, you can launch the product with confidence.
Print Your Custom Shirts with Ease
One of the biggest benefits of POD is the simplicity. You upload your design, preview it on mockups, and order samples to check the fit and print quality. No MOQs, no wasted inventory—just one shirt at a time until you’re ready to scale. This makes experimenting with different ideas manageable and low-risk.
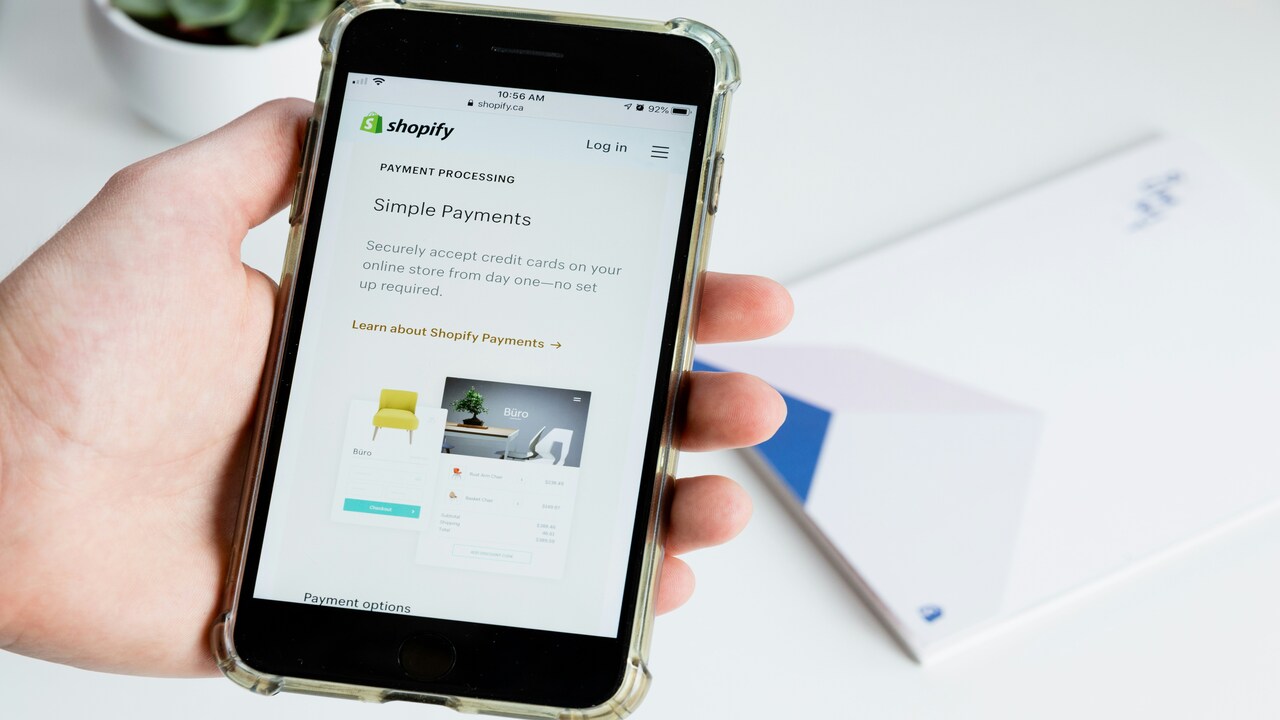
Set Up Your Online Store at Home
Platforms like Shopify, Etsy, or even your own website allow you to connect with buyers worldwide. POD services integrate directly with these platforms, so when a customer places an order, it automatically flows through to production and fulfillment. This seamless integration saves you time, reduces errors, and makes your business look professional from day one.
Promote Your Clothing Business
Even the best t-shirt design ideas won’t sell if no one knows about them. Promotion is where you put your creativity to work again:
- Share behind-the-scenes content on TikTok or Instagram.
- Reach niche communities through Facebook groups or Reddit.
- Offer limited drops to build excitement.
- Use influencer partnerships to reach wider audiences.
Marketing is about showing people not just the shirt, but the story behind it. That’s what makes your brand memorable.
T-shirt Design Online Free with Tapstitch
Creating your own t-shirts is easier than ever. With Tapstitch, you can pick high-quality fabrics, explore your designs with simple online tools, and see your ideas come to life.
Register for a Free Account
Getting started with Tapstitch takes only a few minutes. You can sign up for free and explore everything the platform has to offer without any upfront commitment.
Pick your shirt
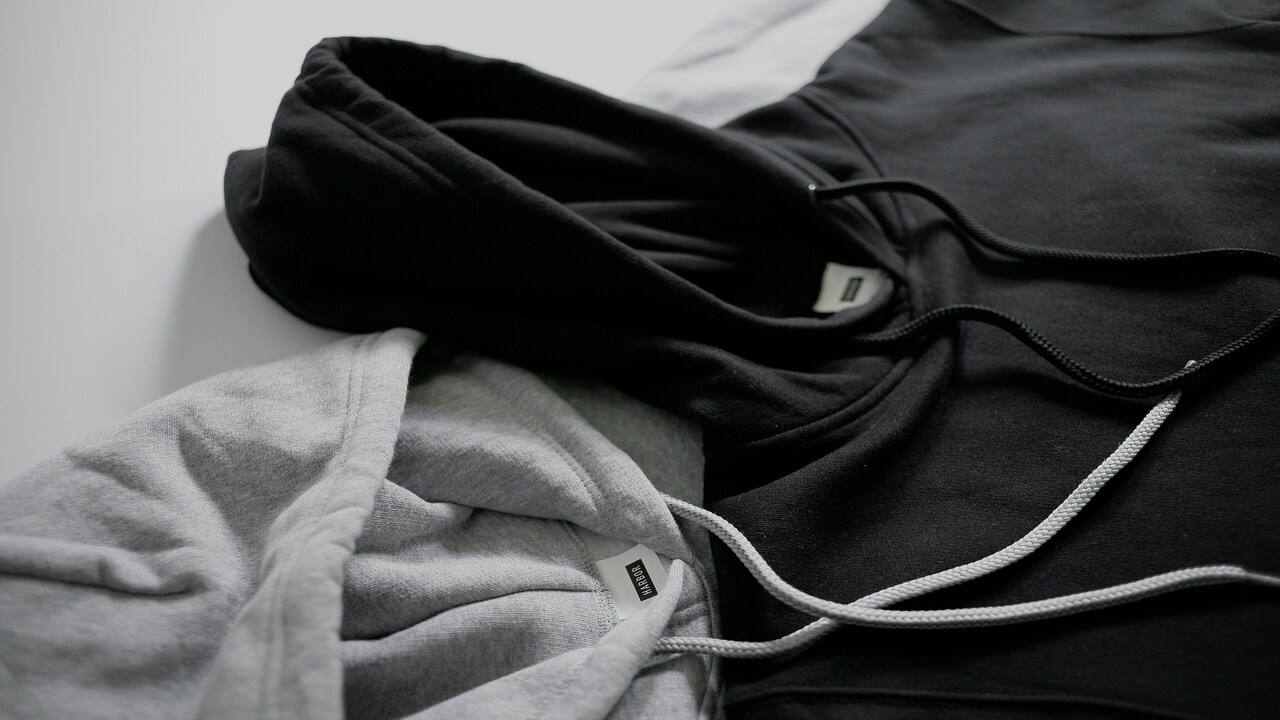
Unlike generic POD suppliers, Tapstitch focuses on fashion-driven apparel. From everyday essentials like t-shirts and tank tops to trend-forward pieces and hoodies, every item is crafted with premium fabrics sourced from top suppliers. Plus, with five to six new styles added each week, you’ll always have fresh options to keep your store ahead of the curve.
Start Designing Your T-shirt
The Tapstitch design tool keeps the creative process simple while giving you plenty of tools to explore. Upload your own artwork, remove backgrounds with a single click, or browse through a built-in library of graphics and fonts. High-quality mockups are generated instantly, making it easy to see how your design looks on real garments before you print. It’s designed to help you move from idea to finished product in just a few minutes.
Print and Receive Your Custom Shirt
Once your design is ready, place your order and let Tapstitch handle the rest. The platform prints, packages, and ships your shirt directly to you or your customers
FAQ
What is the Best Method to Make Your Own T-shirts at Home?
The best method depends on your goals and skill level. While there are several ways to create shirts at home, Print on Demand (POD) stands out as the most convenient and versatile option. It allows you to produce professional-quality designs without investing in expensive equipment or managing inventory. For beginners, fabric paints or tie-dye are simple and low-cost.
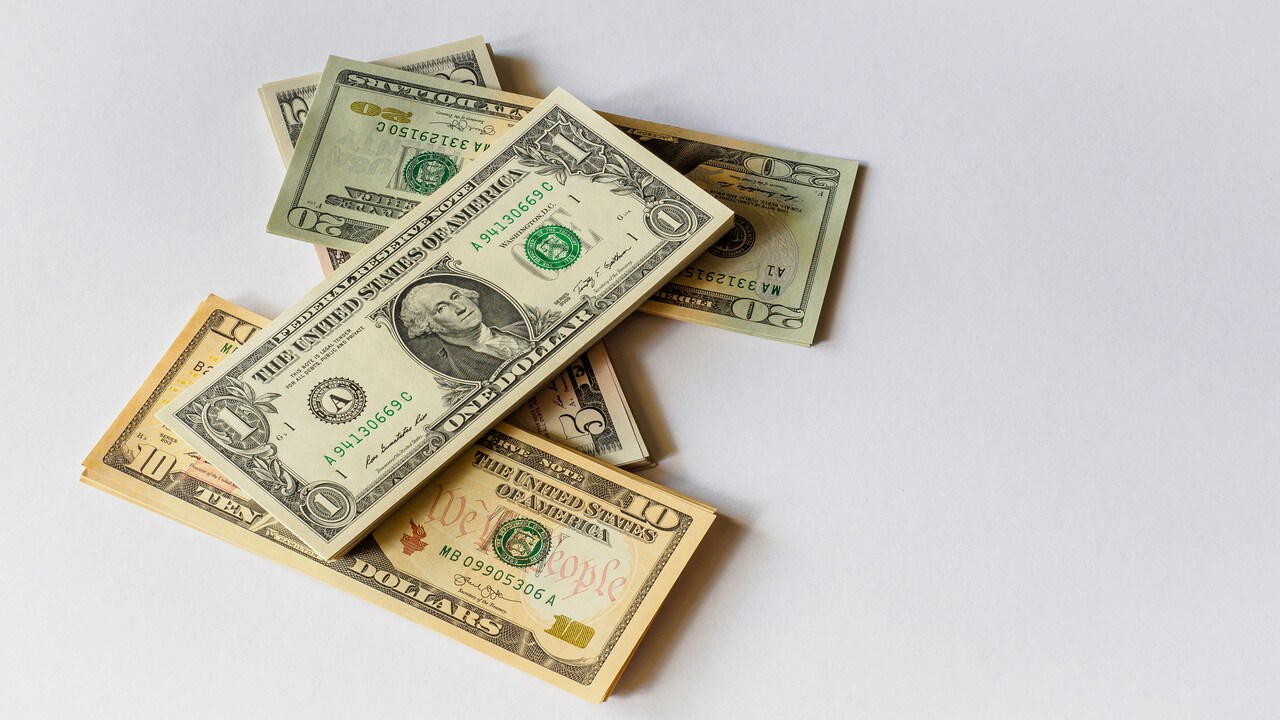
How Much Does it Cost to Make Your Own Shirt?
Costs vary by method. DIY options like fabric paints or tie-dye can start under $10 per shirt. POD lets you start for free and with no minimum orders, so you only pay when a customer buys, making it a risk-free way to test your designs.
Can You Make Money by Making Custom T-shirts?
Absolutely. Many people turn their designs into a small business using Print on Demand. With Tapstitch, you can sell shirts online through popular platforms like Etsy, Shopify, and more, all seamlessly integrated so orders are fulfilled automatically. With the right designs and marketing, even a home-based T-shirt project can generate income.
Final Thought: How to Print on Shirts at Home
If you're wondering how to make your own shirts, there are plenty of options to try at home — from simple iron-on transfers and tie-dye to fabric paints and embroidery. But if you want the easiest, most professional-looking results, especially if you plan to sell your designs, print-on-demand is by far the best choice. With POD, you can upload your designs, choose from high-quality shirts, and have each order printed and shipped automatically. It takes care of the complicated parts, leaving you free to focus on creativity and growing your ideas into a small clothing business.


.jpg)


.jpg)

.png)
.jpg)


.jpg)
.jpg)


.jpg)
.jpg)
.jpg)
.jpg)
.jpg)
%20(1).jpg)

.png)

.png)


%20(1)%20(1).jpg)


.png)
.png)


.jpg)

.jpg)
.jpg)
.png)


.png)

.jpg)
.png)
.png)


.png)


Inspiration Starts Here. Let's Make Something Beautiful.
Make high quality clothes easily with Tapstitch.