
Recent Searches
Popular Searches

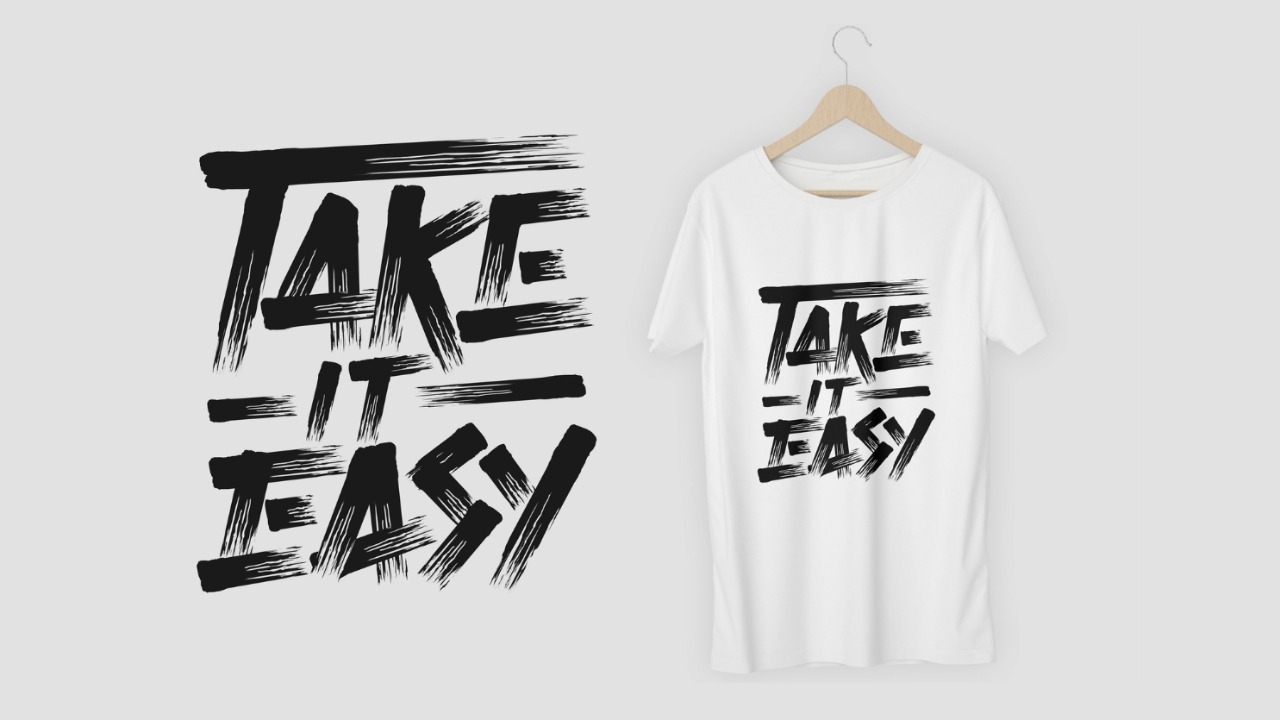
How to Put a Picture on a Shirt: A Print on Demand Guide

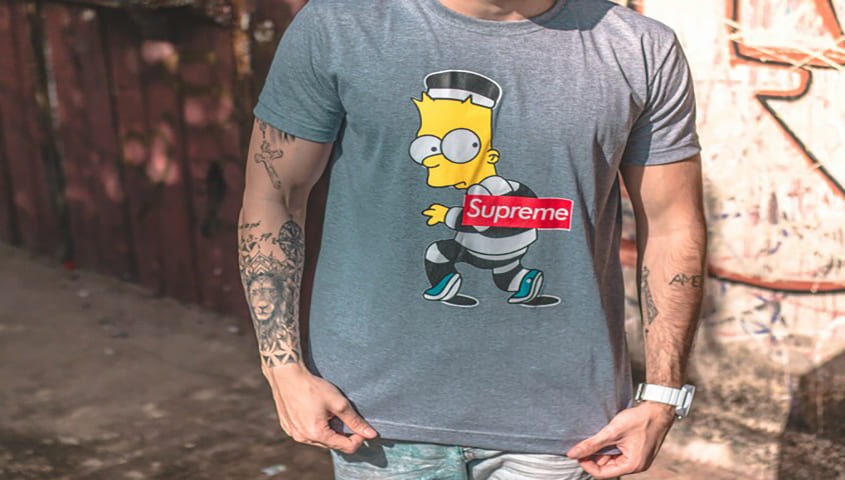
Your T-shirt can be more than just clothing—it's a canvas for your personal style. Whether you want to wear a favorite photo, your own artwork, or a creative design for a band or movie, getting a picture onto a shirt has never been easier. From simple DIY methods you can do at home to professional printing techniques like DTG and DTF, you can create a one-off gift or launch an entire clothing line. Let's explore how to put a picture on a shirt and find the best method for your needs.
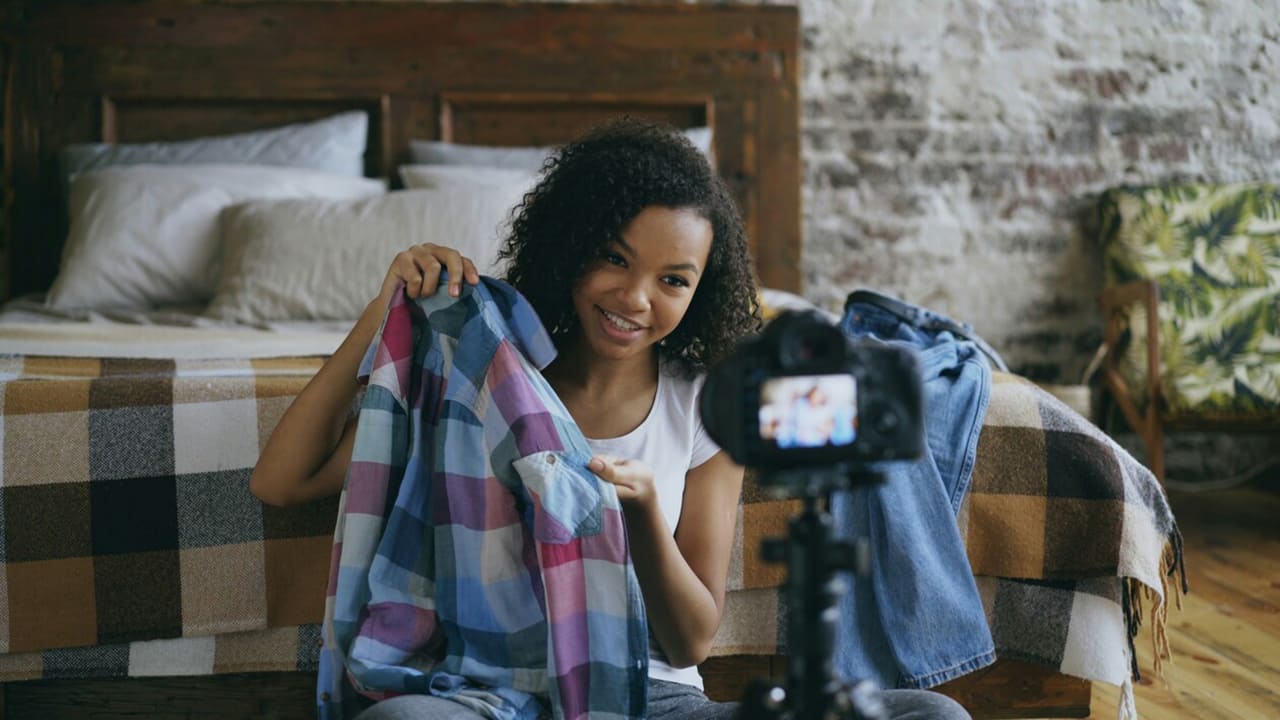
How to Put a Picture on a Shirt at Home Step by Step
The beauty of DIY custom t-shirts is how approachable they are. With just a printer, transfer paper, and an iron, you can put your favorite image onto a t-shirt in under an hour. The results might not last as long as professional methods, but if you're just making a gag shirt or trying the process for fun, it’s a great start. Here’s the full breakdown.
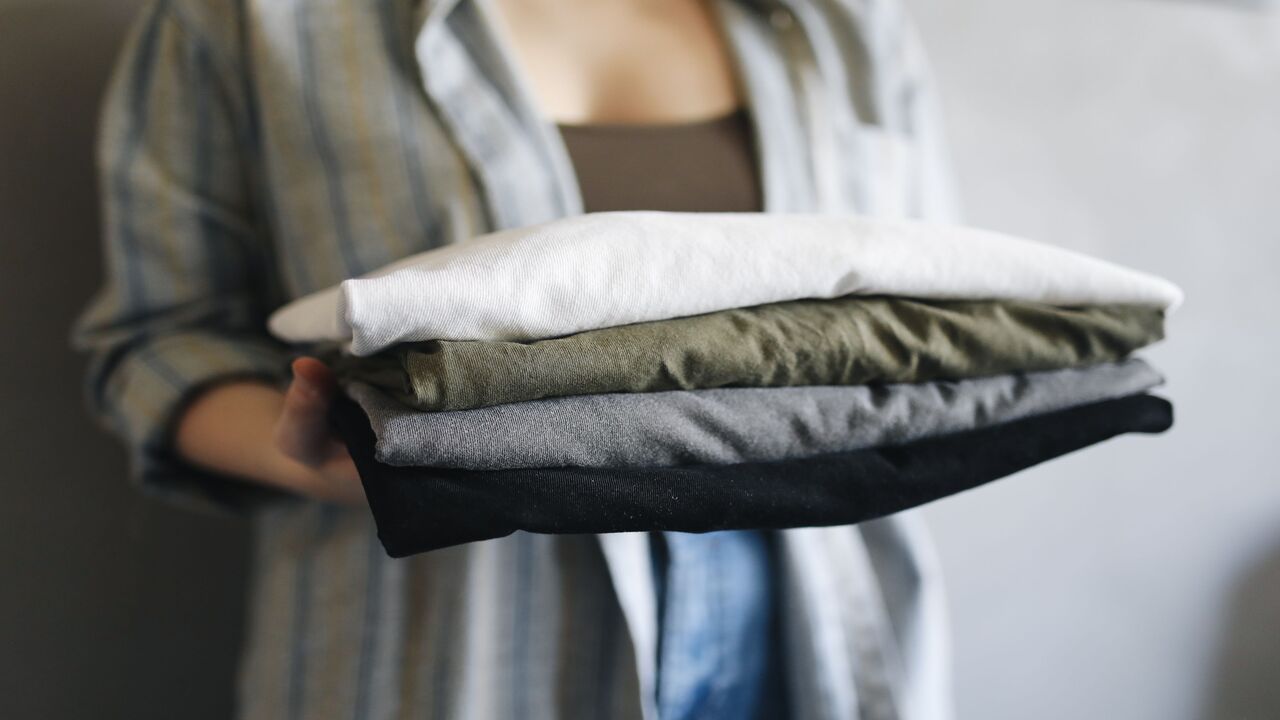
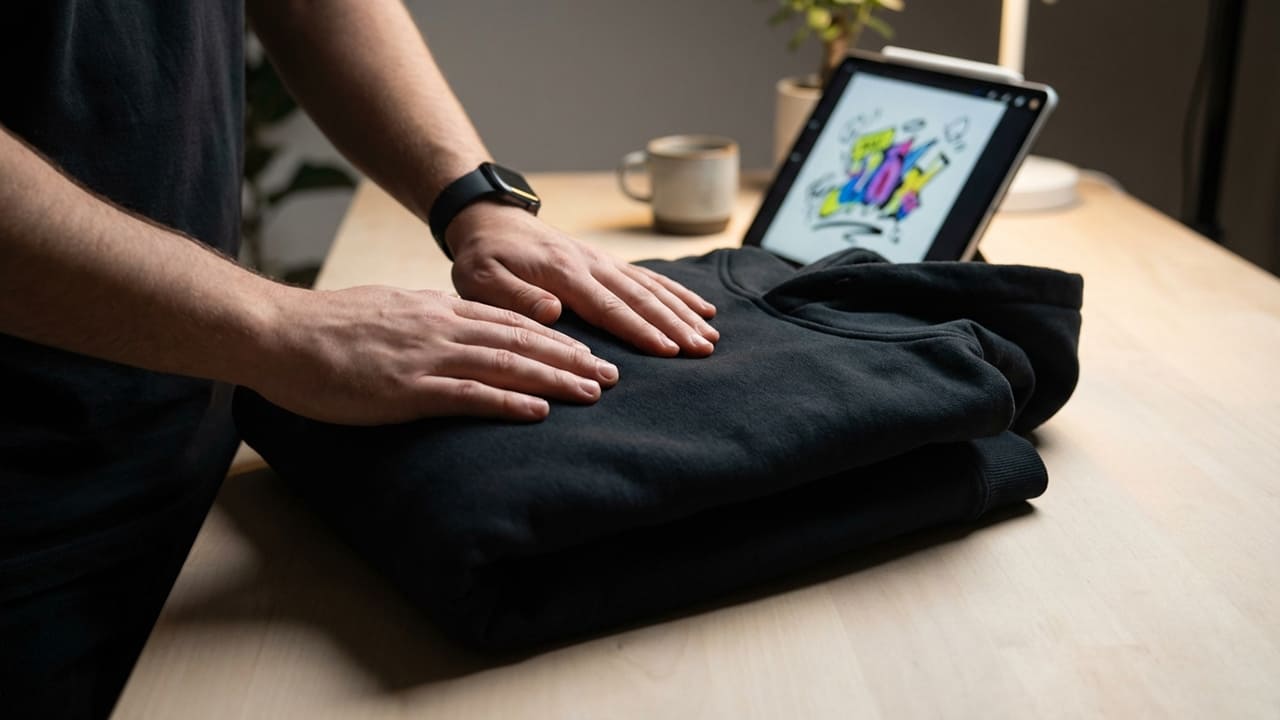
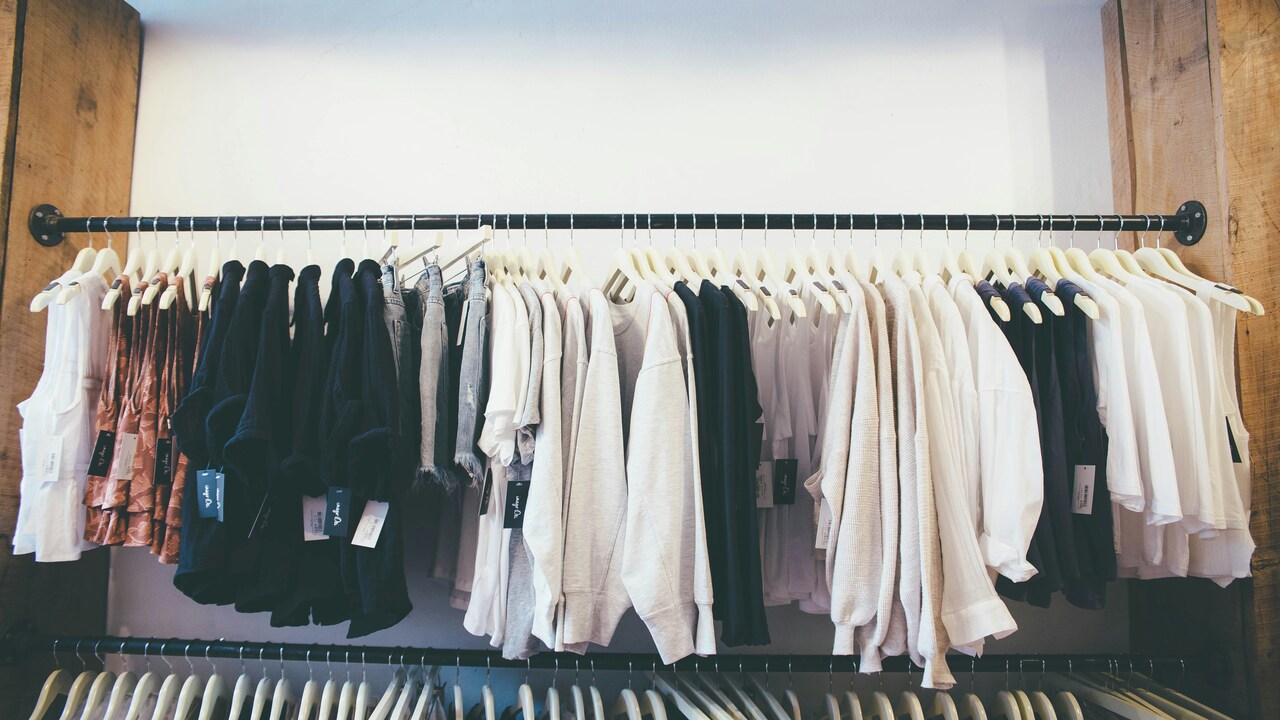
1. Choose the Right Shirt
Your shirt is the canvas—and you want it to be one that feels as good on as it looks.
Fabric type: Cotton is king when it comes to transfer paper. The fibers soak up ink evenly, which keeps your photo looking sharp. A 100% cotton shirt will usually give the best results, though cotton-poly blends (like 60/40) can work if you want something a little softer or less shrink-prone. Avoid performance fabrics like polyester or nylon for DIY transfers—they don’t absorb well, and your print may peel off after the first wash.
Weight (GSM): A midweight t-shirt (around 180–200 GSM) is ideal. Lighter shirts can feel flimsy, and heavyweight t-shirts may require more heat to bond the transfer.
Color: A plain white shirt is the safest choice. Light gray or pastel shirts can also work, but your photo won’t pop as much. Dark fabrics need special “dark transfer” paper, your picture will look like a shadowy mess.
Pick the wrong shirt, and you’ll see it right away—the print will crack, fade, or just never stick properly. Pick the right one, and even a simple photo looks surprisingly good.
2. Select Your Picture

This is where most people go wrong. Not every picture is going to work on a t-shirt.
What works:
- High-resolution photos (at least 300 DPI).
- Graphic artwork or vector images.
- Clear snapshots from a recent phone with good lighting.
What fails:
- Screenshots or images saved from social media. They’re usually compressed and look grainy on fabric.
- Blurry group shots. If you can’t see faces clearly on your phone screen, they’ll look worse on cotton.
- Overly dark images. Printing on fabric naturally mutes color, so pictures need brightness and contrast to stand out.
Before printing, scale your photo to the right design size for your shirt. A chest graphic might be 8–10 inches wide, while a full-front design could run 12–14 inches. Always test on paper first to see how it looks.
3. Apply Your Design
Now comes the fun (and sometimes frustrating) part: actually getting the image onto the shirt.
Iron method: Print your photo onto transfer paper using an inkjet printer. Place the transfer face down on the shirt, press with a hot iron for 2–3 minutes, then peel. Simple, cheap, effective, but results may vary.
Heat press: If you want sturdier results, invest in a small heat press machine. It applies consistent heat and pressure, which helps your transfer bond better. Prints last longer and peel less.
Tips to avoid peeling and fading:
- Pre-wash your shirt to remove sizing or chemicals that prevent adhesion.
- Use firm, even pressure—don’t just glide the iron around.
- Let the transfer cool slightly before peeling to reduce smudging.
- Wash inside-out in cold water, and skip the dryer if you want your print to last longer.
It’s still not professional-level durability, but with care, you’ll get a decent number of wears out of it.
4. Order for Yourself or Sell Your Custom T-shirt Online
Once you’ve made one, there's a risk you’ll want to do more, and that's ok. Once you start wanting to upgrade in quality or quantity, that’s when DIY starts to show its limits. Making 20 shirts at home means hours of ironing, inconsistent results, and a mountain of transfer paper scraps.
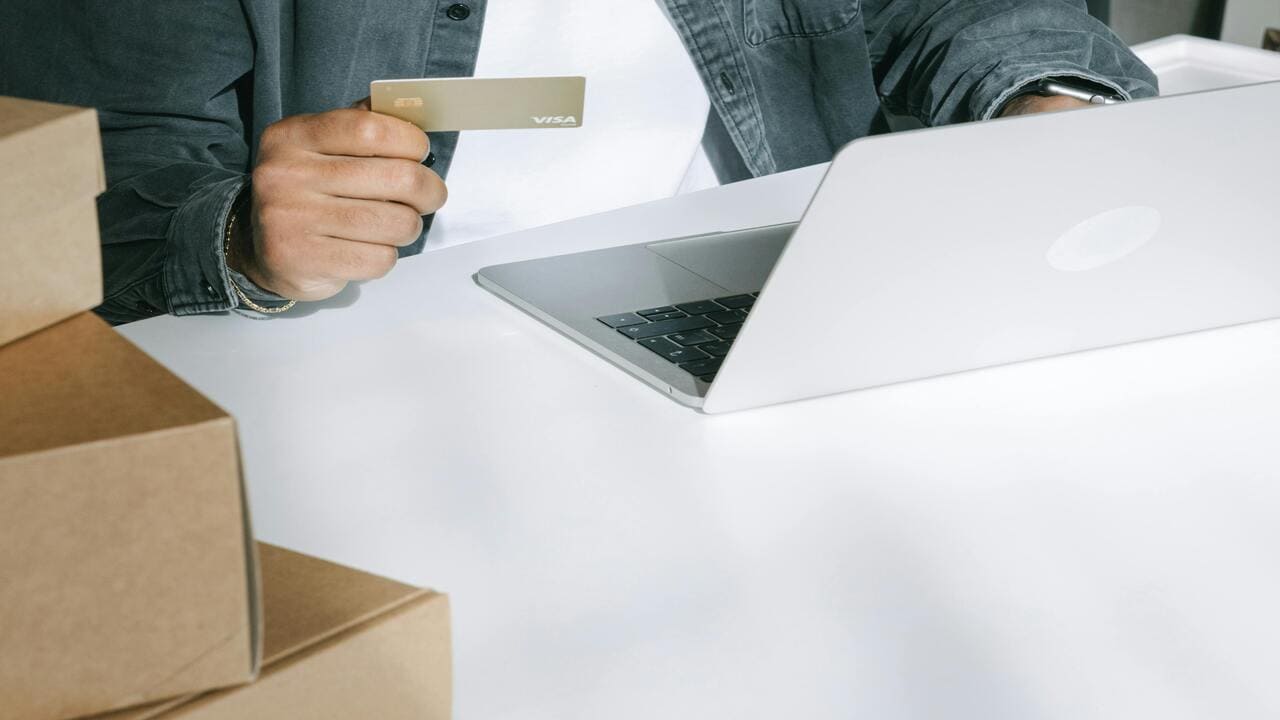
This is where print-on-demand platforms step in. Instead of juggling paper and irons, you can upload your design to a platform like Tapstitch. We take your file, print it with professional methods (DTG or DTF), and ship it straight to you. That means you can try as many designs as you want, in as many pieces as you need, and get the kind of finish you’d expect from real fashion brands.
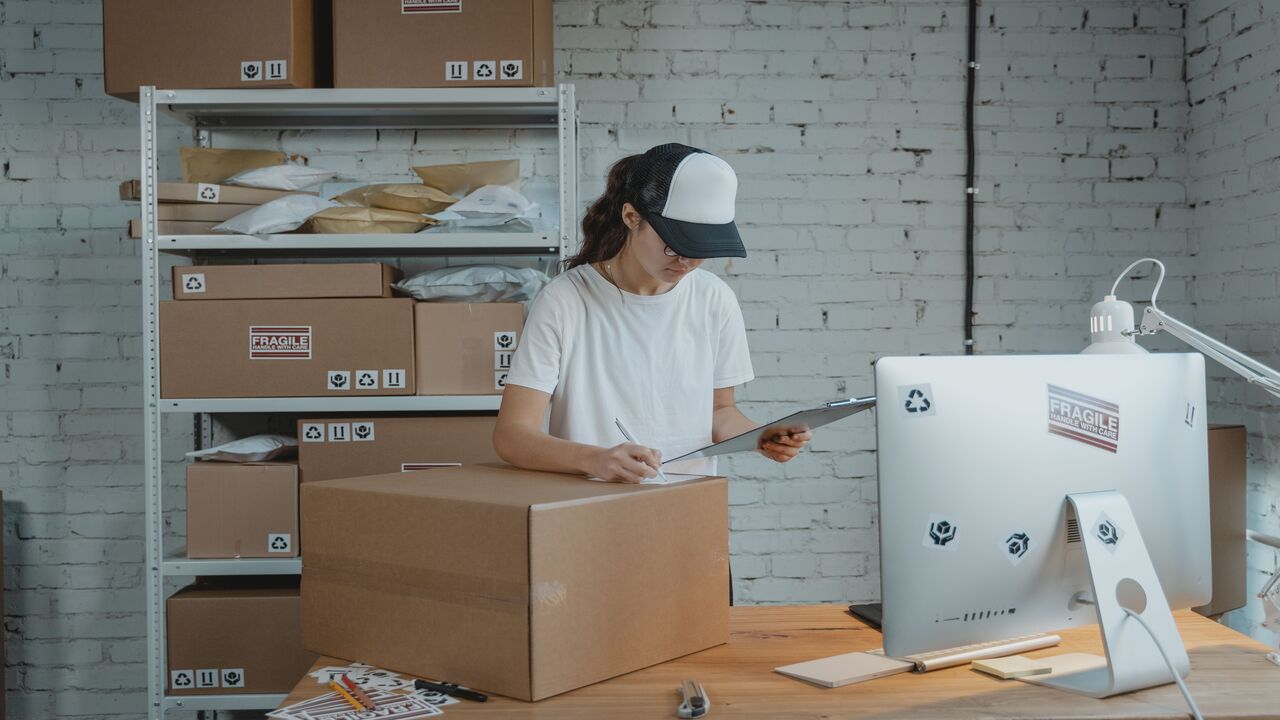
With POD platforms, if you want to start selling your shirts, you don’t need to stock inventory. Upload your designs once, connect to your online store, and let Tapstitch handle fulfillment. It’s the easiest way to move from testing photos on shirts at home to running your own line with quality people will pay for.
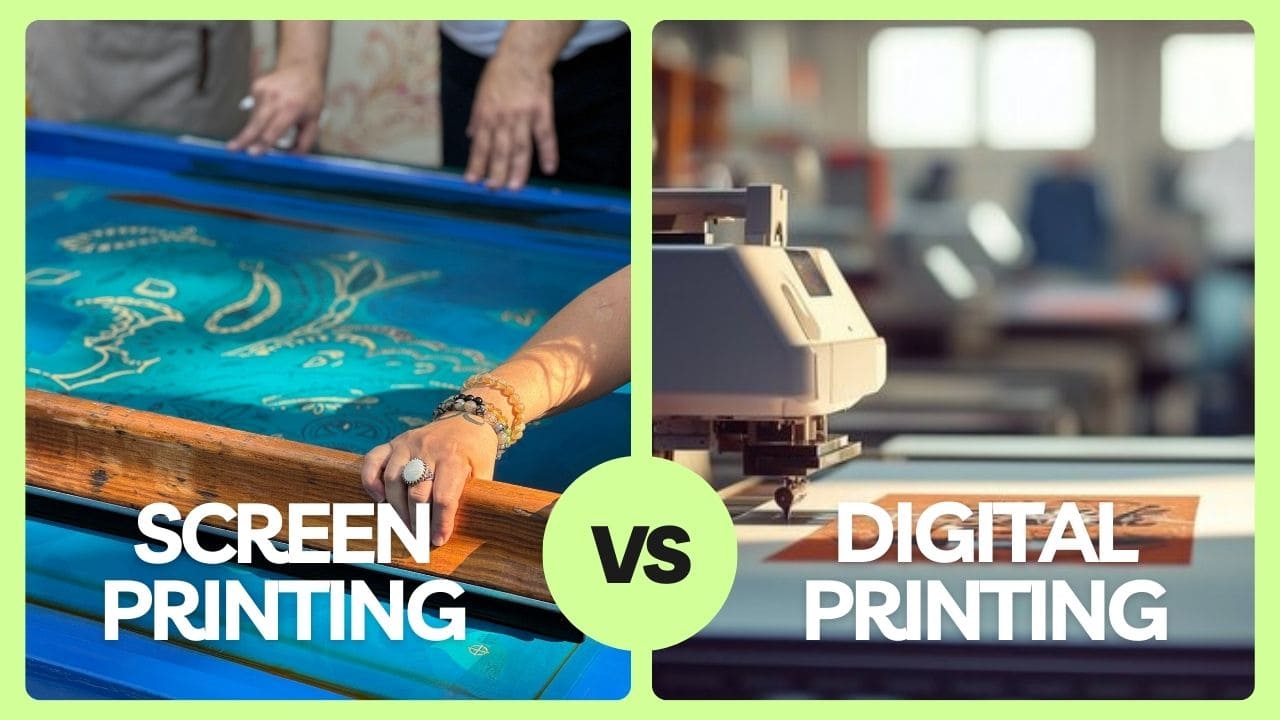
Which Printing Method is Right for You
If you’re researching how to print a photo on a t-shirt design more professionally, it usually comes down to three methods: DTG, DTF, and screen printing.
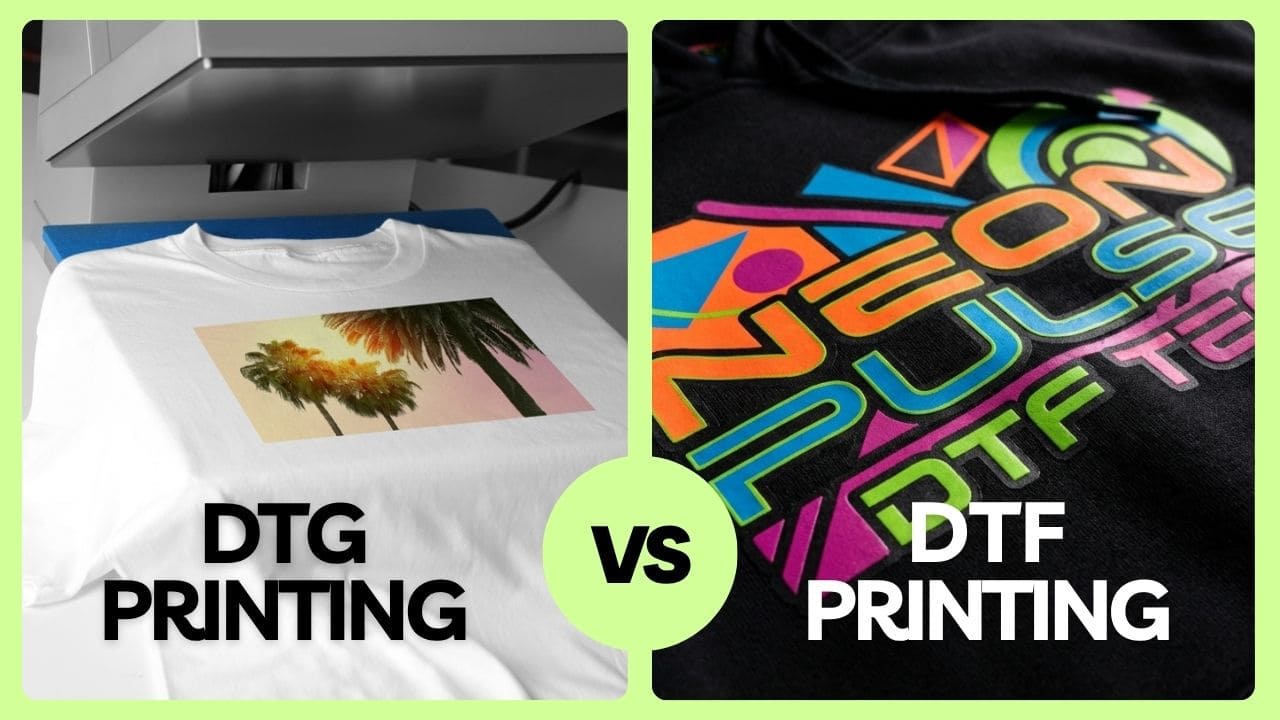
Direct-to-Garment (DTG) Printing
Think of DTG as the inkjet printer you use at home—but turbocharged and designed for fabric. The printer sprays water-based ink directly into the fibers of the shirt.
Pros:
- Perfect for full-color photos, detailed art, and gradients.
- Soft, breathable finish—you can’t feel the ink sitting on top.
- Easy to print one-offs or small batches (no setup costs).
Cons:
- Works best on cotton; blends and poly fabrics aren’t as vibrant.
- Lighter shirts give the best results; dark shirts often need a white underbase.
- Not the cheapest for large runs.
Cost: Typically $12–$20 per shirt retail for POD, depending on fabric and print size.
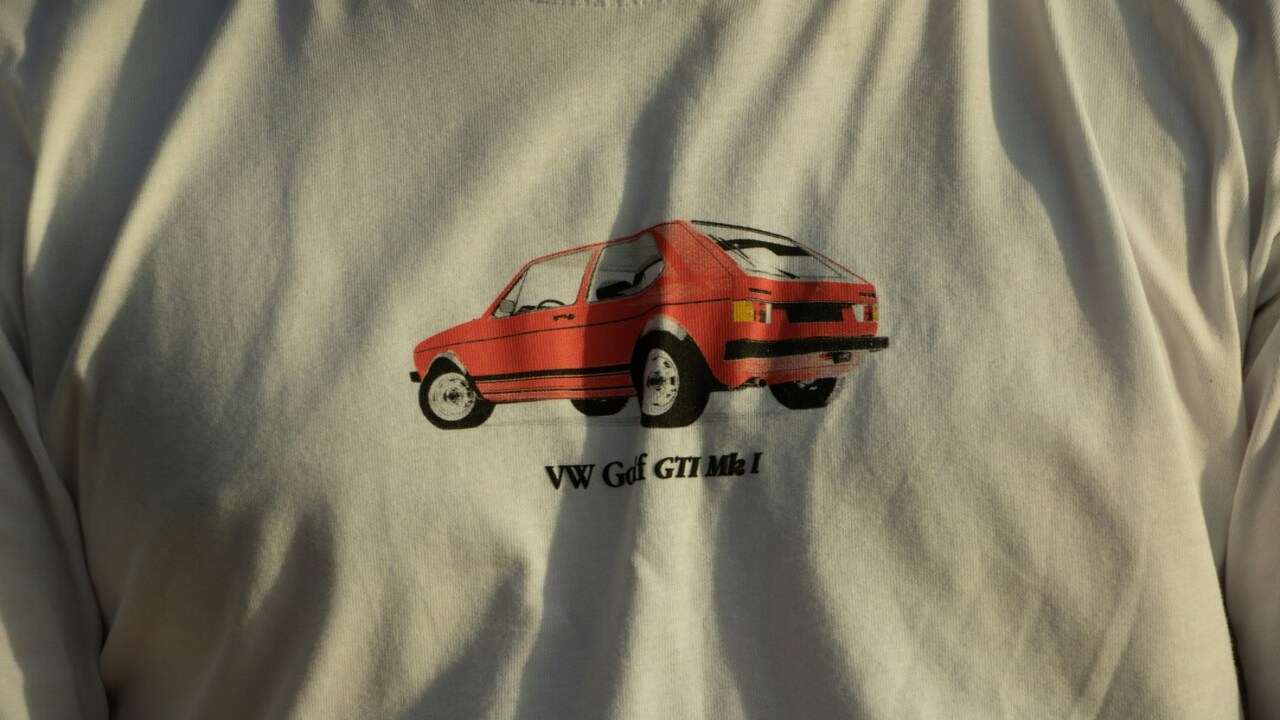
Best use case: Art prints, portraits, or any design that relies on subtle detail and smooth color transitions.
Direct-to-Film (DTF) Printing
DTF is the newer star of the printing world, and it’s quickly gaining fans. Your design is first printed onto a special transfer film, coated with adhesive powder, then heat-pressed onto the shirt.
Pros:
- Works on almost any fabric: cotton, polyester, blends, even stretch materials.
- Prints are bold, vibrant, and hold up to heavy washing.
- Can handle dark colors and tricky surfaces where DTG struggles.
Cons:
- The print sits on top of the fabric, so it has a slight texture.
- Requires good curing to avoid peeling; not all providers do it well.
Cost: Similar to DTG for single pieces ($12–$20 retail), but cheaper when scaling since there’s less waste.
Best use case: Designs that need durability (sportswear, uniforms) or that include strong colors on dark fabrics.
Feel in hand: Smooth but slightly raised. It’s less “soft touch” than DTG, but more versatile.
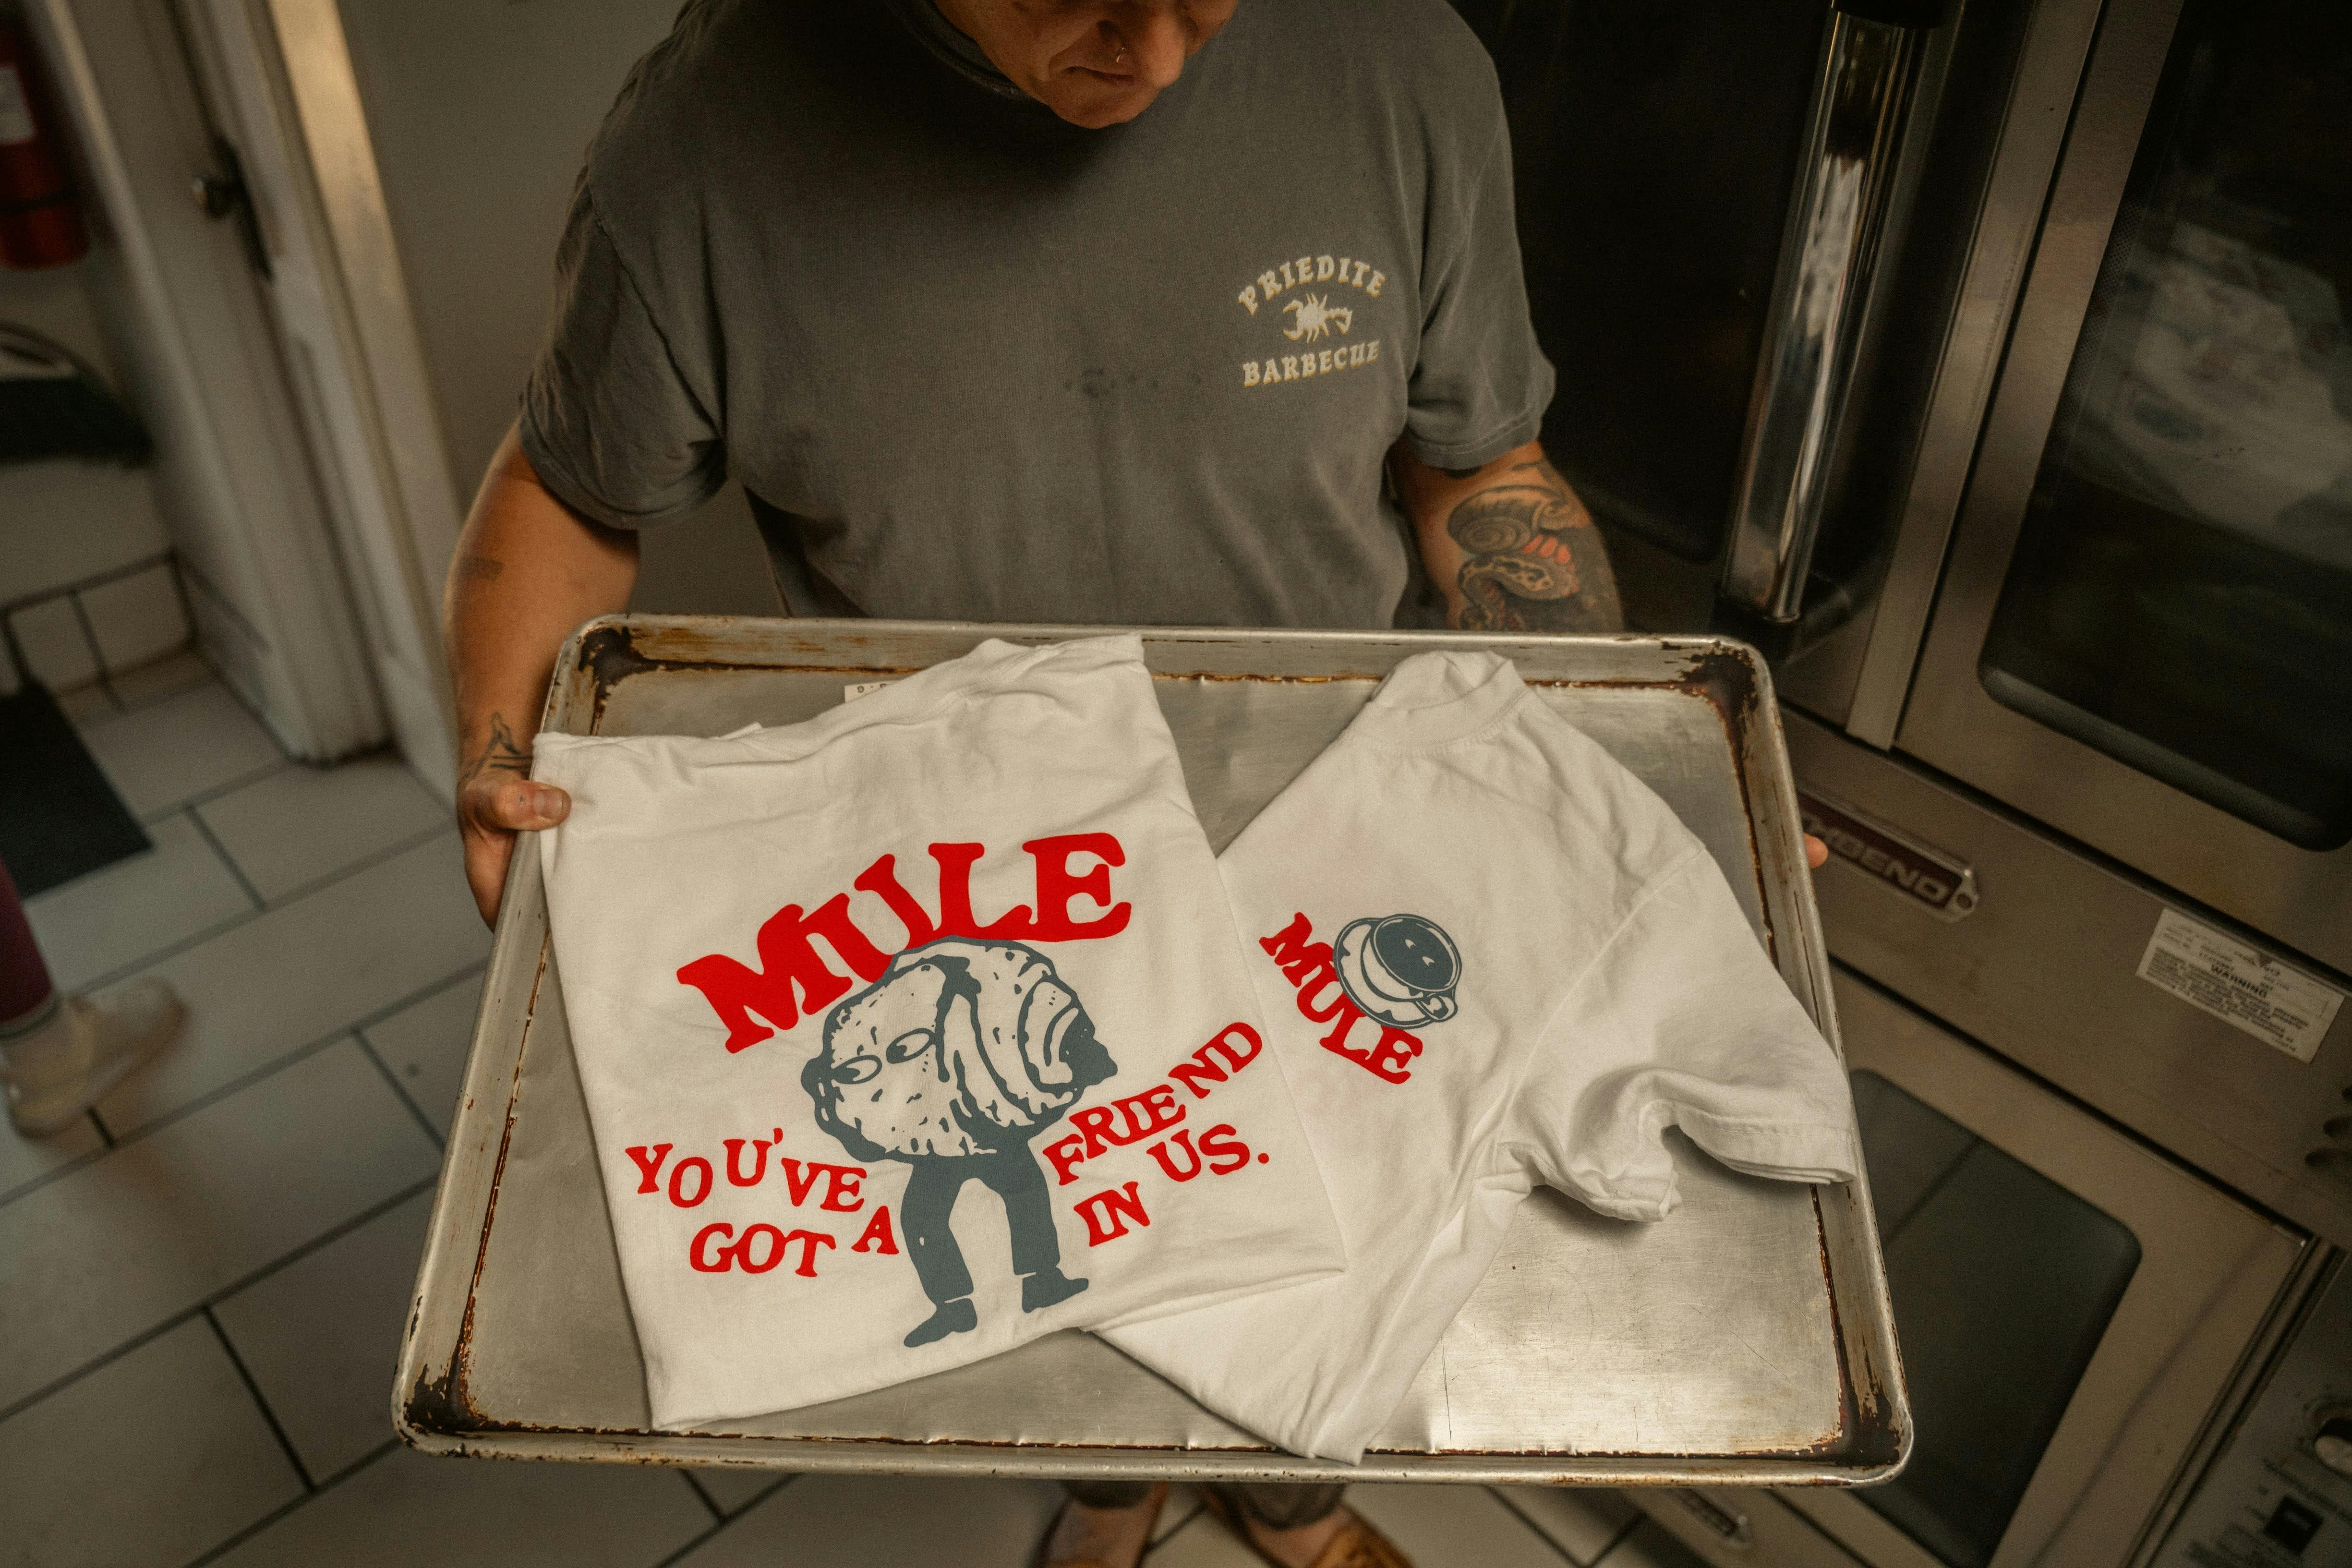
Screen Printing
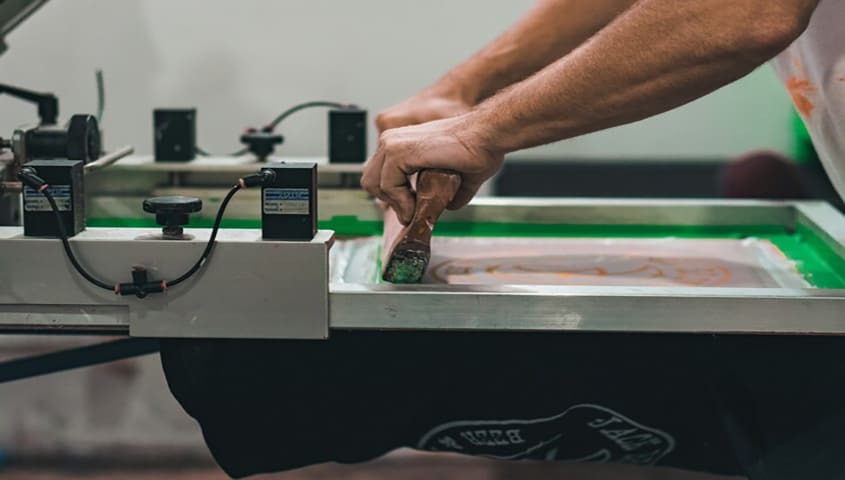
This is the best route if you're trying to mass-produce custom shirts. Screen printing involves pressing ink through a stencil (screen) onto the shirt. Each color requires a separate screen.
Pros:
- Extremely durable prints that can last for years.
- Bold, saturated colors that don’t fade easily.
- The more you print, the cheaper it gets.
Cons:
- High setup cost: you need a screen for each color, so one-off orders are expensive.
- Not great for photo-realistic designs — it’s better for solid blocks of color or stylized graphics.
- Time-intensive to set up compared to digital methods.
Cost: For bulk orders, it’s the cheapest option by far (as low as $5–$7 per shirt in volume). For one-offs, it’s impractical.
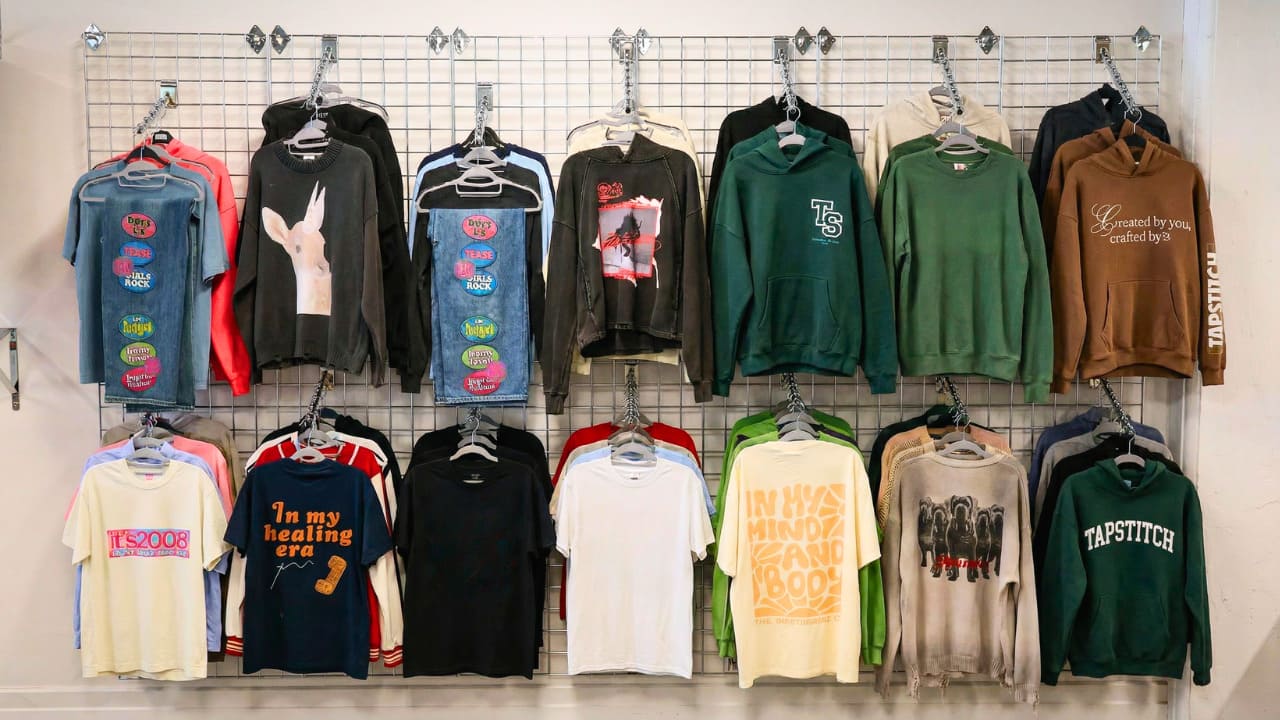
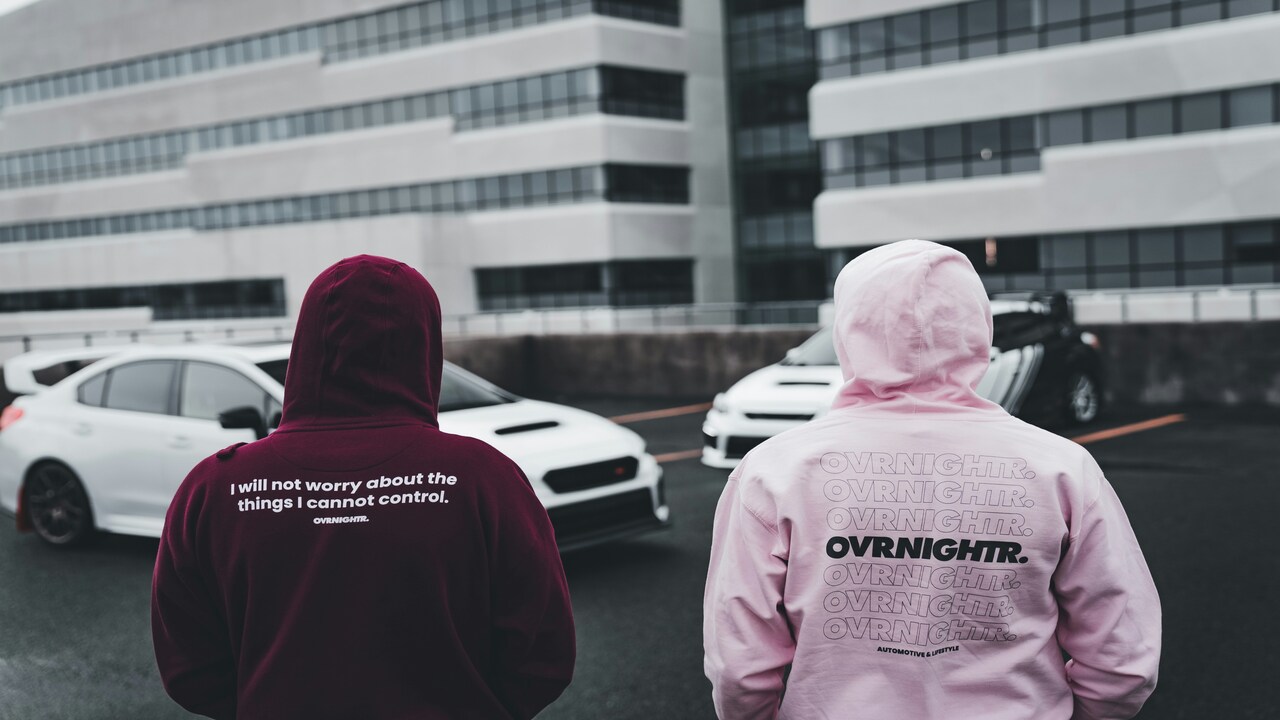
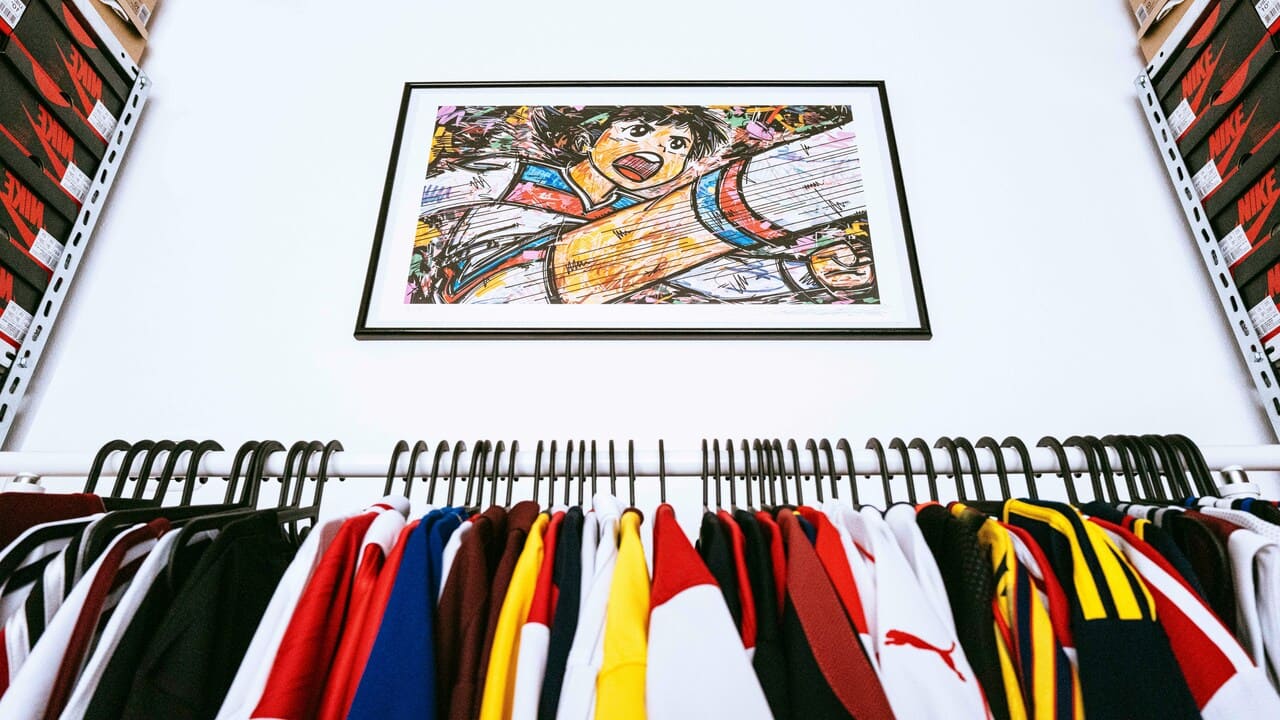
Best use case: Streetwear brands, merch runs, or any design with bold, simple artwork in limited colors.
Ready to DIY Your Own T-shirt with Tapstitch?
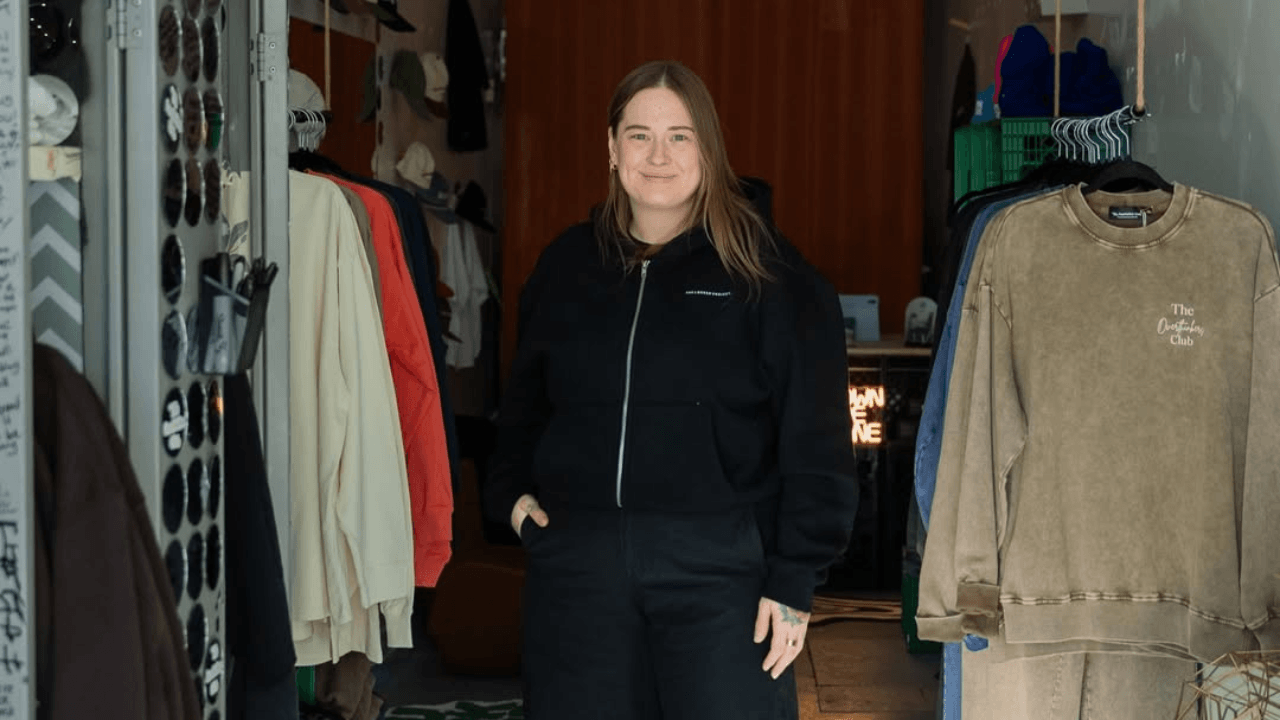
You don’t have to choose between messy DIY and bulk orders you don’t need. Tapstitch makes it easy to upload your image, drop it on one of our fashion-first blanks, and get it shipped fast—even just one shirt.
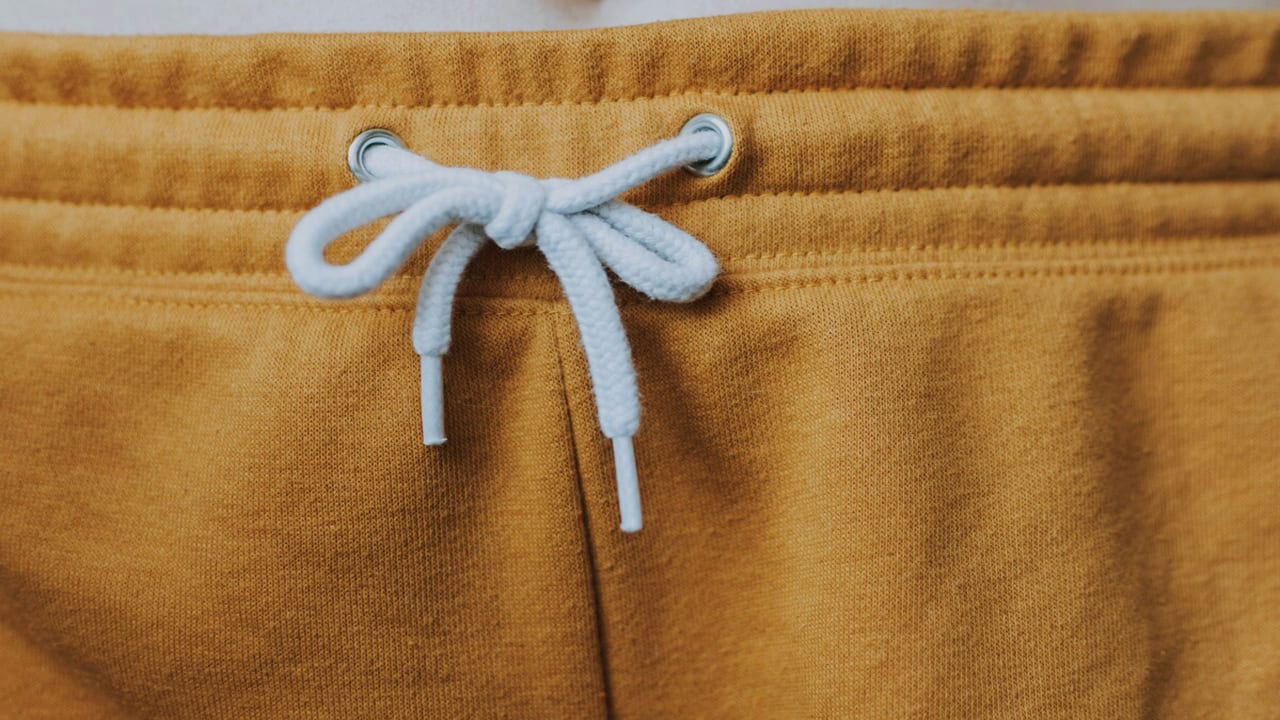
Want to test your logo on a washed vintage t-shirt? Upload it. Want your dog’s face on a hoodie? Done. Want to actually start a clothing brand without sitting on 200 unsold units in your garage? We've got you.
It's not just about how to put a picture on a shirt, but how you can customize a shirt down to every stitch. Tapstitch lets you brand your pieces with custom neck labels, retail packaging, and styles that look and feel legit.
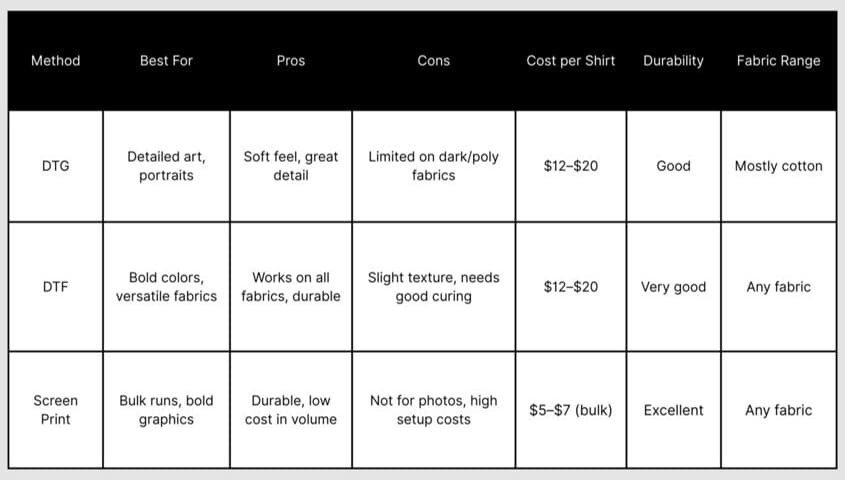
DTG vs. DTF vs. Screen Printing: Quick Comparison
FAQ
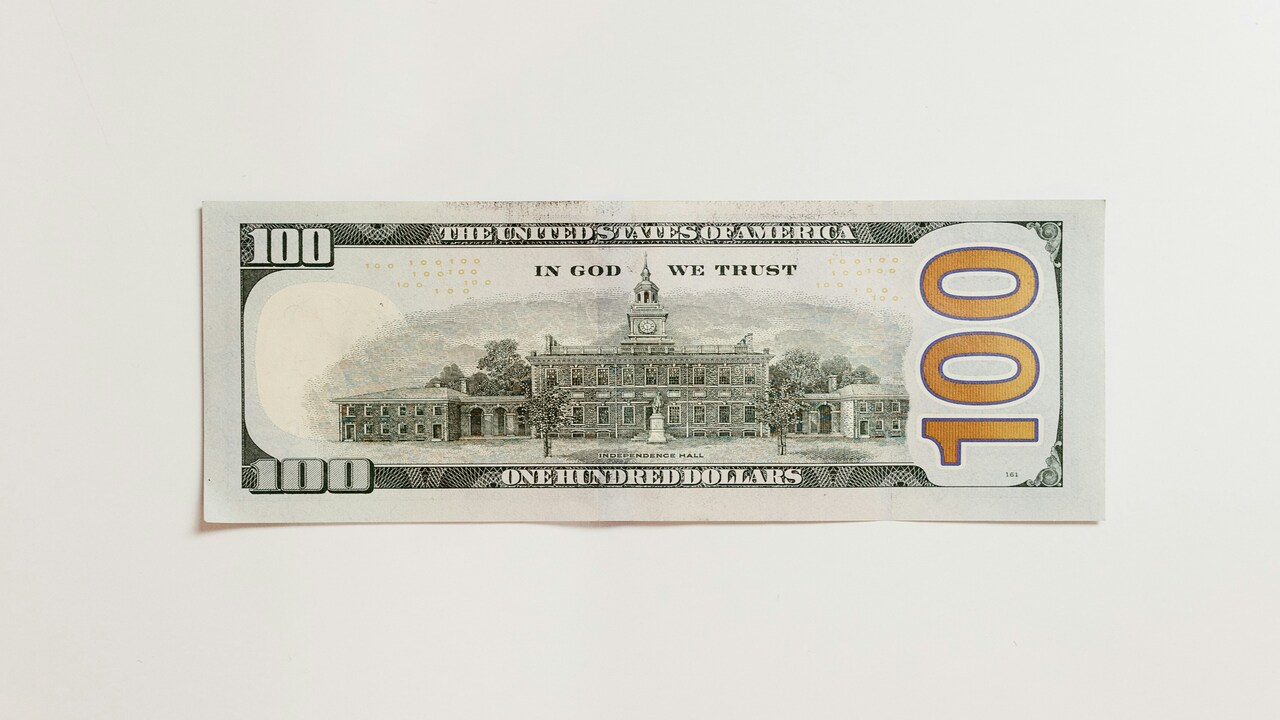
How Much Does it Cost to Print Photos on Shirts?
At-home transfer paper kits run about $1–$3 per sheet, plus the shirt itself. That’s fine for one-offs, but the quality doesn’t last. With Tapstitch, prices start around the cost of a premium blank t-shirt, and you get professional-level durability, detail, and fit.
What is the Easiest Way to Print a Photo on a T-shirt?
If you’re experimenting, transferring paper and an iron is the simplest at-home method. But if you want something you’ll actually wear beyond two washes, the easiest way is to upload your design to Tapstitch. One file upload = a shirt that looks retail-ready.
Can You Put a Picture on a Shirt Without Transfer Paper?
Yes—but you’ll need different methods. DTG and DTF don’t use transfer paper; the ink or film is applied directly with pro machines. For DIY at home, though, transfer paper is still the most accessible option.
How Long Do Photos on Shirts Last?
It depends on the method. Iron-on transfers may crack or fade after 5–10 washes. DTG and DTF prints can easily last 50+ washes if cared for properly (wash inside out, cold water, avoid high heat drying). Screen printing often outlasts the shirt itself.
Can I Wash a Shirt with a Printed Photo Normally?
Sort of. Always wash inside-out on a gentle cycle with cold water. Skip bleach, and tumble dry low or air dry to protect the print. Treat it like a favorite band t-shirt—it’ll thank you with years of wear.
What’s the Best Fabric for Printing Photos?
Cotton is the gold standard. DTG especially loves 100% cotton for crisp detail. Blends work well for DTF and screen printing, while polyester can be tricky without specialized inks. If you’re just learning how to put a picture on a shirt at home, stick with cotton for the best results.
Some Final Thoughts
Custom T-shirts are memory keepers, business builders, and creative experiments all in one. You’ve got options—from figuring out how to put a picture on a shirt with an iron, to scaling up through DTG, DTF, or screen printing.
But if you want the quality of professional printing, the most professional tools, and the best fabrics, all without minimum orders, Tapstitch is your most reliable shirt plug. Design, print, and ship your shirt without compromise. Your photo deserves more than transfer paper—it deserves a spot in someone’s closet for years to come.


.jpg)

.jpg)

.png)
.jpg)


.jpg)
.jpg)


.jpg)
.jpg)
.jpg)
.jpg)
.jpg)
%20(1).jpg)

.png)
.png)


%20(1)%20(1).jpg)


.png)
.png)


.jpg)

.jpg)
.jpg)

.png)


.png)


.jpg)
.png)
.png)


.png)

Inspiration Starts Here. Let's Make Something Beautiful.
Make high quality clothes easily with Tapstitch.