Setting Up Your Etsy Shop Before Connecting to Tapstitch
July 09, 2026 · Updated
Before you connect your Etsy shop to Tapstitch, you'll need to create and set up your Etsy seller account.
This guide walks you through the basics so you'll be ready to connect your shop and start publishing products with Tapstitch.
Before You Begin
Make sure you have the following handy:
- A valid email address
- A name for your Etsy shop
- Your bank account details
- Your tax and personal information
- A credit or debit card
- A valid government-issued ID for identity verification
Step 1: Create or Sign In to Your Etsy Account
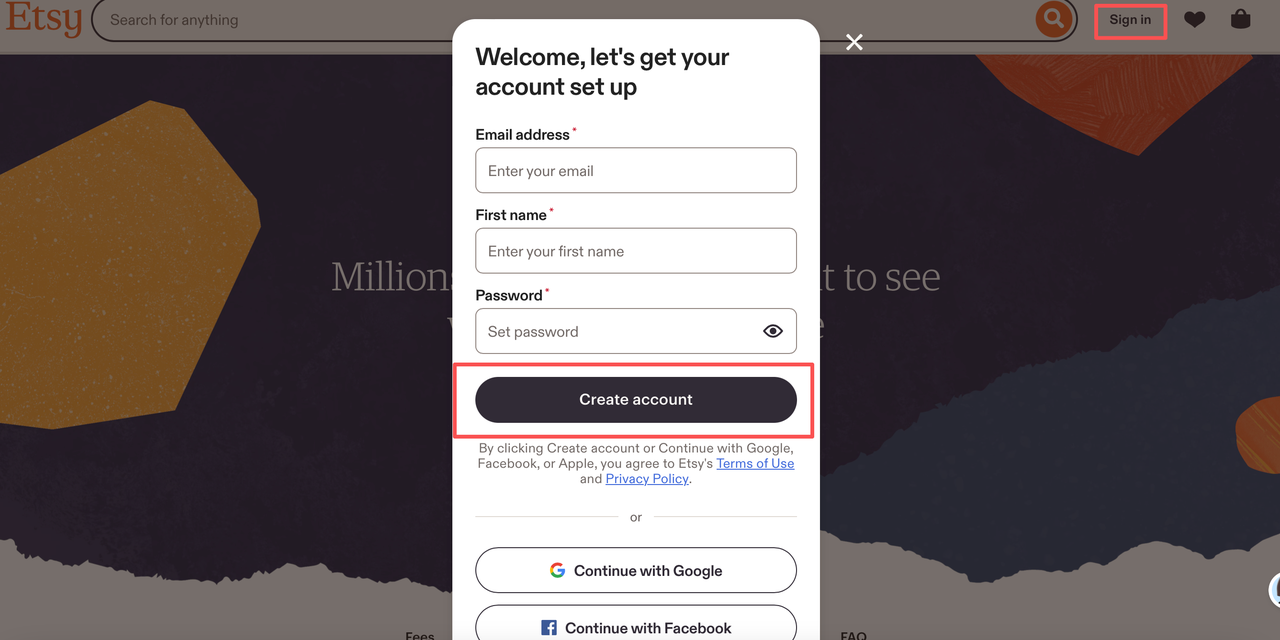
Go to Etsy.com and create an account if you do not already have one.
After signing up, Etsy will send you a confirmation email. Open the email and follow the instructions to verify your account before moving on to the next step.
Step 2: Setting Up Your Etsy Shop
New Etsy accounts are created as buyer accounts by default. Before you can sell, you'll need to open an Etsy shop.
To get started:
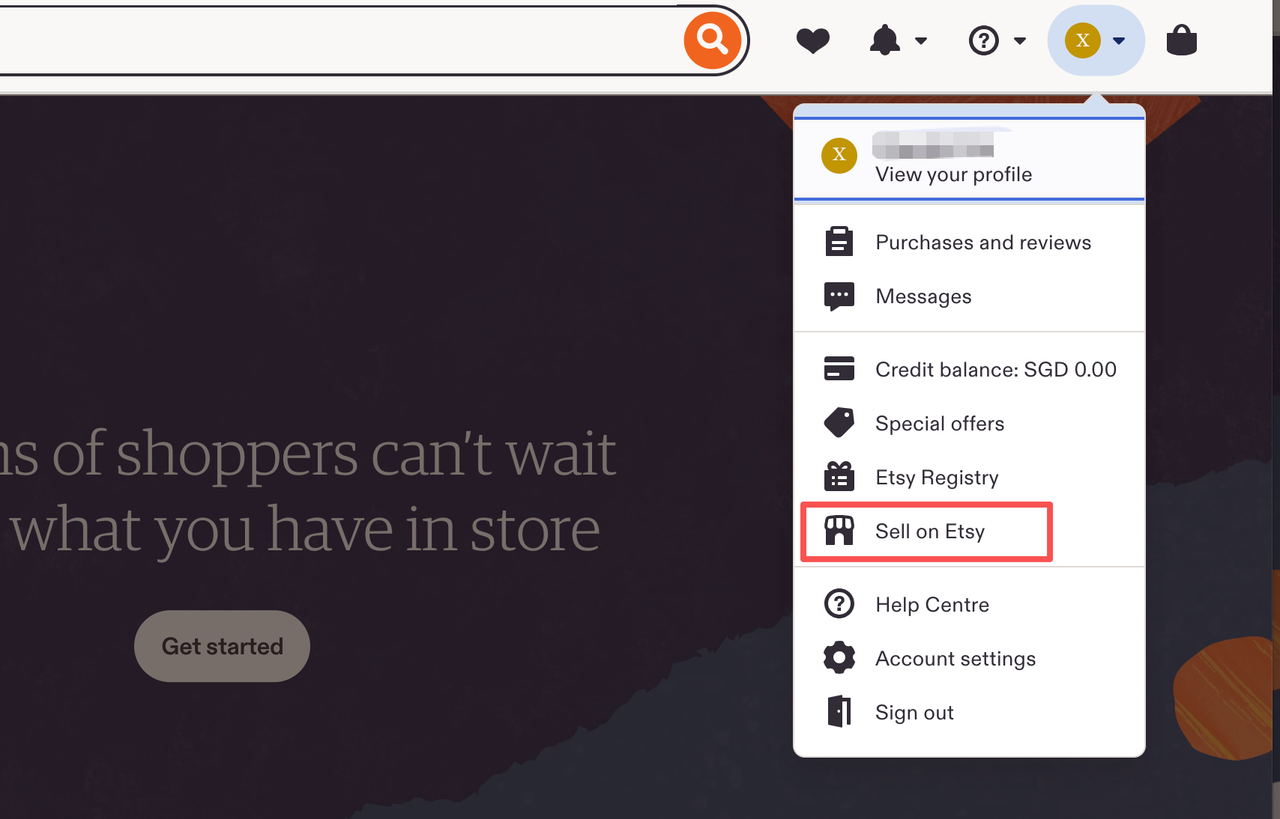
- Click your profile icon in the top-right corner of the page.
- Select Sell on Etsy from the dropdown menu.
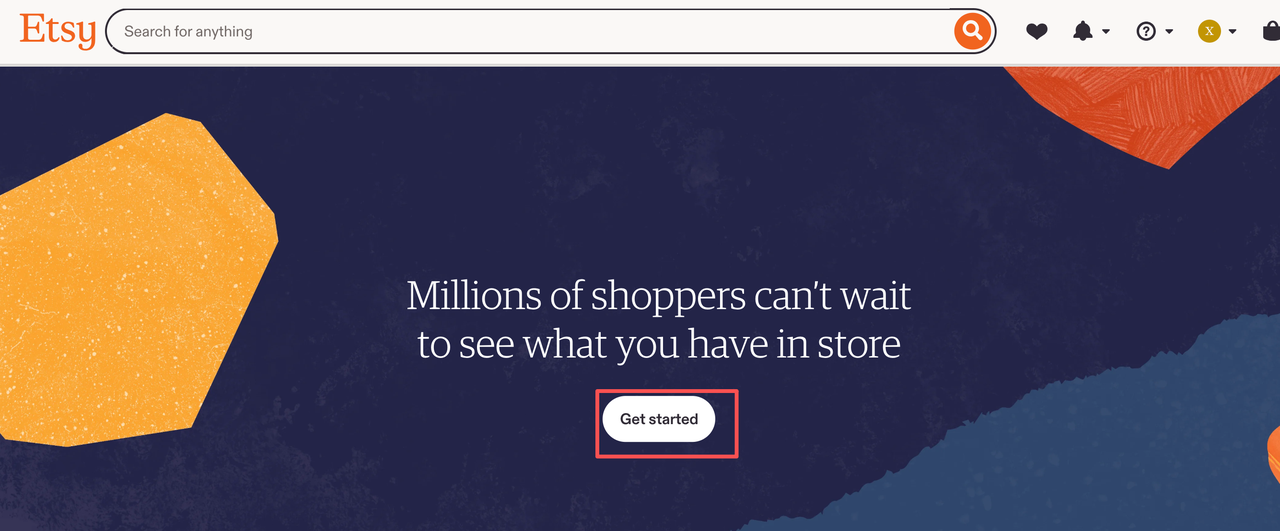
- Select Get started
- Review Etsy’s seller terms
- Answer the setup questions shown on the screen
- Click Start your shop to continue
Note:
Etsy may charge a one-time shop setup fee. This may first appear as a pending transaction and is typically processed after you've completed the onboarding process.
Step 3: Choose Your Shop Preferences
Next, Etsy will ask you to set your shop preferences.
You’ll need to select:
- Shop language
- Shop country
- Shop currency
Choose these based on where you plan to sell and how you want customers to view your shop.
After that, enter a shop name. Your shop name must be unique, but you can update it later if needed.
Step 4: Add Payment and Identity Details
To receive payments from Etsy, you’ll need to provide your financial and identity information.
This may include:
- Bank account details
- Tax information
- Personal or business information
- Identity verification
Etsy may also ask you to upload a photo ID and complete a selfie verification. Make sure all details are accurate and match your documents.
When you're finished, click Save and continue.
Step 5: Enter Your Billing Information
Add a credit or debit card to your Etsy account. This card will be used to pay Etsy fees, such as listing fees, transaction fees, advertising costs, and any required shop setup fee.
After entering your card details, review the setup fee information and continue.
Step 6: Secure Your Account
For added security, Etsy may ask you to enable two-factor authentication.
Follow the on-screen instructions to complete the setup, then save your backup codes in a secure place. These codes can help you regain access to your account if you're unable to receive a verification code in the future.
What's Next
Once you've completed the setup process, your Etsy shop is ready.
You can now connect your Etsy shop to Tapstitch and start creating, publishing, and selling products.
Note
In some cases, Etsy may temporarily suspend newly created shops as part of its review process. If this happens, contact Etsy Support to request a review. Response times can vary, so keep an eye on your email for updates.
Was this article helpful?
0 found this helpful